Using Power Point to Customize & Print Digital Collections with Noemí
Hello! I'm thrilled to share my first blog post with you! When I received the Hygge Season collection, I couldn't help but admire the beautiful papers, stickers, and cards. The inspiration struck, and I began sketching and designing various projects. While in this creative process, I thought it would be great to share my approach to getting the most out of digital collections.
Personally, I enjoy working on a variety of projects, from mini albums with tiny 2x2 photos to traditional 12x12 layouts. The size and scale of the materials I use for each project is different, and this is where the magic of digital collections comes in! Traci's collections are designed to make our lives easier, providing ready-to-print PDF files for effortless creativity. However, these tips might come in handy if you have a specific idea that requires some adjustment of elements to achieve your desired design.

I am a true believer in using what's readily available to simplify my work, and one tool that never fails me is PowerPoint. It's an accessible and user-friendly tool that works great for digital scrapbooking or customizing products for the design I have in mind.

Typically, I start by sketching on paper to plan the format/size for the story I want to document. Once I have a general idea of what I want to create, I enter PowerPoint and create a file of the project's size, in this case, 12x12. There, I begin loading different papers, cards, and stickers, playing with the order and size of elements to get an idea of how they will look together and how many I need to print. Yes! Another plus of digital collections is that you can print your favorite element as many times as you want!

I have so much fun during this process because I can even duplicate the slide and create other versions to choose my favorite. Once I have a clear idea of the elements I'll use, I save that file as a reference and create a new one with the paper size I'm going to use for printing. For this layout, I made my files letter-sized, copying and pasting the elements used in the original file to maintain the measurements. After saving the file, it's ready to print. I decided to fussy-cut the stickers, but I've used the same process in Design Space when I want to use my Cricut.
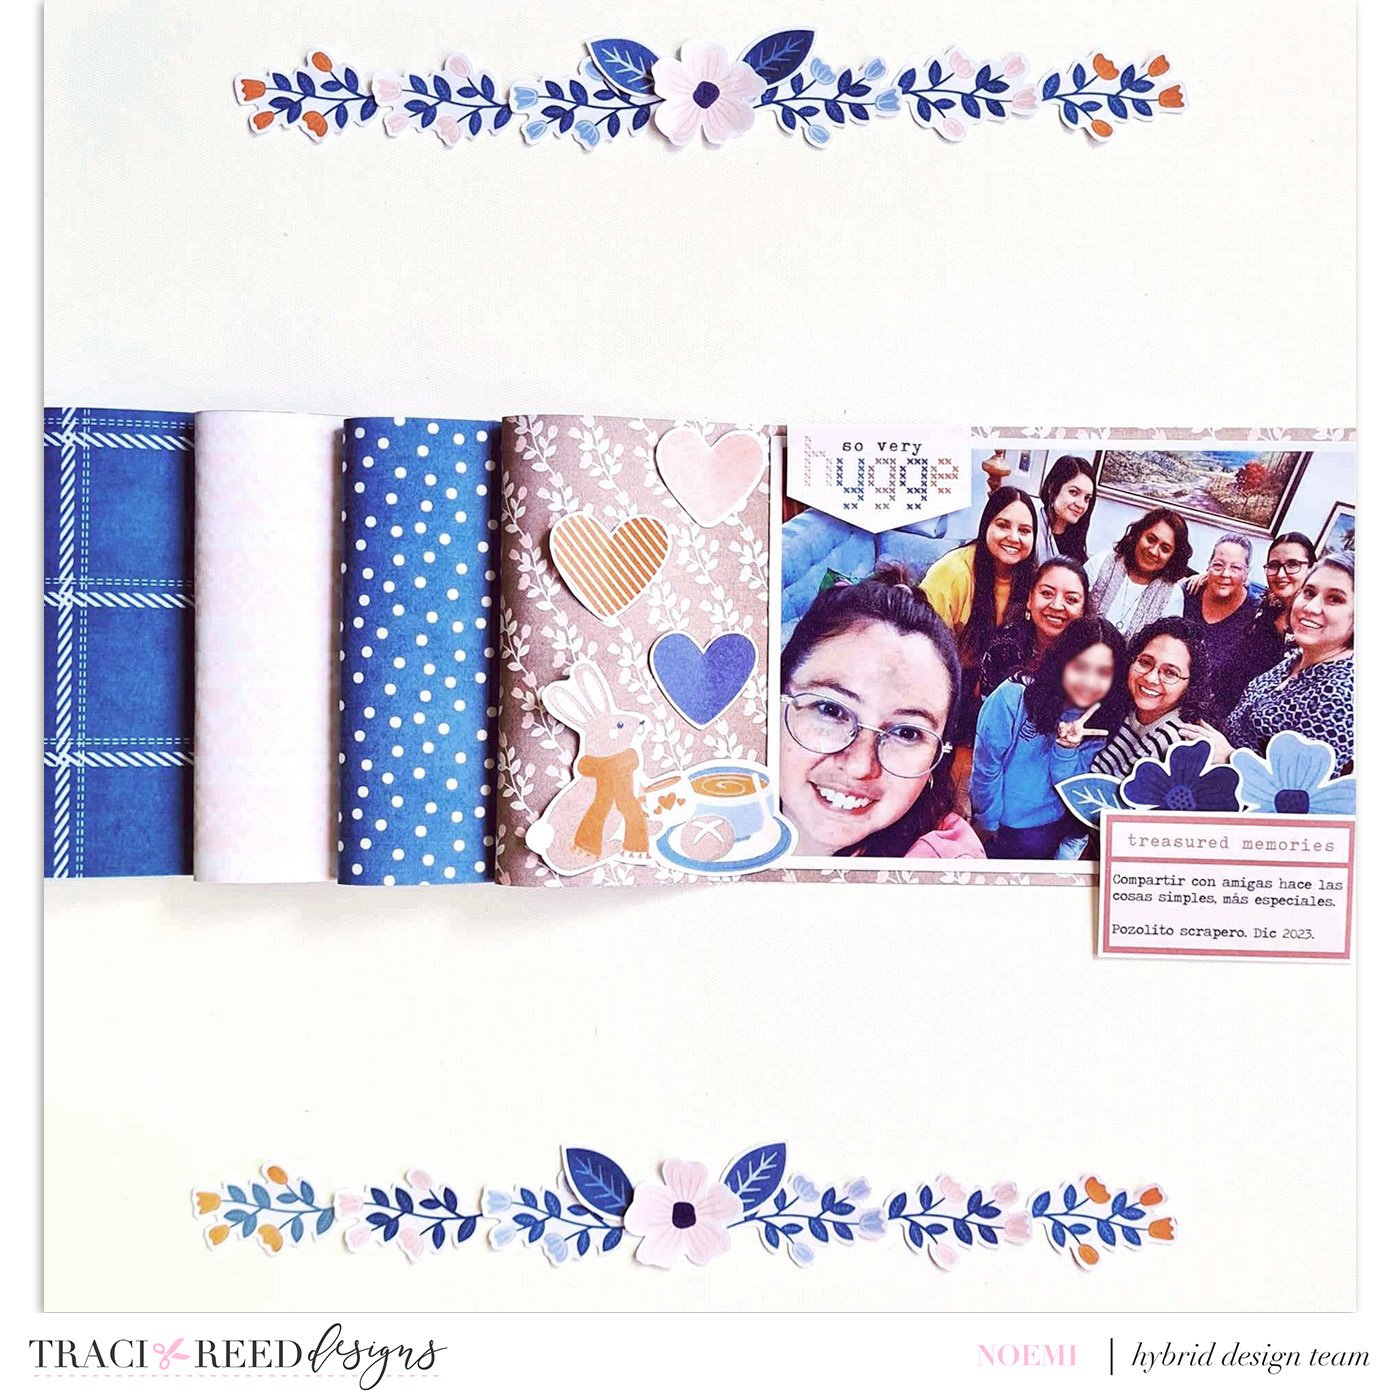

And here's the final result! With the theme of the Hygge Season collection, I couldn't help but think of a cozy & warm blanket. I tried to recreate the texture of a bed full of blankets to snuggle up in these cold days, and added extra details with a floral line on the top and bottom edges that remind me of our grandmothers' quilts.

TRD Product Used in this Article:
