Creating a Quilted Grid Layout using Paper Strips with Raechelle!
There’s nothing better than sweet snuggles with a new baby, and this cuddly layout featuring these precious photos of my newest granddaughter captures ‘Snuggle Season’ perfectly.
I wanted to convey the warmth of a snuggle when creating this layout, so I decided to pull the warm, cozy patterns and colors from the new ‘Hygge Season’ and create a quilted grid-style background.

To create the quilted squares, I first cut several 1/2” strips of the papers I selected from the TN papers.
I then arranged each pile of paper strips into the order I wanted to place them.
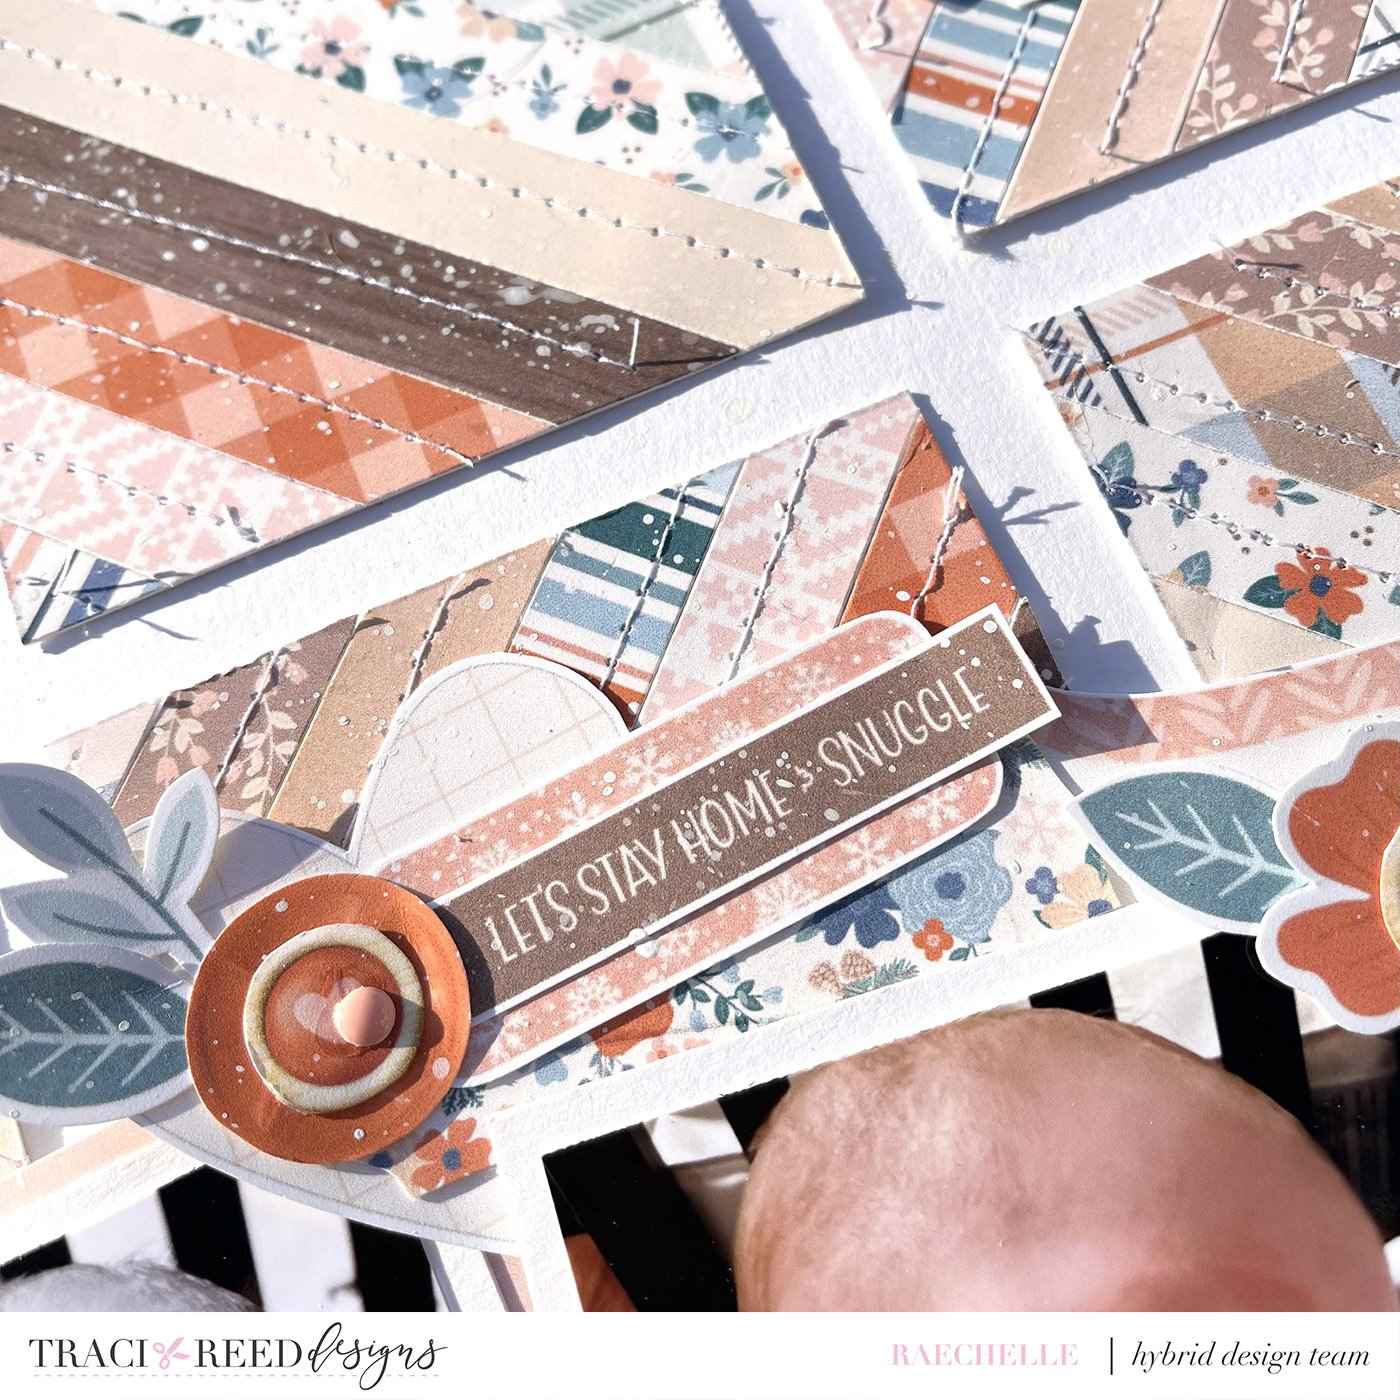
The paper strips were then adhered to 3 strips of cardstock cut to 3-1/4” x 11”. The strips were adhered at a 45’ angle, the first strip placed starting around the middle of the cardstock piece. I then worked my way on either side of the initial strip.

Once all paper strips have been adhered to the cardstock base and allowed to dry (I let mine sit overnight), then the next step is to create the quilt base.
Start by loosely trimming the excess paper from the strips and follow with using a paper cutter to get a straight edge on each side (you can bypass the paper trimmer if you’d rather cut free hand).
Once trimmed, cut to 3-1/4” squares. Discard the excess.
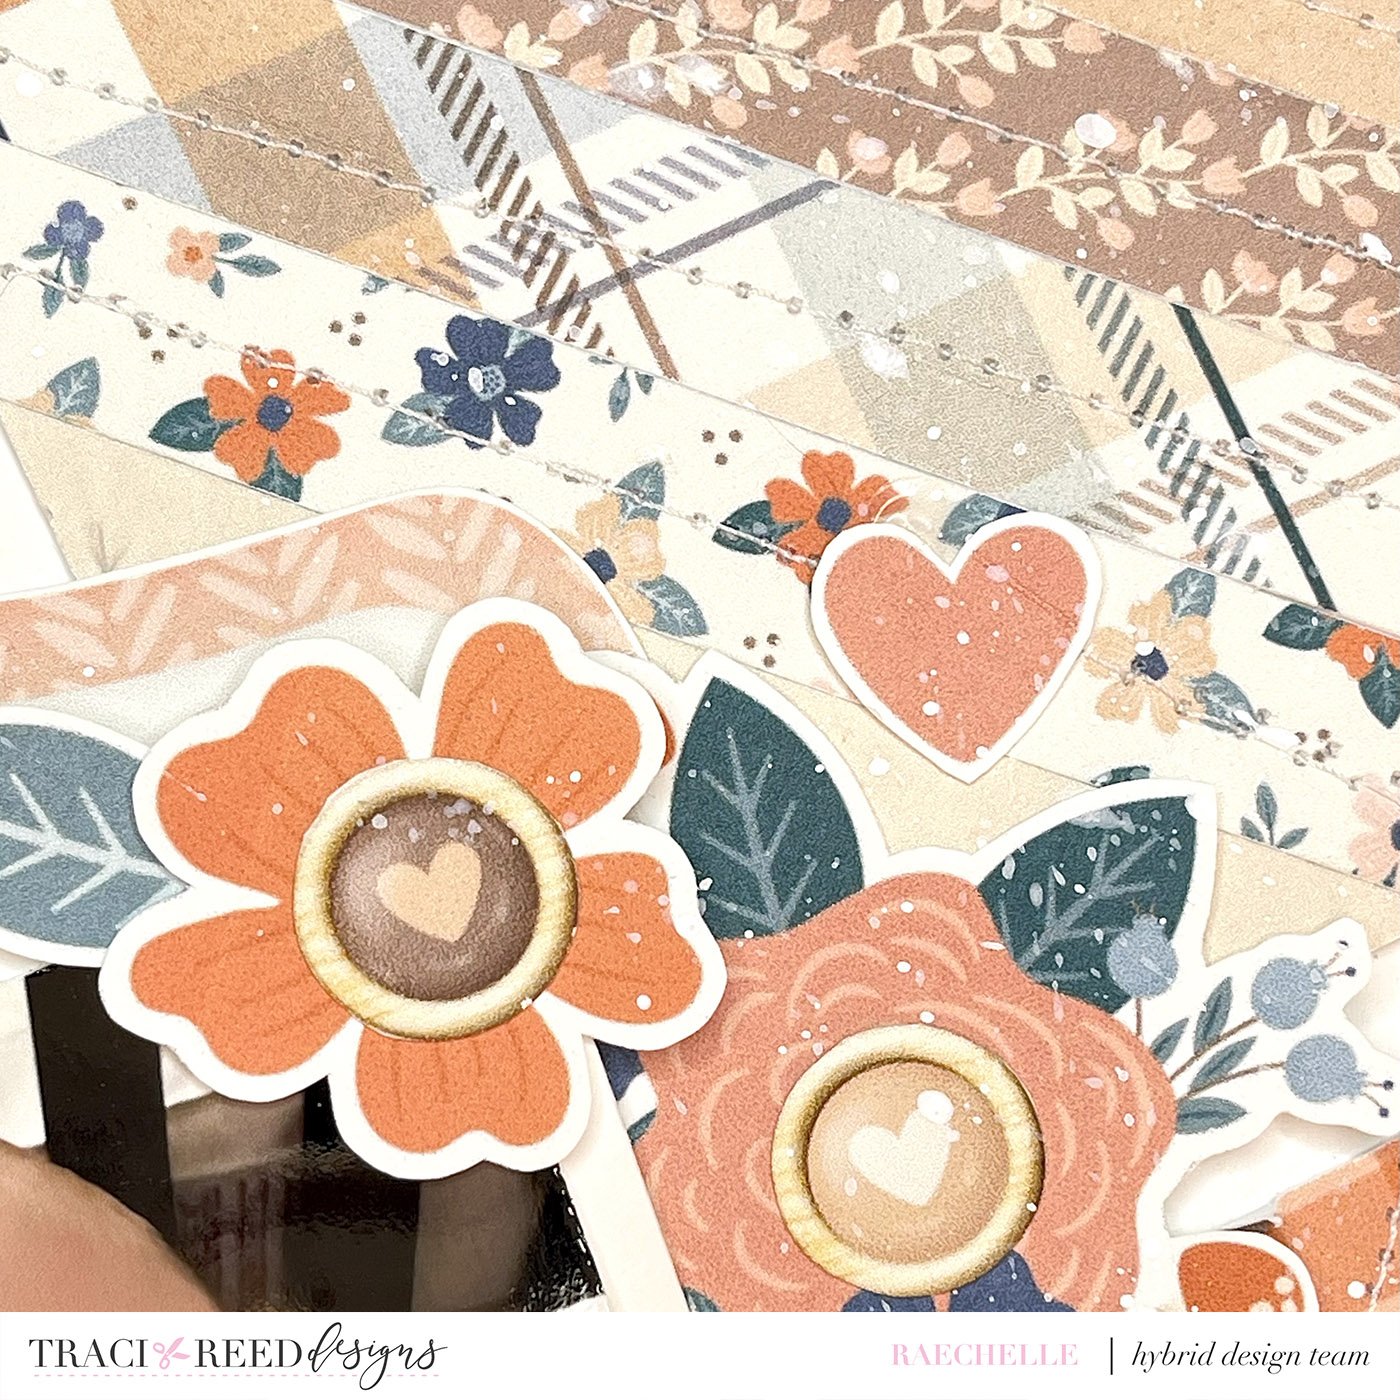
Since I like to make things harder- hahaha- I then proceeded to stitch atop each of the paper strips after I cut the squares. I would suggest doing this prior to trimming, as probably would have been easier.
Then you can adhere each of the squares in a grid style on your cardstock base page. I alternated the direction of each“quilt block” as I laid them out. Once satisfied with your design, you can build your layout from here.

The photos I used are also cut to a cardstock base of 3-1/4” square. I added some foam to the back and adhered them to the page. Having one in black and white and one in color also adds to the sweetness of this page.
I then began to add bits and pieces from the Hygge Season Stickers, layering on and under the photos.
The wooden buttons are from the main digital kit- they look so real and add the effect of dimension without popping them up on foam.
I finished off with a few enamel dots and some white paint splatters to add a bit more depth.
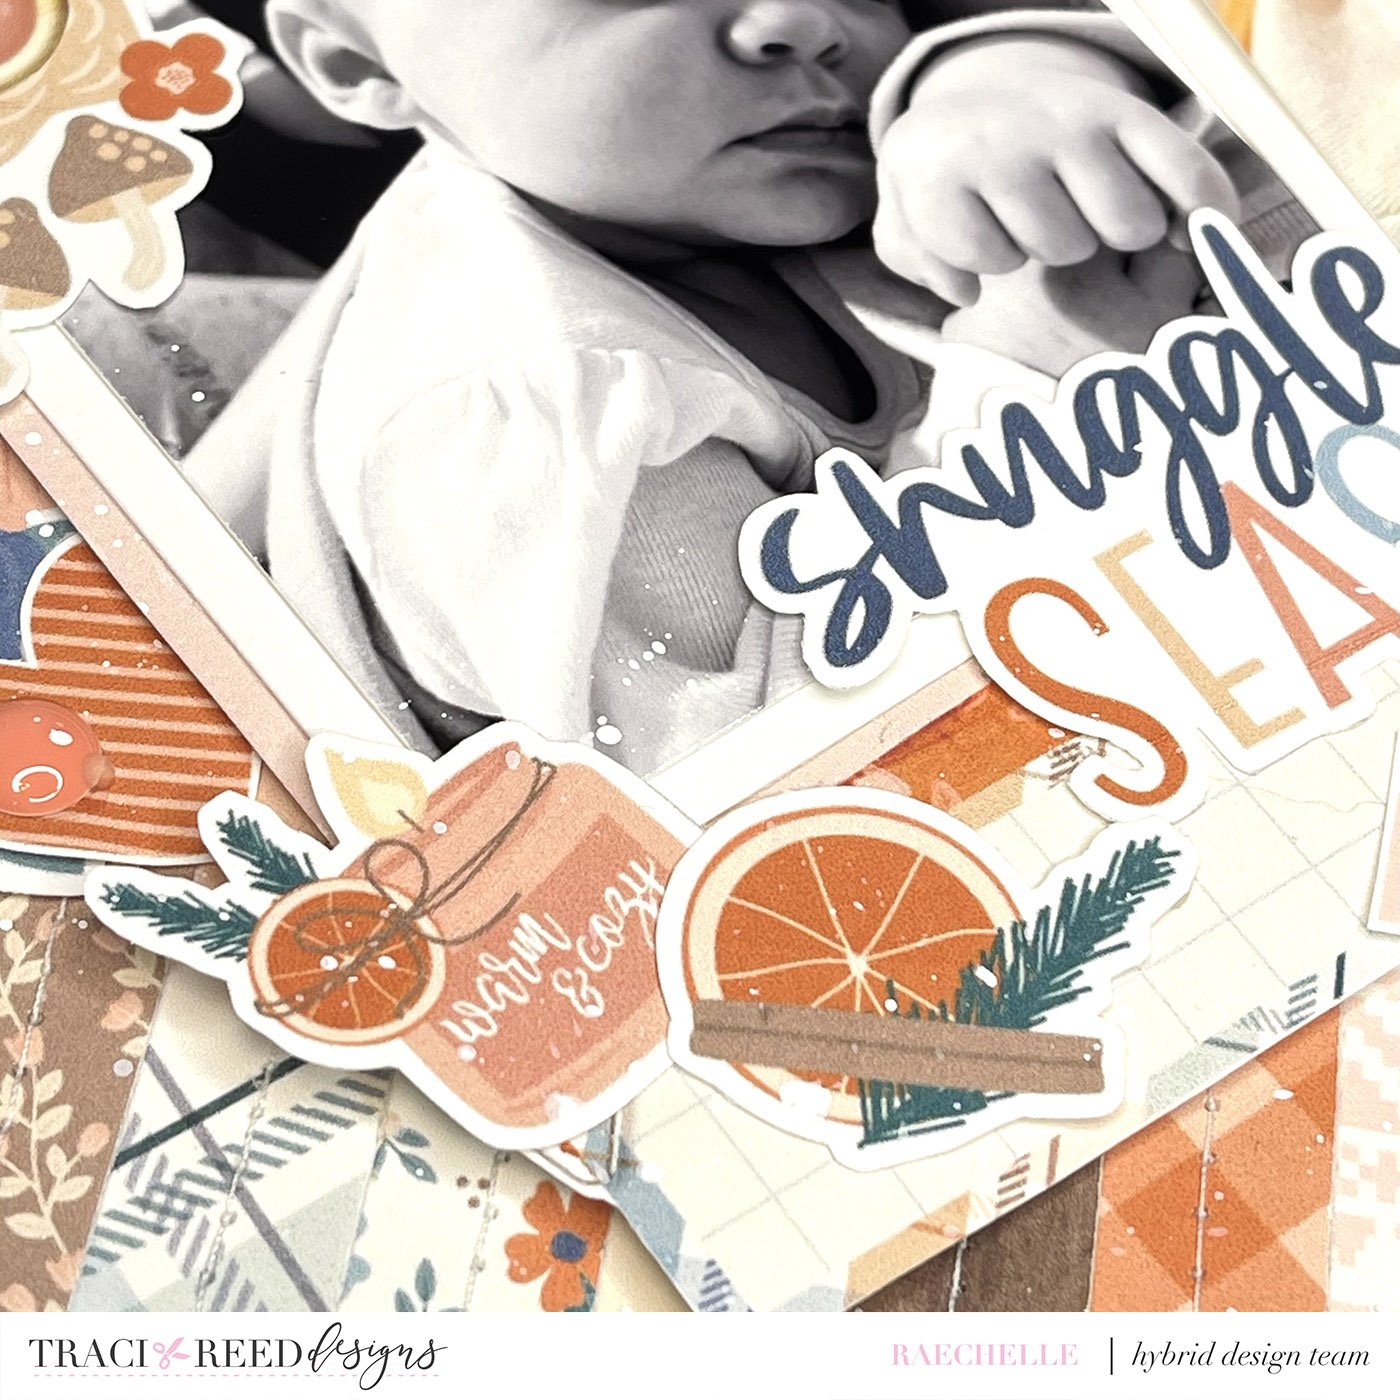
I personally want to snuggle right into this layout! The warm prints and color palette from Hygge Season are soft and soothing and warm. I can smell a fresh orange candle and see it flickering while snuggling under a warm quilt.
Creating a grid is pleasing to the eye and adding paper strips is a great way to add texture and movement to your project. I hope I’ve inspired you to use paper strips to create!
TRD Product Used in this Article:
