Tutorial: Resizing Your Printables in Open Office with Celia!
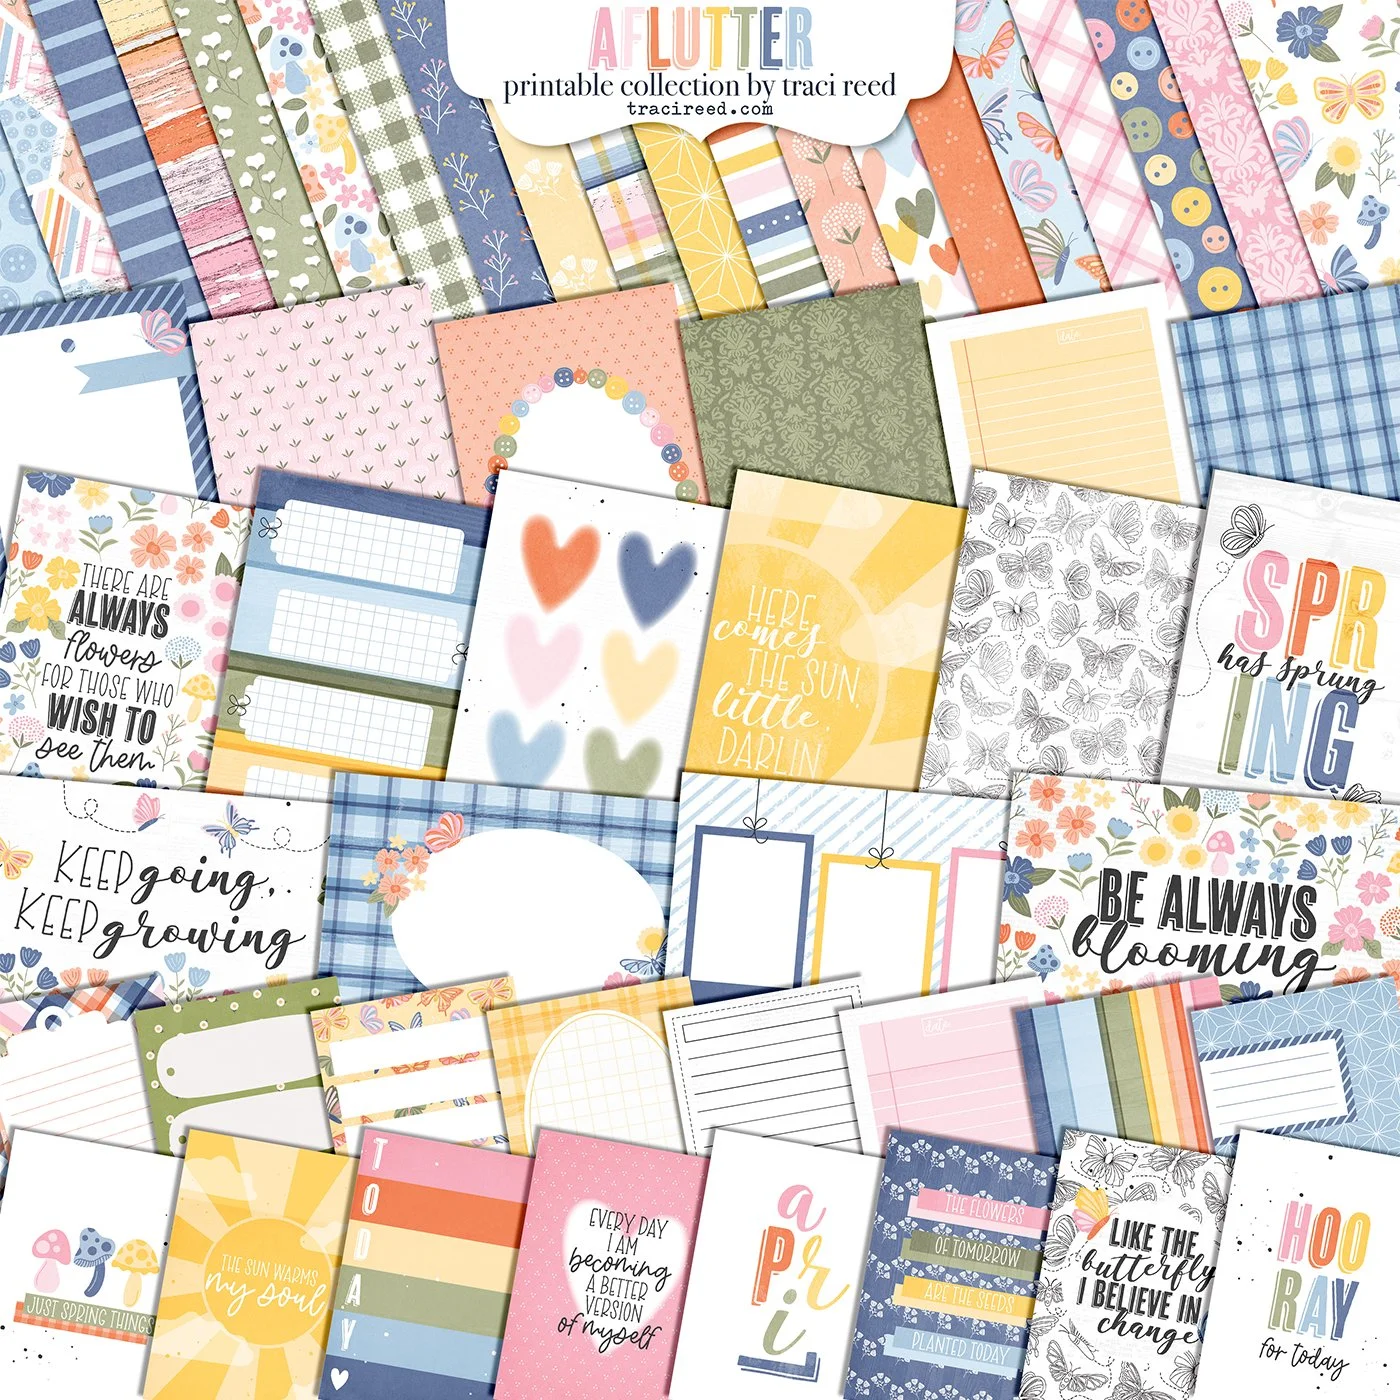
Hey crafty friends! Today I am working with the Aflutter Collection, which is perfect to document some of my butterfly pictures.
I started by printing out the sticker sheets a little bit smaller than normal so they would fit the scale of my page. Next, I grabbed a patterned paper in Open Office to size it from 12x12 to 10.25x10.25. To so so without distorting the pattern I right click on the paper and select position and size.
Next, make sure you've selected "keep ratio" and size your paper to the largest length or width needed.
Now, I need it to be a width of 6.85, so I hit the little scissors icon on the top right to crop the paper. The ruler at the top shows my width, so I slide the blue marks until I am there.
Then, I hit enter to cut the pattern to my perfect size.
I also printed out one of the journaling cards at 2x3 instead of 3x4 to match the scale of my other items, by going to position and size, selecting keep ratio, then changing the width to two.
I distressed my background paper's edges to match its worn wood look and matted it onto craft paper. Then, I used Blueprint Distress Ink Spray and a toilet paper roll to add splatters add circles to my background paper. Next, I grabbed an old stamp from Gossomer Blue to add a little bit more interest to the background and stamped it in random places along my splatters and circles.
I matted my pictures on one of the solid green papers, and inked the edge of my journaling card in Distress Oxide Peeled Paint and Forest Twigs to give them some definition. Then, it was on to layering in my word stickers, labels, flowers and mushrooms around my page.


