Tutorial: Over The Moon Mason Jar Sequin Shaker with Caroline!
Hi everyone,
I’m really excited to be here on Traci’s blog today with a little tutorial on how I created this really cute shaker pocket page to go into my Traveler’s Notebook.
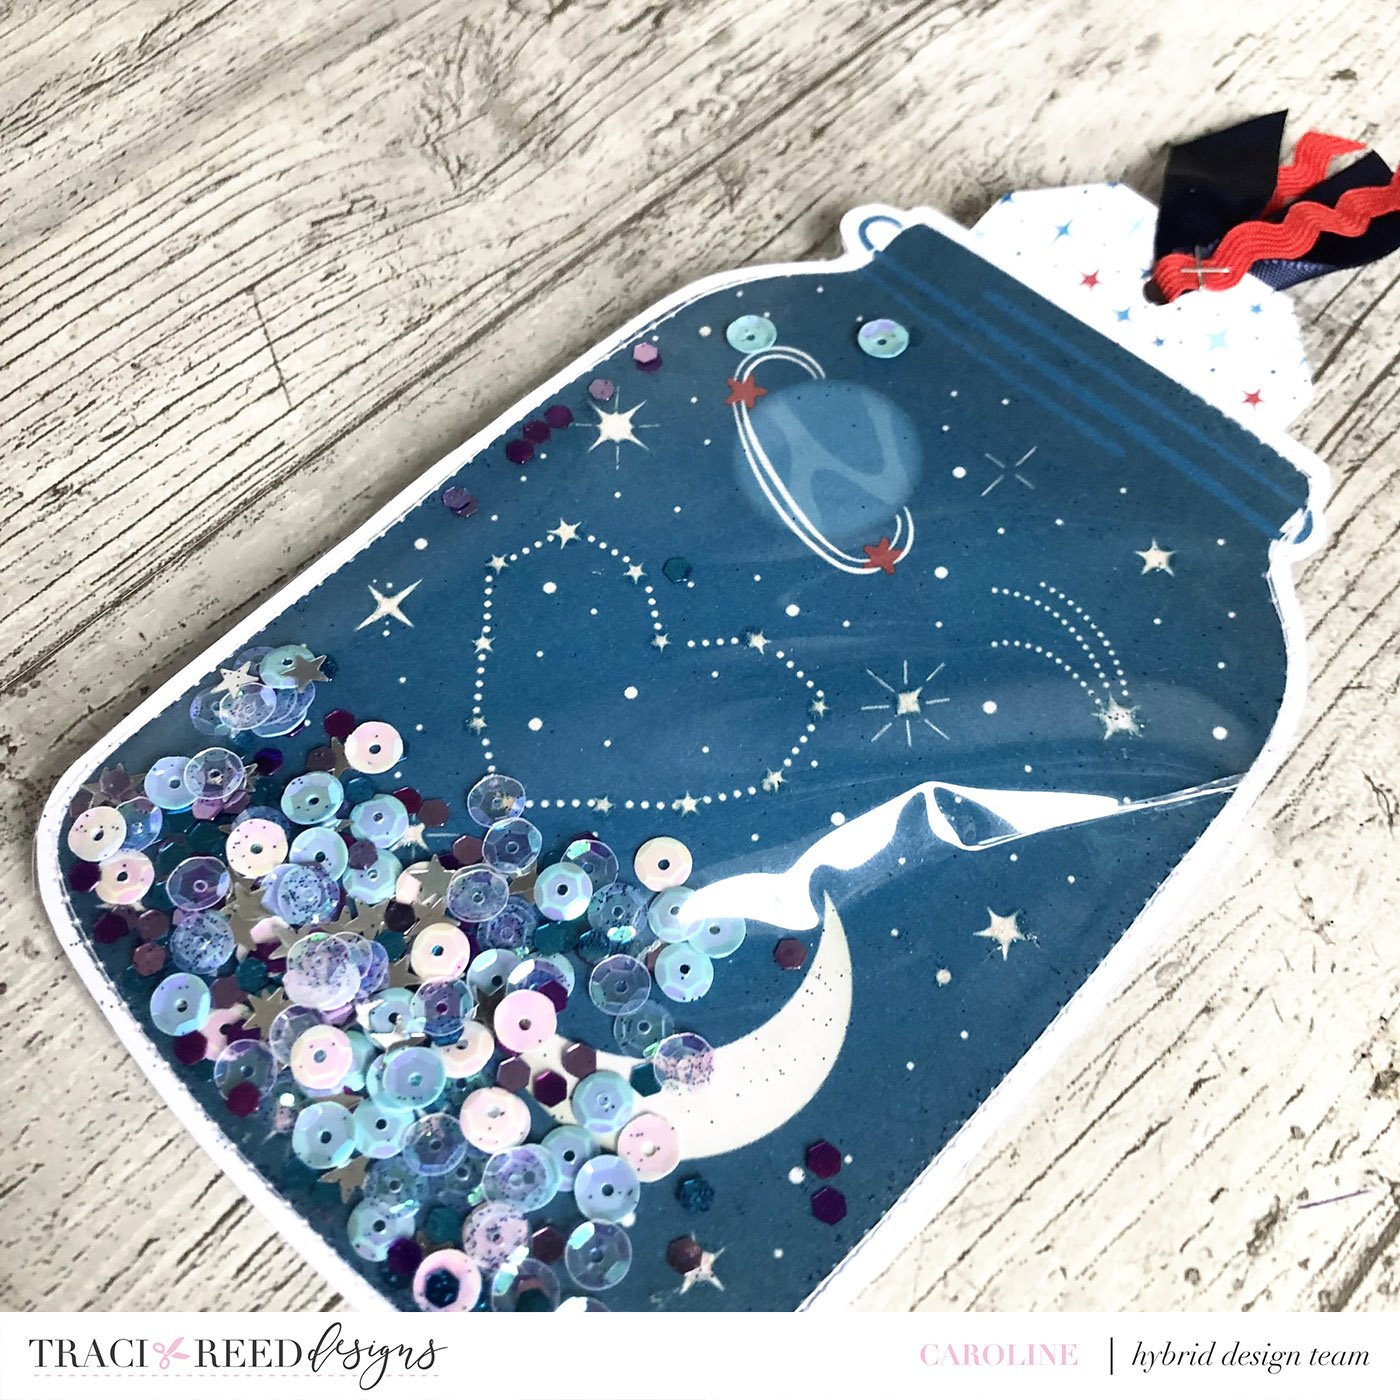
When I first saw the Over The Moon collection I was immediately in love with so many of the die cuts from the sticker pack but the star filled jar just gave me heart eyes!!! I knew immediately that I wanted to enlarge it and create some kind of shaker pocket! Read on to follow my process:
Step 1: Print and Cut
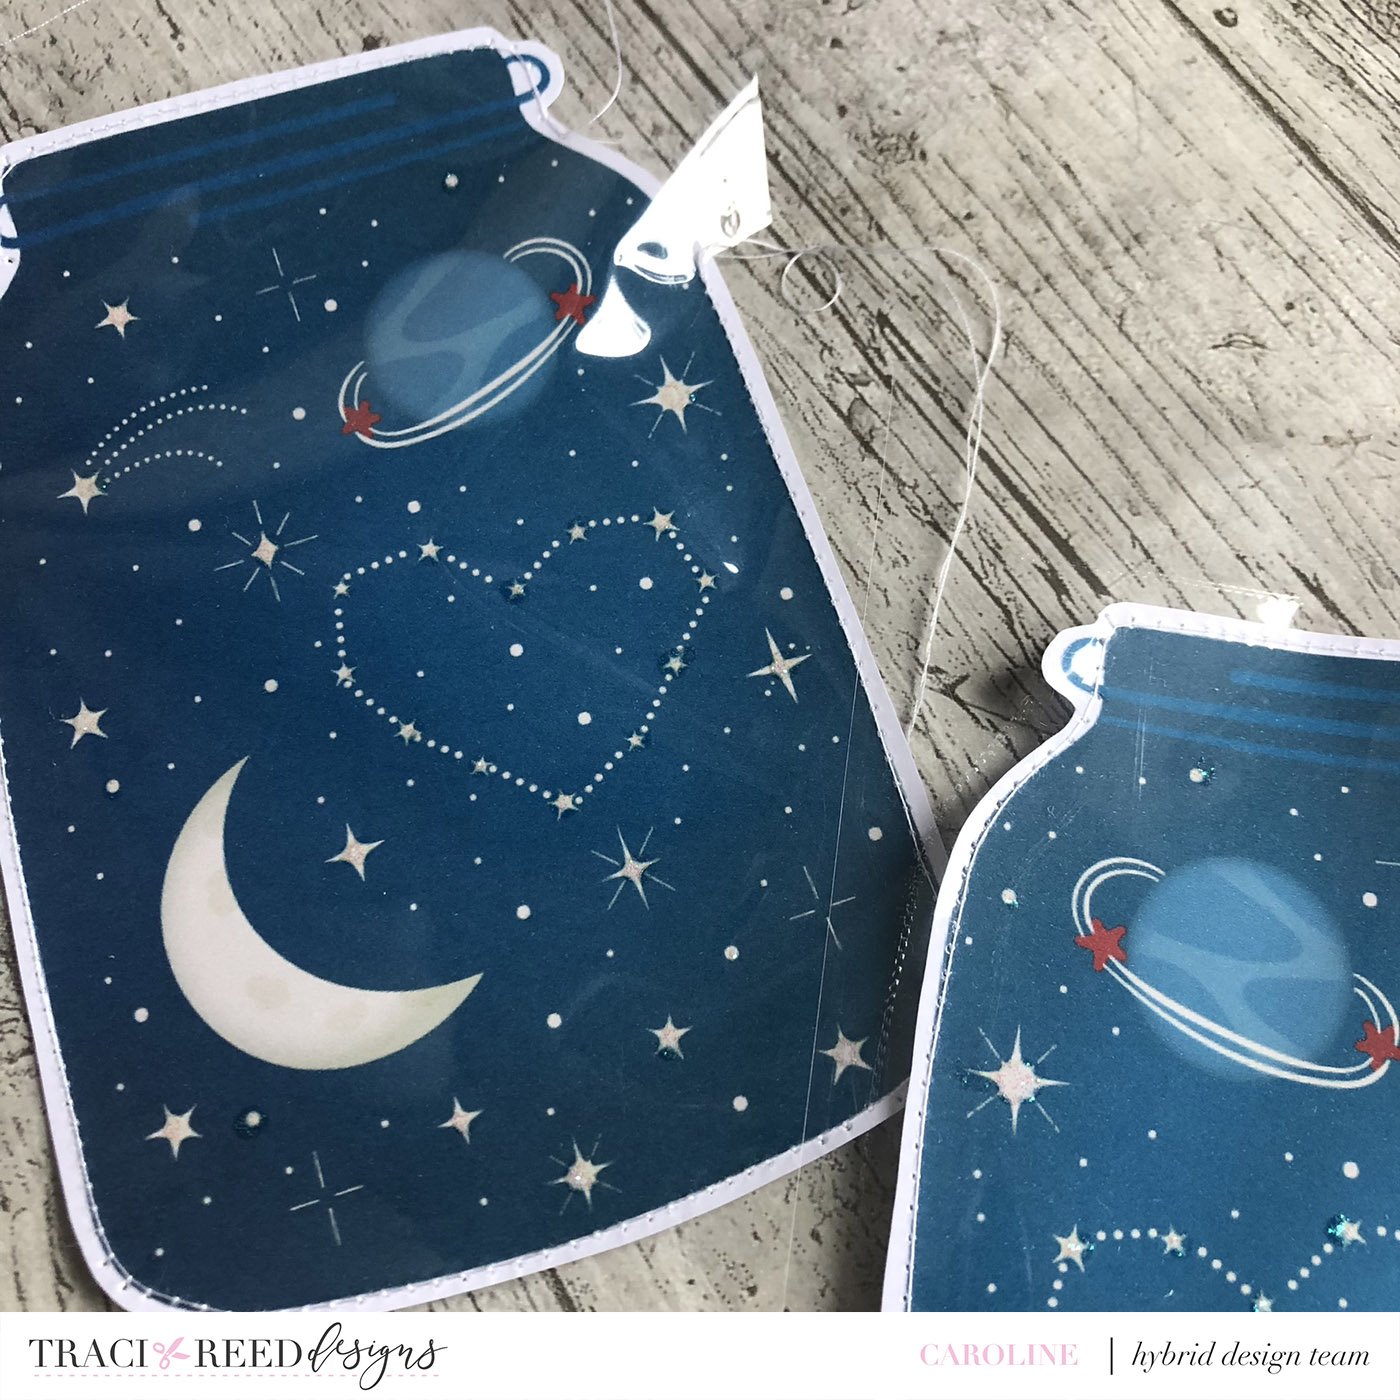
I am working primarily in a disc bound Traveller’s Notebook with Traci’s collections this year and so I decided to format my jar to fit within it. I enlarged the individual sticker icon to be 4.125 inches wide (which auto sized it to around 6 inches high). As I wanted my shaker page to be double sided I opted to flip the image so I had it reversed. That way I knew the two jars would fit perfectly together.

If you want a bigger size, you can simply re-size that individual image file to suit your album/project.
I opted to fussy cut the jars out as they were a simple shape but I could have created this as a print and cut file for my Cricut.
Once they were cut I added some glitter glue dots to some of the smaller and larger star inside the jars and set them aside to dry.
Step 2: Create the Shakers
While the glitter glue was drying I created a coordinating sequin mix with sequins from my stash. I opted for a baby blue, white, holographic, silver stars, navy and lilac bits and a tiny bit of navy glitter.

In hindsight, I wish I had not added in the navy glitter as it really sticks to the interior of the pocket and almost looks a little dirty but I can live with it!
To create the pockets, I cut up a spare page protector so that it was larger than the jar and then headed over to my sewing machine to stitch around the edge, leaving a gap of about 0.75” where I could add my sequin mix.
A thing to note here ... whenever I stitch on my layouts (hand or with a machine) I always intend for it to be messy stitching!! I am not a stitcher, but I am a perfectionist! So the way I get around this is to intend my stitching to be a bit wonky rather than to follow an particular lines. If you prefer to be a bit neater with your stitching then I would recommend leaving a larger white border around the jar so you have more space to stitch and don’t risk stitching into the printed areas.
I split my sequin mix between the two jars and created a small funnel from a scrap of paper. Inserting the narrow end into my gap, I poured the mix in, and then sealed up with more machine stitching.
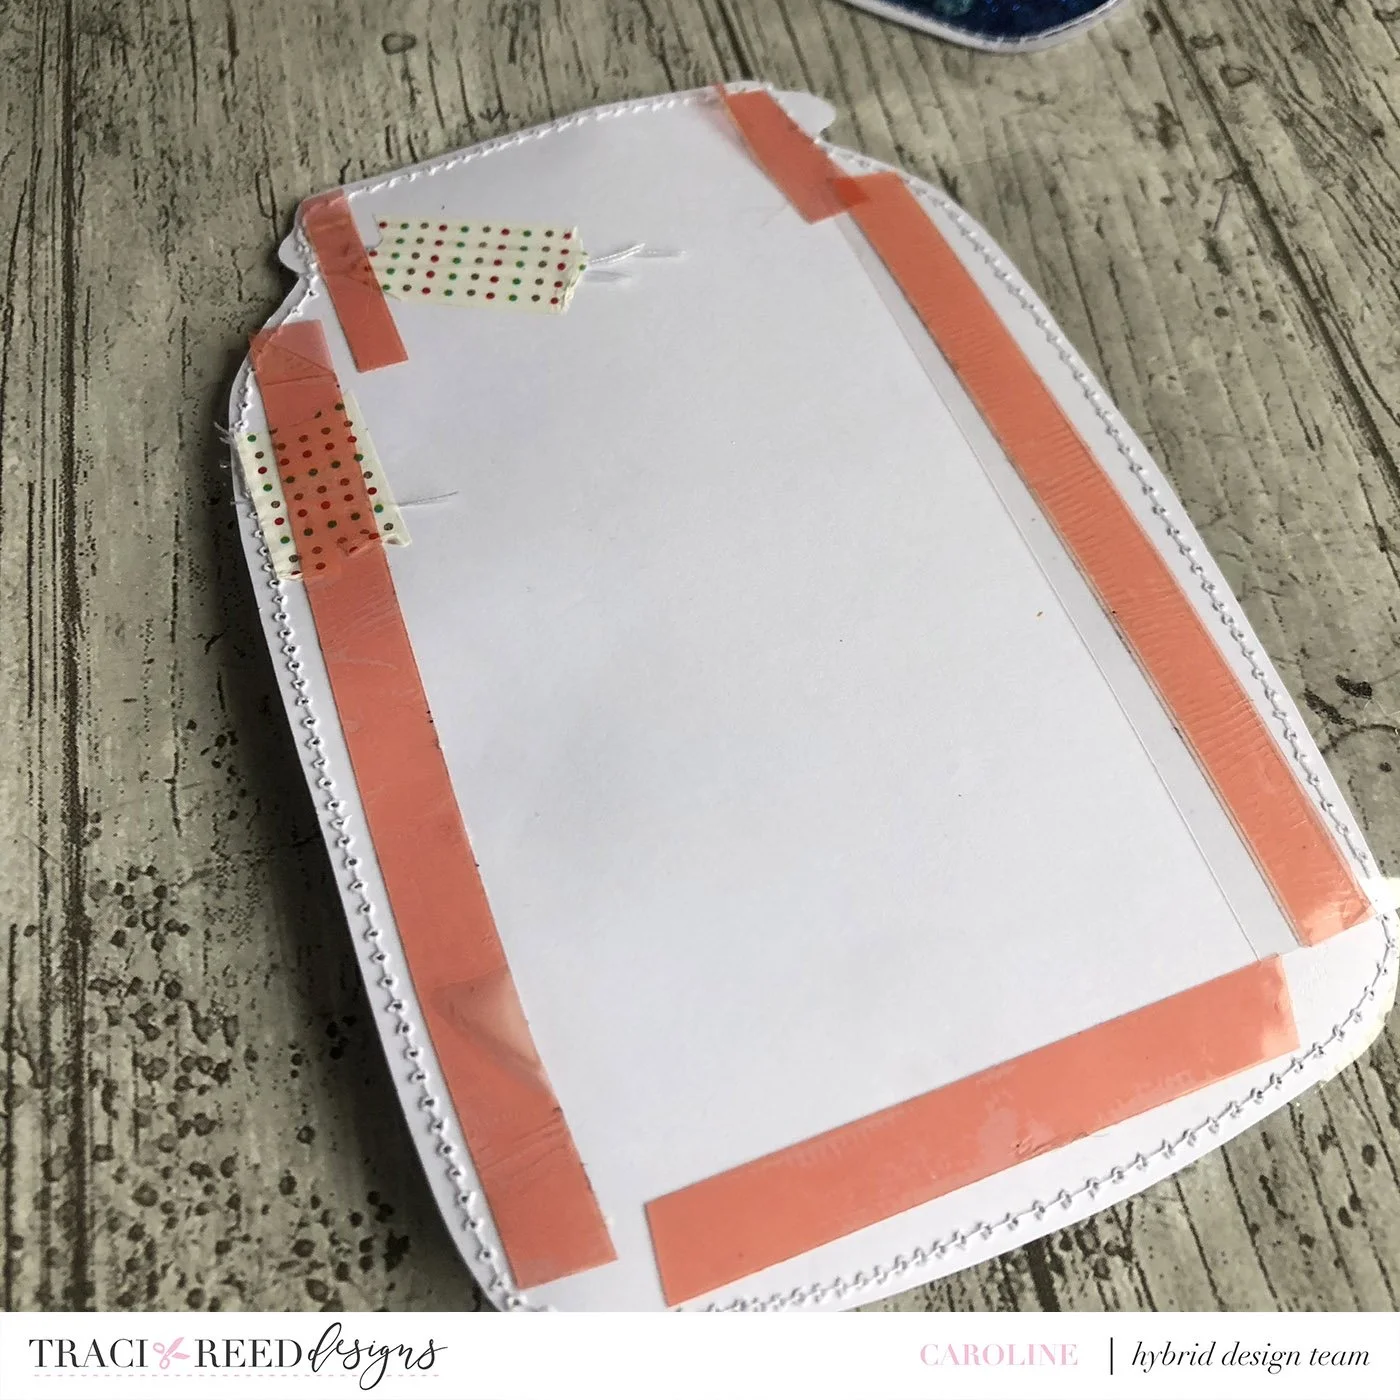
To go with my messy stitching style I typically like to leave the ends of the threads loose but as this pocket page will be interactive I opted to tie them off, trim them, and then secure on the back with tape.

Step 3 - Create the Pocket
Next I needed to create my double sided pocket. As I knew I wanted this in my disc bound Traveller’s Notebook I also knew I needed to include a way of fitting this into there. I opted to cut a piece of spare transparency to fit down the side of the jar. I punched the holes for the album first and then adhered this to the inside of one of the jars, trimming off any excess. I prefer to do this with transparency rather than patterned paper or card so that the eye isn’t drawn to it and stays focused on the insert.
Once I had that in place I use more red line tape on three sides of the jar - leaving the top of the jar without adhesive so it would be the pocket.
I then double checked the size of the gap I had at the mouth of the jar - between the adhesive - so I knew what maximum width my inserts could be. For me that was just over 2”. If you want to include wider inserts, simply size up your jars.
It was then simply a case of adhering the two jars together and making sure the adhesive stuck well. As I had mirrored the second printed image the two fit together pretty perfectly but I went around a neatened up any areas where the page protector film or white card showed too much.
Step 4 - Create the Insert
I opted to use one of the star patterned papers for my insert. Trimming it to 2” wide and then cutting it to fit to that I had a small bit of the pattern peeking out of the top of my jar to cut into a tag shape. I decorated both sides of the tag by adding an additional die cut from the sticker pack. I also added some coordinating ribbons for added texture and interest (and to help pull the insert out of the pocket).

I have plenty of space to add more tags into this pocket once if I need to add more photos or journaling to this interactive page. If you want to add even more photos and journaling then a great tip is to use foam tape (rather than red line tape) to the 3 sides of your pocket. That way your pocket will hold more - the flip side of this is that the page will be much bulkier in your album.
Step 5 - Capture Your Memories in the Jar
This jar looks absolutely wonderful in my Traveller’s Notebook and I love the way it seems to float in the binding because of the transparent spine.

I had planned for this to be a standalone page with photos and journaling on the tag insert but now that it is sitting within the album I really want to use this as an insert to a bigger story using the “Over the Moon” collection.
So I am planning to create a double page spread using the Traveller’s Notebook signatures from the collection and then insert this jar in the middle to hold some additional photos and some more private journaling.

I hope I have inspired you to give this really fun page design a try. If you’d like to see a really sped up version of this coming together then head over to Instagram where you’ll find a reel on my page!
Thanks for following along and now go capture those memories in this cute jar!
TRD Products Used in This Post:
