Ho Ho Hoop! Crafting Charming Christmas Decor with Oh What Fun!
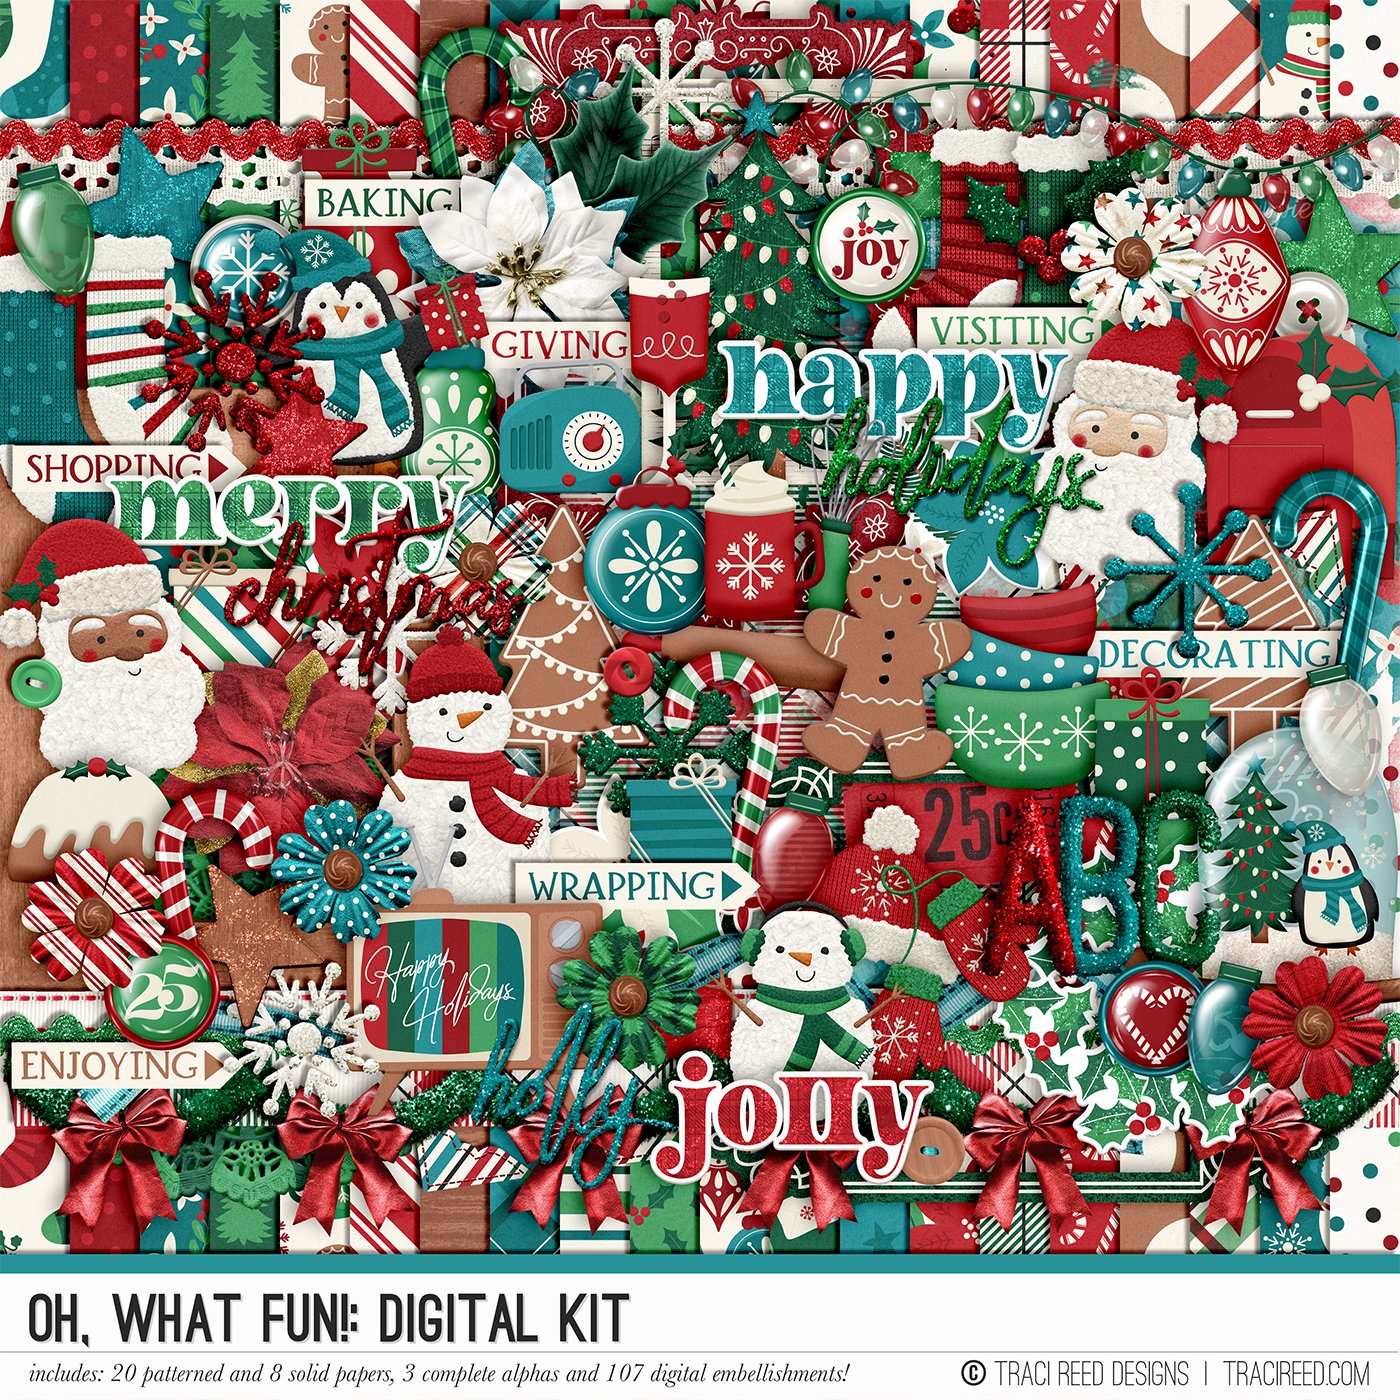
The holiday season is here, and what better way to add a personal touch to your Christmas decor than by creating a festive decoration using the Oh What Fun collection and an embroidery hoop? If you're looking for an easy way to create a unique decoration this Christmas, this DIY project is perfect for you! All you need is a Christmas-themed scrapbooking collection, an embroidery hoop, and a bit of imagination.
Supplies You'll Need:
Embroidery hoop (any size you like)
The Oh What Fun scrapbook collection
Wet Glue, Hot Glue, double-sided tape or combination of the three
Scissors/Trimmer
Ribbon or twine for hanging
Embellishments (optional: trim, sequins, enamel dots.)
Step 1: Select the pattern paper(s) you want to back your hoop
Start by choosing a background pattern from the Oh What Fun collection. The beauty of using a digital collection is you can use any of the papers or signature pages that you choose or mix and match as you like.
Step 2: Cut Your Paper to Fit the Hoop
For my hoop I am adding pattern paper to the back. To do this I simply placed my hoop over my paper and traced. I then cut just inside of the line and glued the paper to the back of the hoop.
Step 3: Add Some Texture with Ribbons or Twine
To give your hoop some extra character, consider adding a ribbon or trim to the outer edge of the embroidery hoop. I added white pom pom trim around the hoop and then some classics read and white ribbon to the tip of the hoop which I can use to hand the hoop if needed.
Step 4: Decorate with Scrapbooking Elements
Now comes the fun part using the ephemera from the Oh What fun collection you can decorate the hoop. You can choose to add ephemera to the pattern paper or the hoop itself. With the pattern paper on the back, you have the feeling of a shadow box allowing you to create dimension and shadow depending on how you layer your embellishments. For my hoop I keep it simple and choose to add florals, presents and snowflakes all layered up. I layered the presents and florals on the hoop itself and popped up the snowflakes with some foam tap on the pattern paper. The overall effect adds some fun depth and dimension to my hoop.
Step 5: Add some sparkle and shine
Adding some sparkle to your project adds additional texture and dimension to your project. You can choose to add sequins, enamel dots, stickles or even nuvo drops. For my project I added nuvo drops for that last finishing touch.
Once you’ve finished assembling your Christmas hoop, hang or place it in a spot where it can shine! If you would like to see the process video of this project you can check out the link below. We can’t wait to see what you create with the Oh What Fun collection so be sure to tag us so we can see your creations. Merry Christmas everyone!


