Layer Like a Pro with Tara
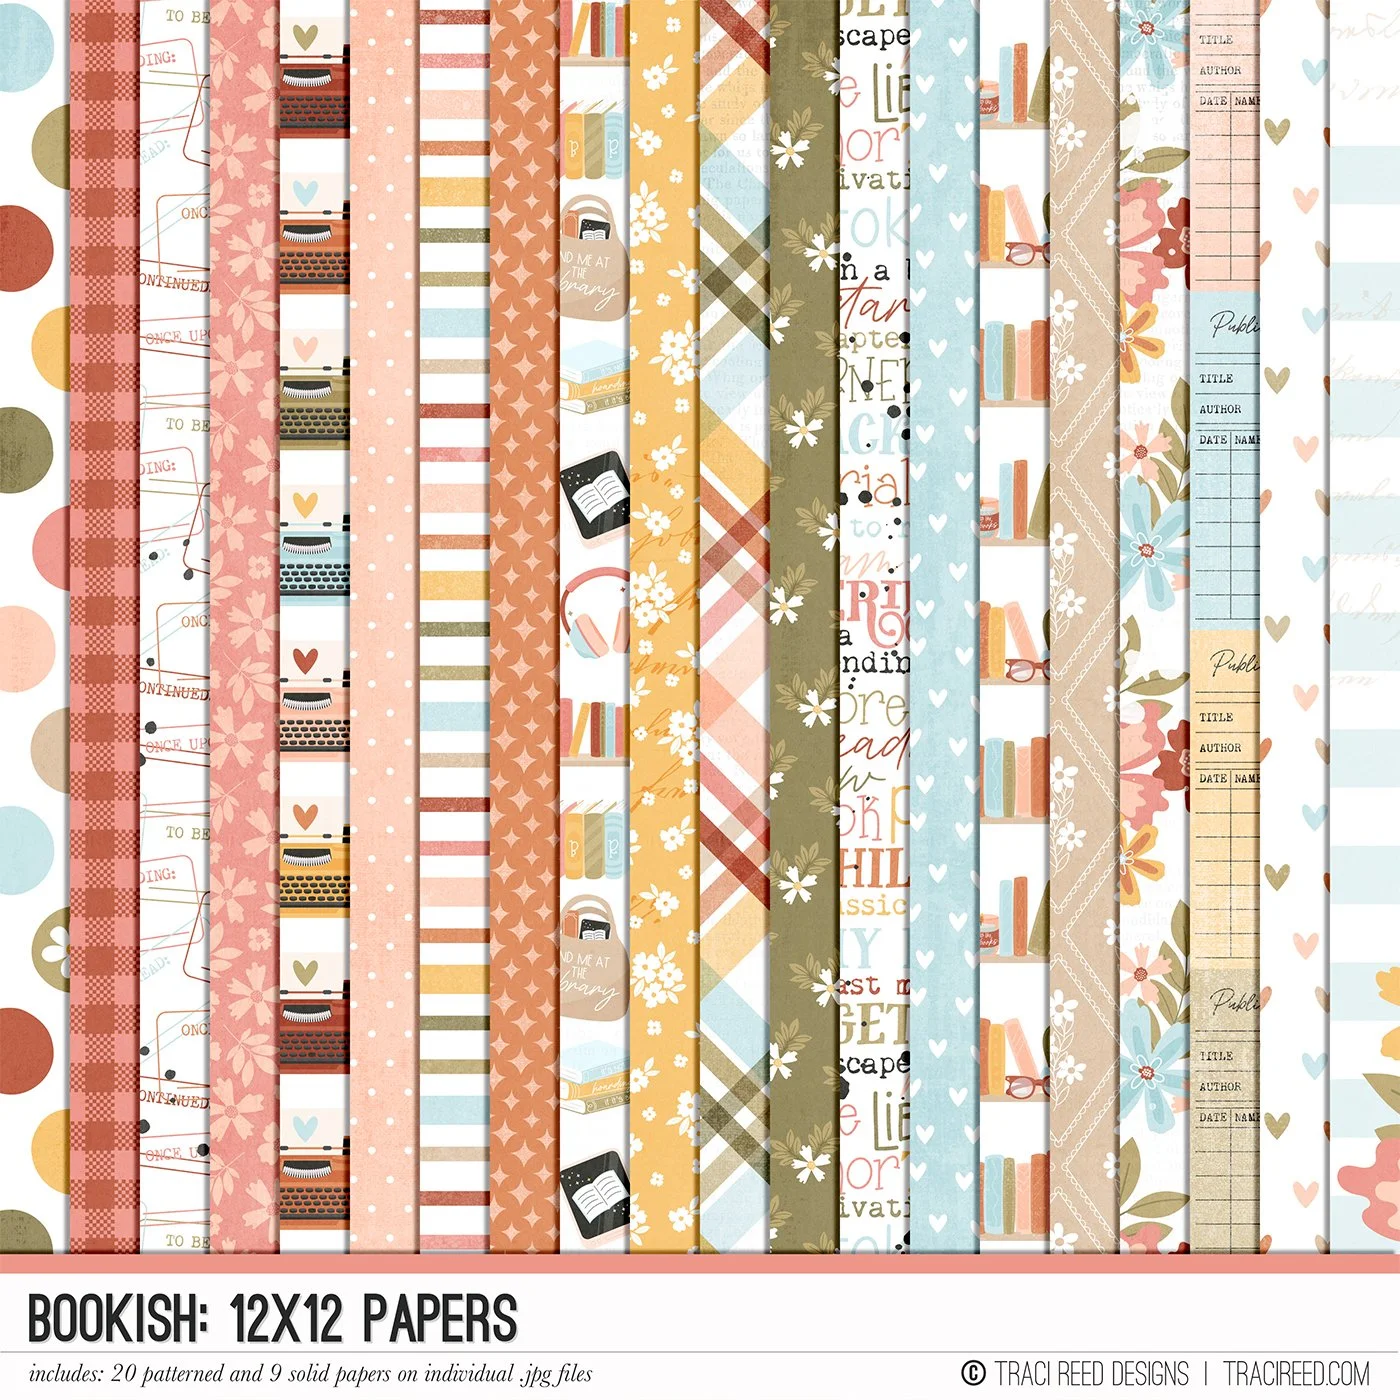
For this layout, I knew I wanted to create layers so I could tuck elements underneath a large, circular frame. To accomplish this I did use my Silhouette Cameo and the Silhouette Studio to center a 7.667” circle on the gorgeous ledger paper.
If you don’t own a Cameo, you could go old school and measure the direct center of the 12x12 paper with your ruler, place a pencil mark at the very center. Then, grab a plate from your cabinet and trace lightly around the plate. Poke a hole at the pencil mark and cut out with your scissors.
My next step was to adhere the 12x12 ledger paper onto my background paper. I chose the beautiful paper with the books on it for the background. I used fun foam behind the ledger paper to create some texture and depth for my frame. This allowed me to tuck my photo behind the ledger paper.
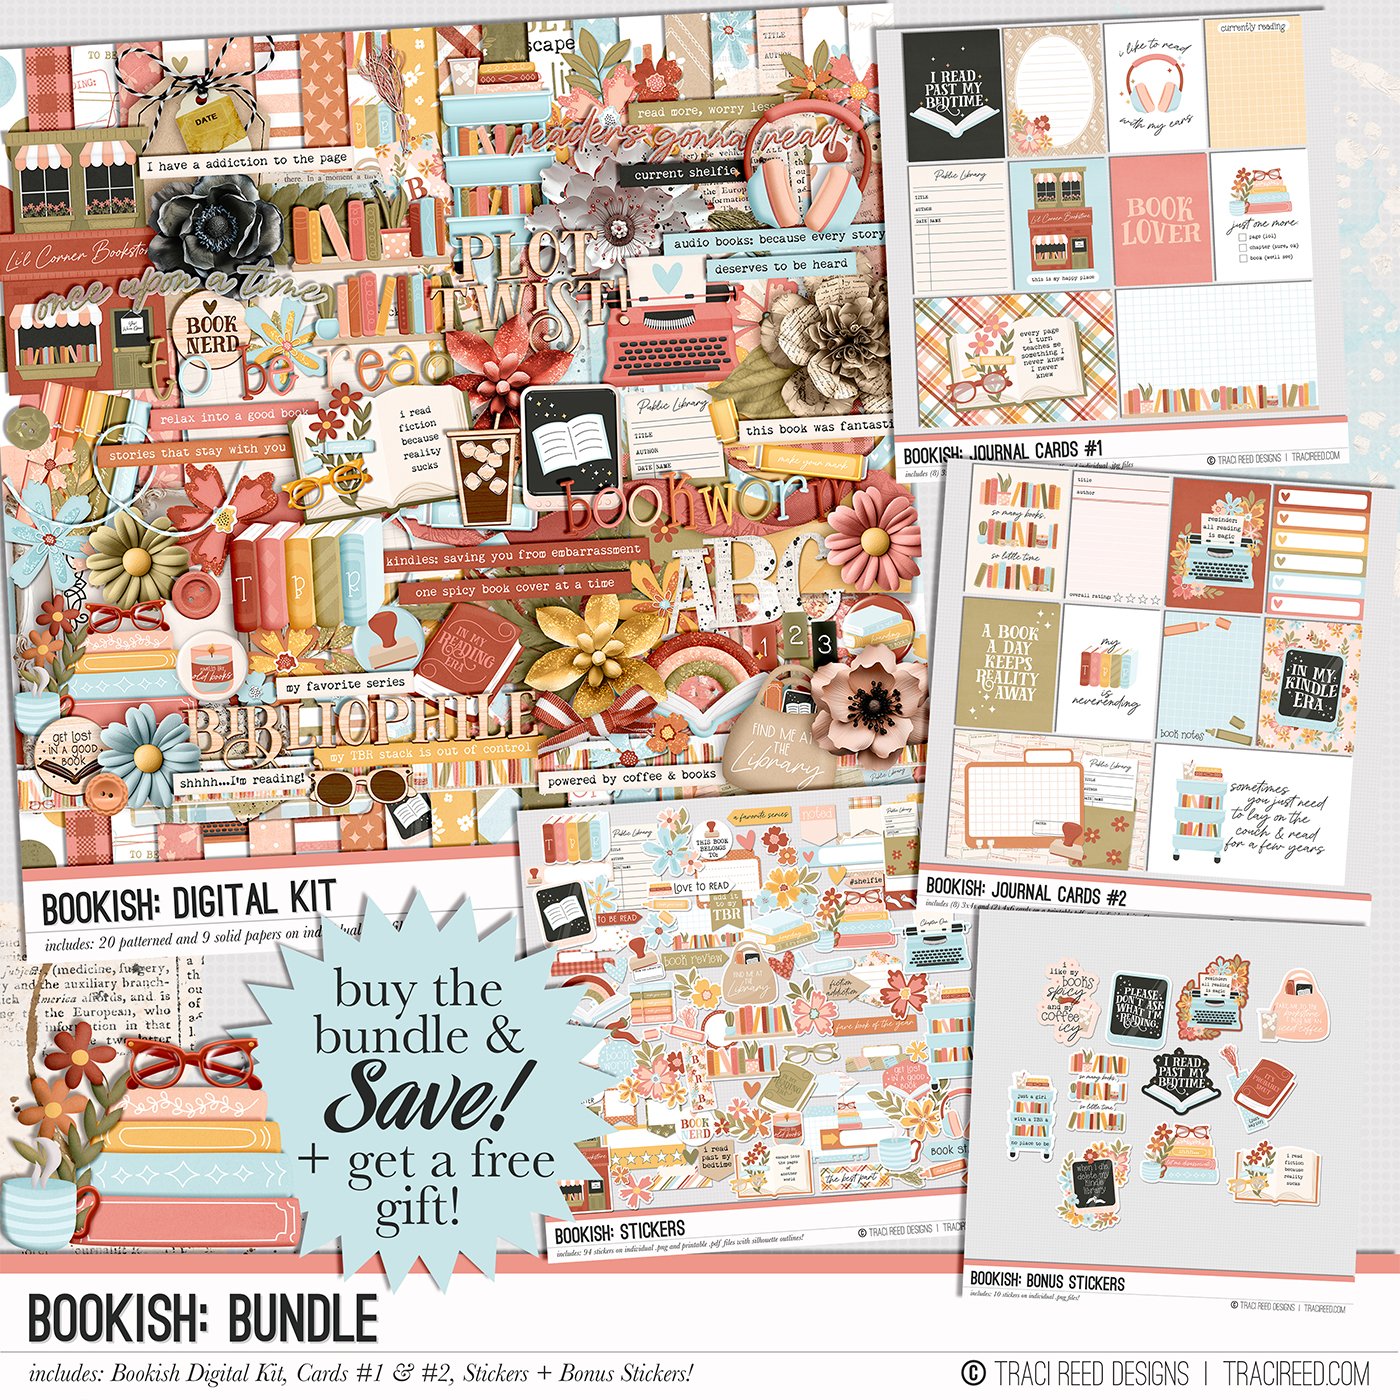
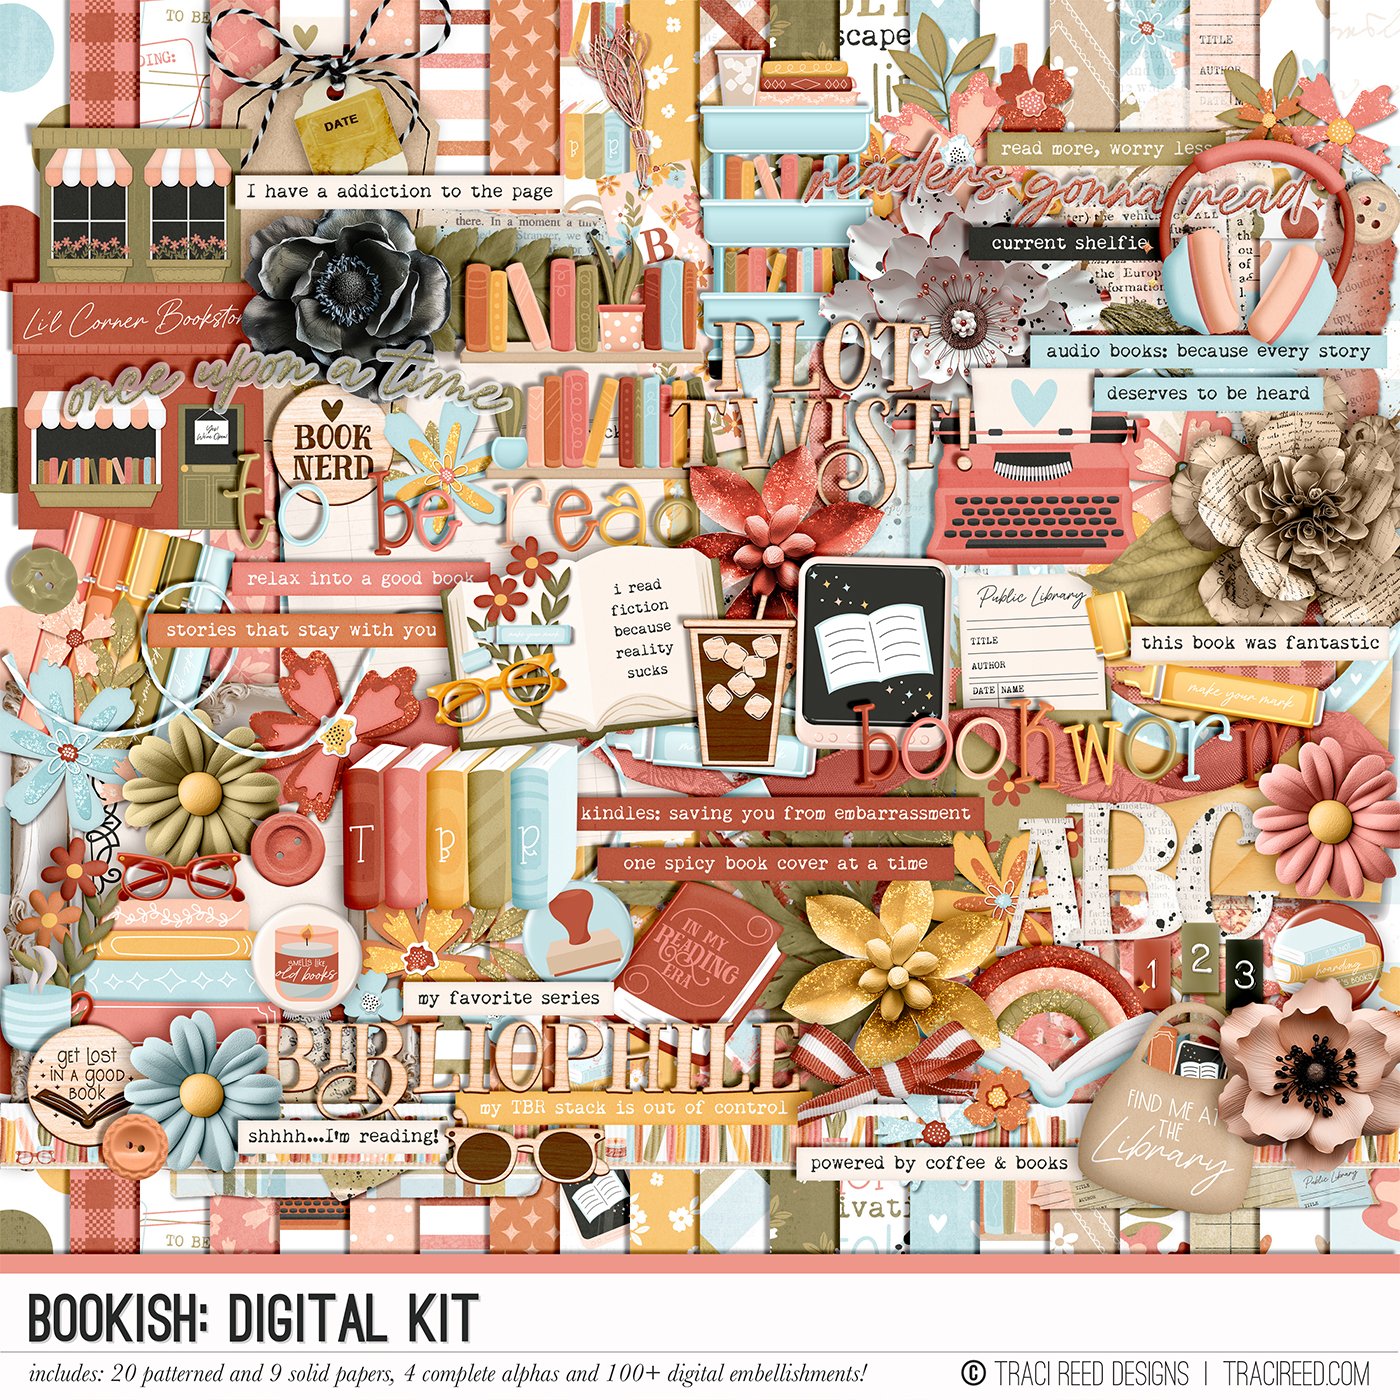
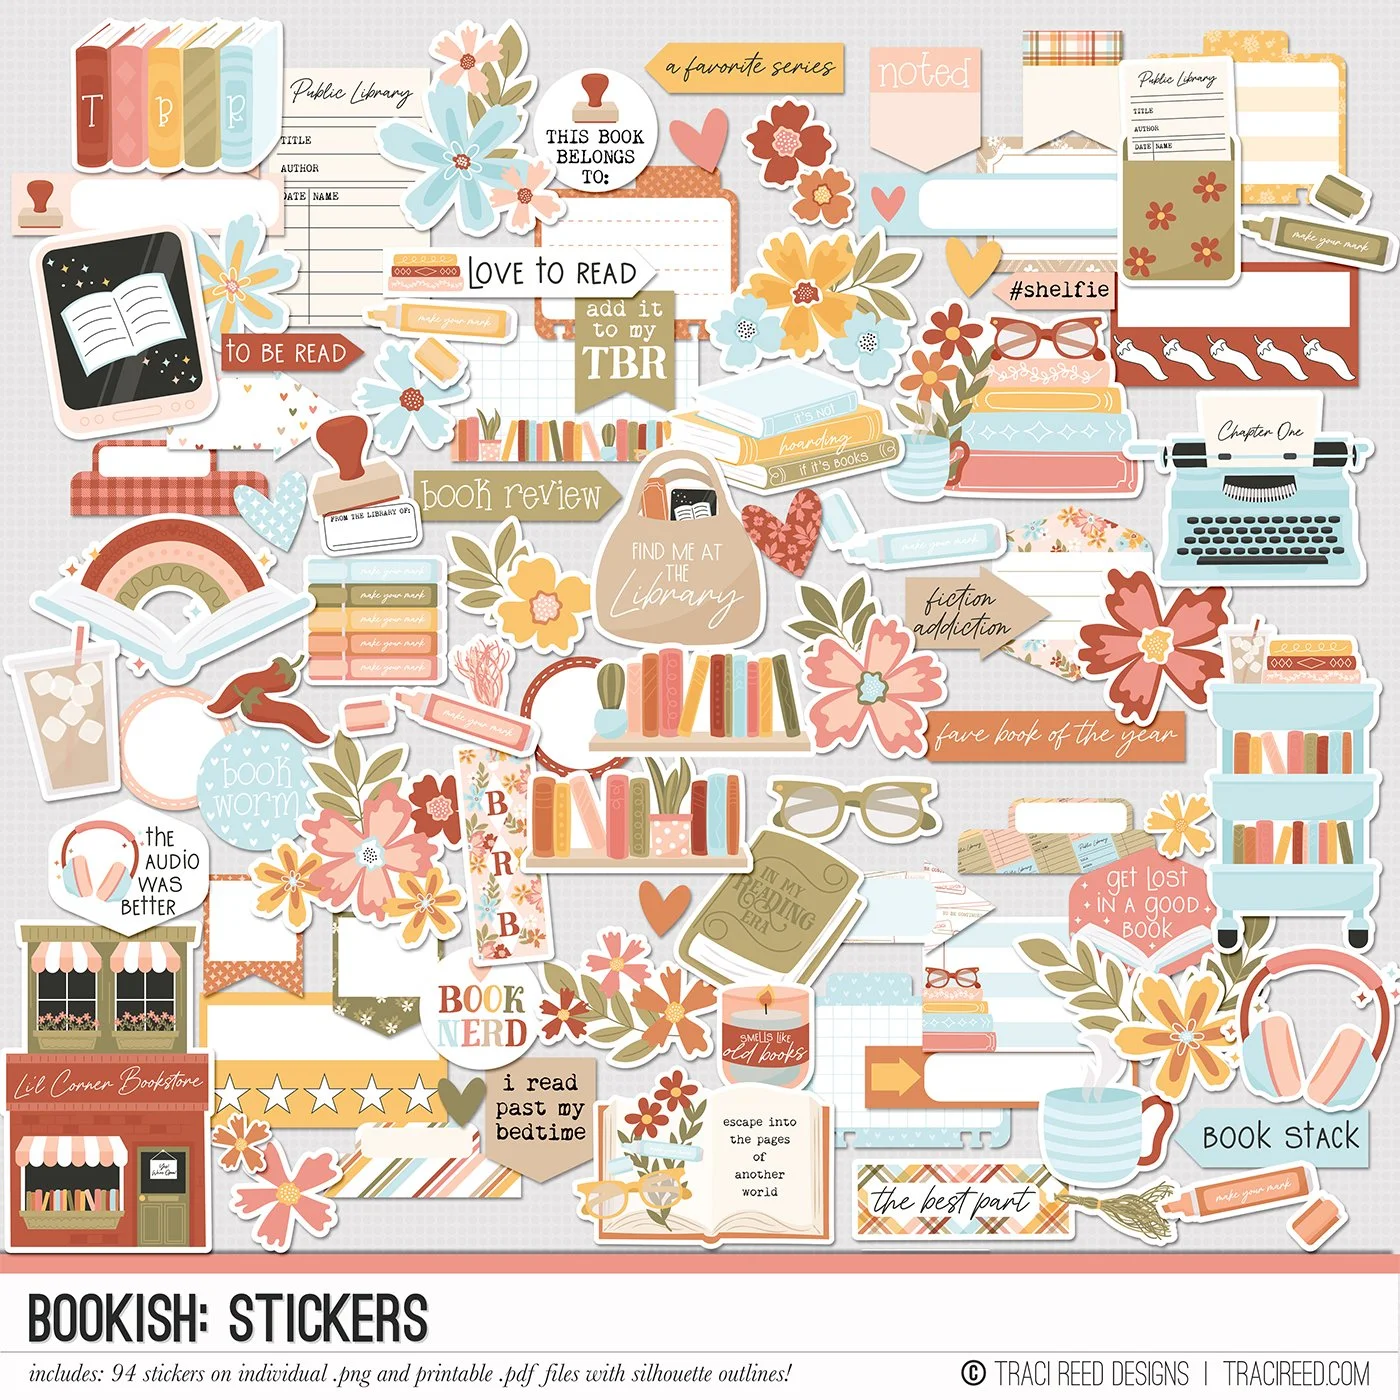
My next step was to start adding the stickers to the ledger paper. As a hybrid scrapbooker, I used my printer and the Print & Cut function on my Silhouette Studio software to cut out all of the stickers in this collection. I have three printers in my scrapbooking room. I use a Canon TS9521C to print all of my papers in 12x12 on 110lb smooth cardstock. I use my HP Envy 7855 to print the stickers and anything smaller than 12x12. My third printer is my Epson PM-400 and I used it to print “My Year In Books” from my GoodReads account.
My goal was to build upon the floral clusters already on the ledger paper, so I pulled different sized floral elements from the stickers and embellishments. I layered them on top of the clusters and used foam adhesive to add that depth that I love so much on my layouts. I also added the Book Nerd sticker in my top right cluster and created my cluster to frame my circle. This is to help draw your eye to the photo that I tucked underneath the circle.
To finish off my layout I added one of the post-it note stickers to the left of my photo. This acts as an anchoring point for the title and the cluster that I built around my title. I have an e-reader sticker and a book sticker hanging off the edge of my circle. To make sure that those two items would be level, I placed fun foam underneath. On the book, I added the banner sticker that has the quote, “I read past my bedtime” on the blank page.
You will also notice that I created a visual triangle with the color black on my layout. This helps the black text and icons to not overwhelm your eyes as you look at my layout.
I printed the black alphas and used my Cameo to cut those out but you can totally cut those easily by hand. I did enlarge them and used foam tape to line them up on my layout. I added a stack of books and some more flowers to the lower right of my circle and completed that cluster with one of the phrases from the collection.
Normally, I am a stickler for adding journaling to a layout, but with this layout, the photo itself tells the story. The photo I printed from my GoodReads account gives you the date and how many books I completed for 2023.
If you’d like to see how this all came together, you can watch the process video below!


