Think Outside The 12x12: Scrapbooking 12x12 Layouts with 8.5x11 (or smaller!) Printables: Lesson Three!
No 12x12 Printer? No Problem! In our “Think Outside the 12x12” series, we’re showing you how to scrap 12x12 layouts with TRD printables, even if you don’t have a 12x12 printer!
When it comes to scrapbooking, using smaller pieces of paper can present a creative challenge, and one bar to printables I often see presented by my customers. But fear not! In this blog series, we'll explore an techniques for using non-12x12 papers on your 12x12 layouts that still have that POP that you want for your large layouts!
Lesson Three: Mixed Media as a Background - Both Digital and IRL!
In this blog post, we'll explore a fantastic technique that combines digital mixed media and traditional scrapbooking elements. Instead of using patterned paper as the base for your 12x12 layout, we'll delve into the world of digital mixed media printed on 8.5x11 clear sticker paper. This method allows you to create stunning, layered designs with ease. Get ready to add a touch of mixed media magic to your layouts!
I know the thought of mixed media used to daunt me. As a designer and digital scrapbooker (only) for 12 years, I am used to perfection, so the thought of just letting go and playing with ink and stencils and texture paste was daunting! Luckily, there’s a solution! Nearly all my digital kits include pre-designed mixed media that you can use on your paper pages! If you want to get crazy and add physical mixed media on top of the digital, go on with your bad self!
Begin by selecting a digital mixed media piece from the kit that resonates with your style and desired theme. My kits typically contain a variety of textures, patterns, and artistic elements. You have the option to print the mixed media designs as they are or layer them using software like Photoshop or Canva to create a custom composition. Experiment with different arrangements until you achieve a layout that suits your vision.
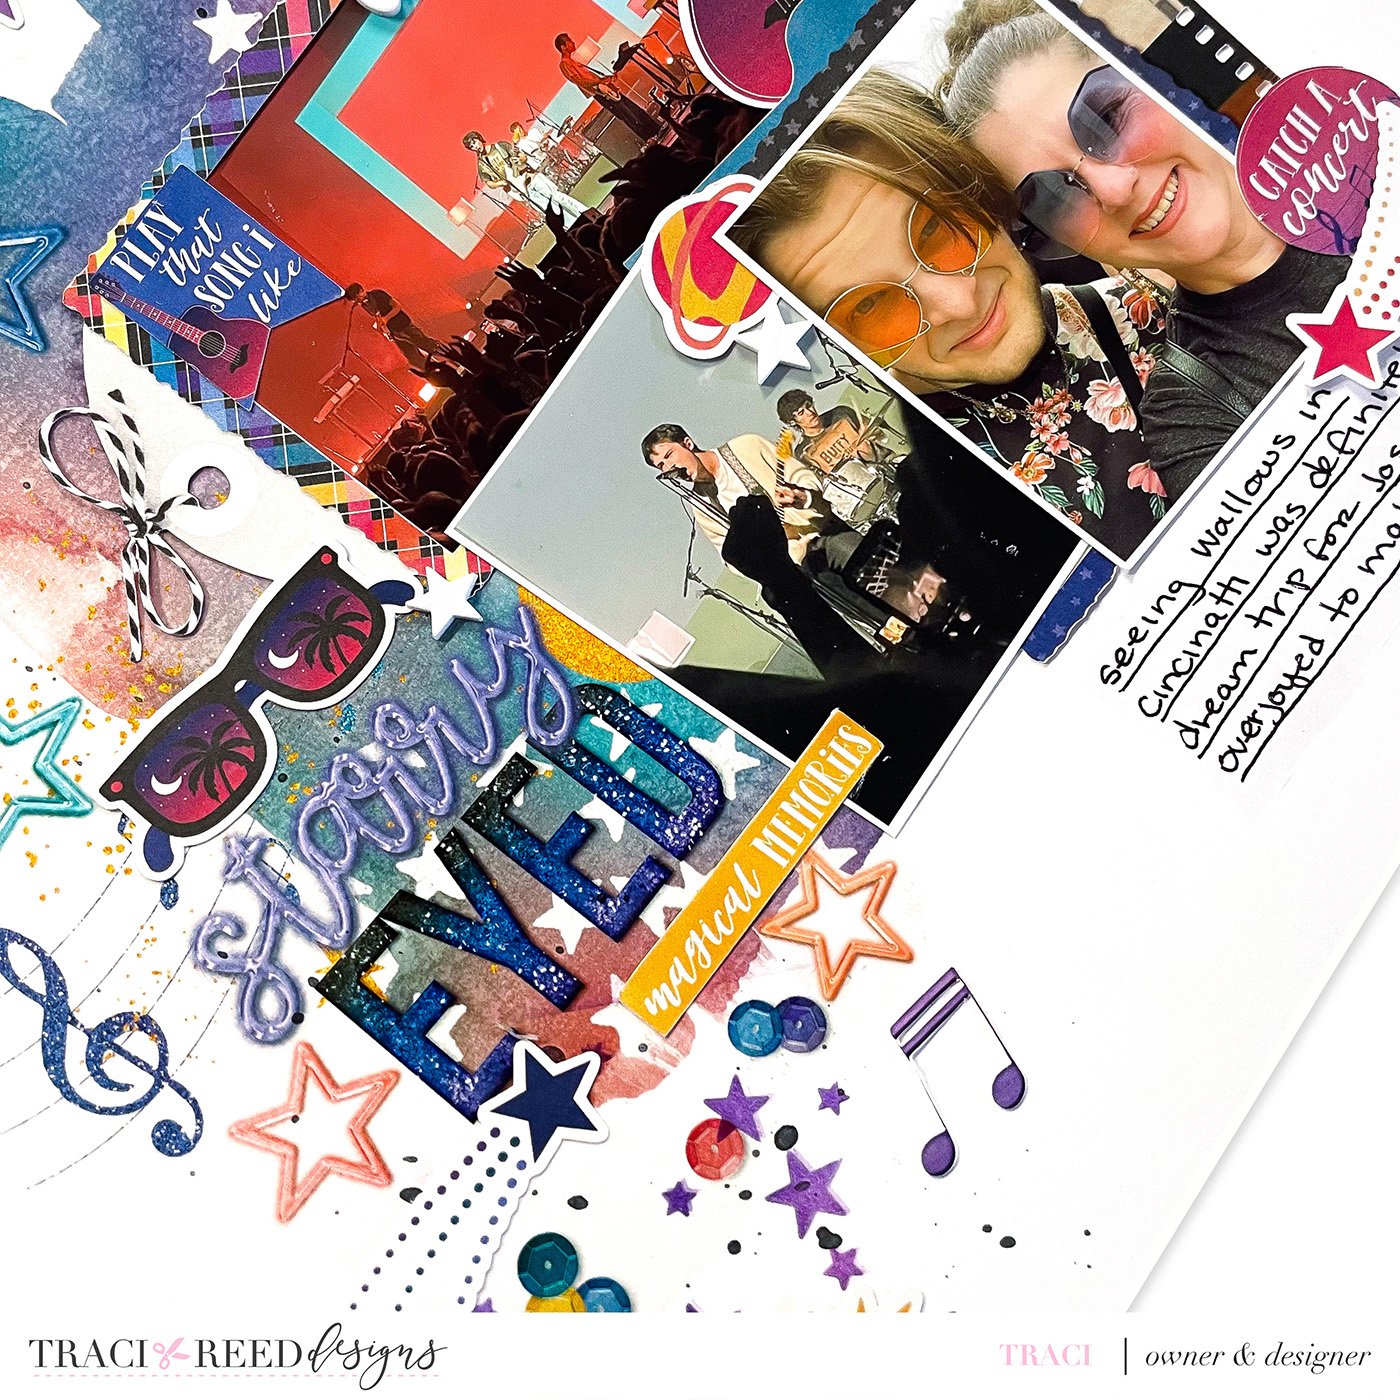
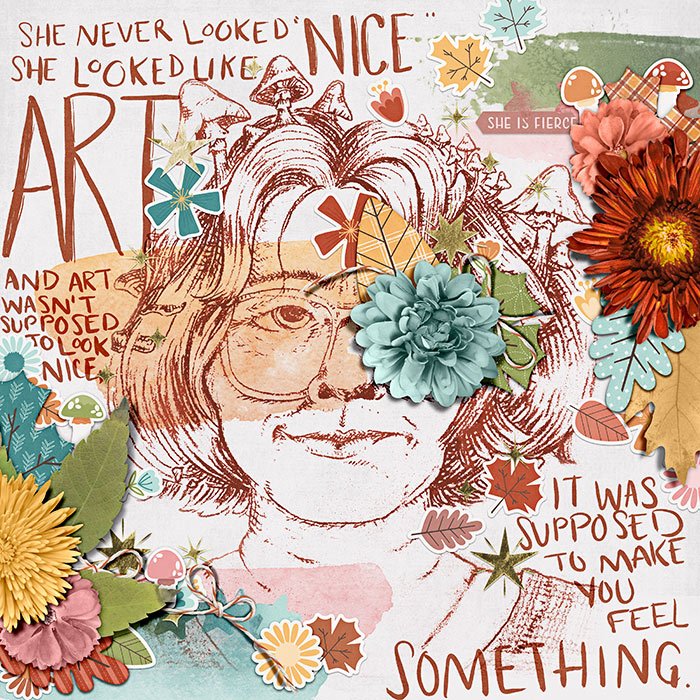
For my page below, I didn’t stop at just the painty pieces in the kit, I also added the neon “starry” word bit layered over the alpha, as well as the neon stars, sequins and glittery music notes!
Once you have a composition you like, make sure it fits on an 8.5x11 piece of clear sticker paper. Adjust the print settings to “photo/best” to ensure high-quality results. Next, print your digital mixed media design onto the sticker paper.
Before adhering the digital mixed media sticker to your 12x12 layout, unleash your creativity with real mixed media on the canvas. Apply acrylic paints, inks, texture pastes, or any other mediums that resonate with your artistic vision, just make sure to save the chunkier things like texture paste for AFTER you put your sticker down! Explore different techniques such as brushing, splattering, or stenciling to create depth, texture, and visual interest. Let your imagination guide you as you layer and blend colors to form a captivating backdrop.
Adhere the Digital Mixed Media Sticker: Once your real mixed media has dried, carefully cut out the printed mixed media sticker. Peel off the backing and gently adhere it to your 12x12 canvas, ensuring it aligns with your desired composition. The transparency of the sticker paper allows the underlying mixed media to shine through, adding dimension and a unique artistic touch to your layout.
Embellish with Die Cuts and Photos: Now that your mixed media foundation is in place, it's time to add the finishing touches. Select die cuts, stickers, or ephemera that complement your theme. Arrange and adhere them strategically around your layout, considering balance and visual flow. Finally, place your chosen photos on the canvas, letting them take center stage and tell the story behind your memories.
By exploring the realm of digital mixed media printed on clear sticker paper, you can transform your 12x12 layouts into works of art. Combining digital elements with traditional mixed media techniques allows for endless creative possibilities. Embrace the freedom to print and layer digital designs, enhancing them with your personal touch of real mixed media. The result will be layouts that capture the essence of your memories while showcasing your artistic flair. Happy crafting!
Process Video
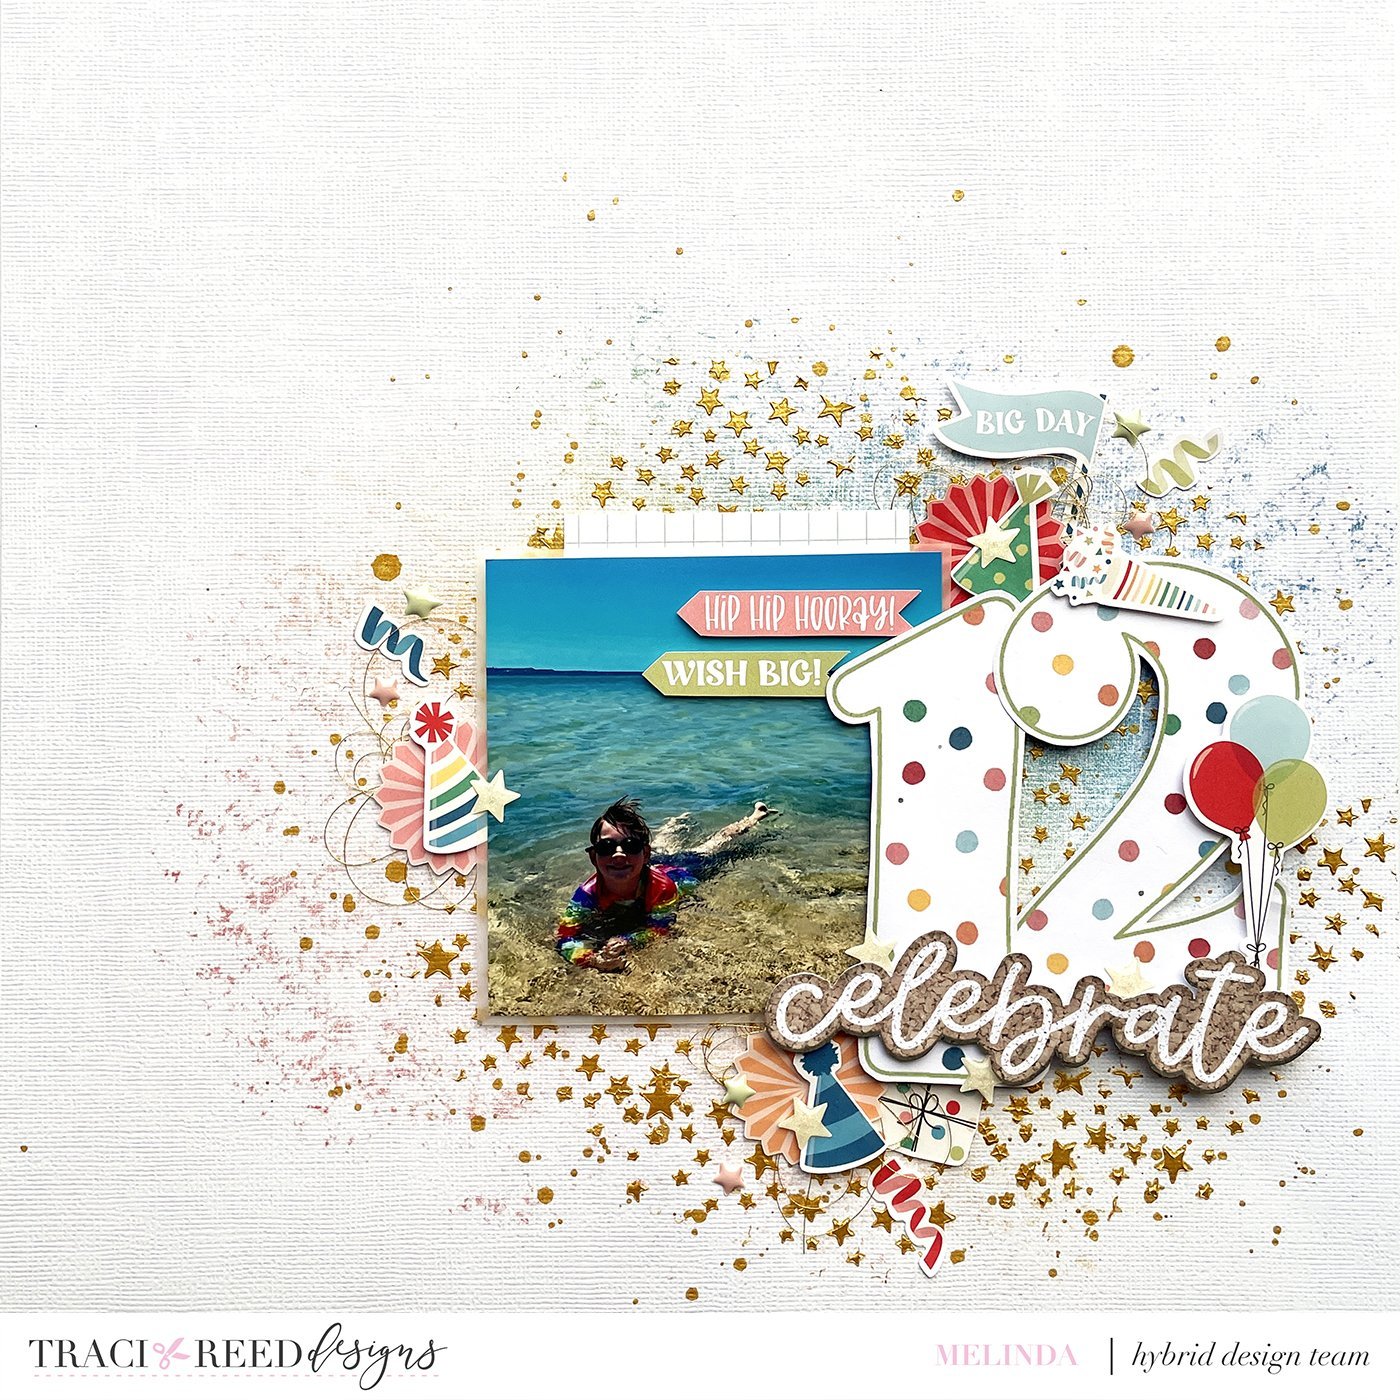
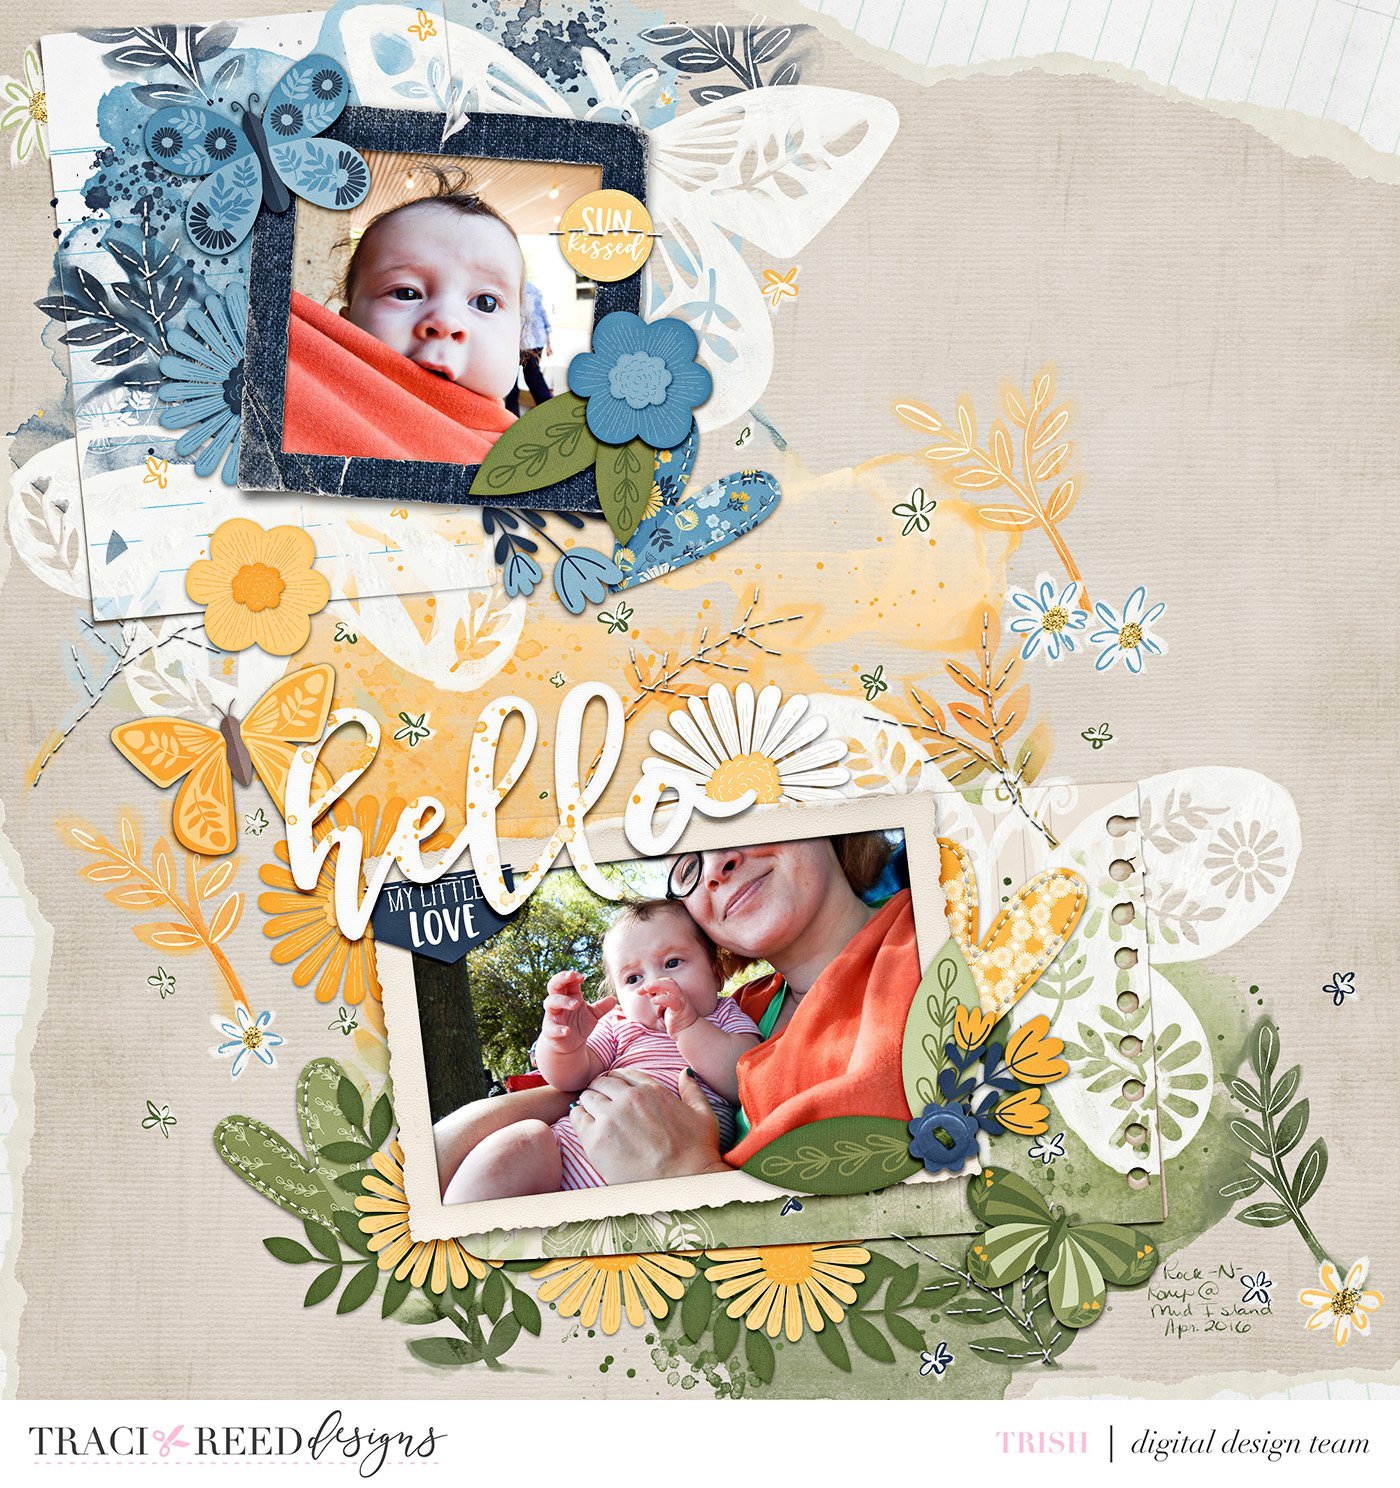
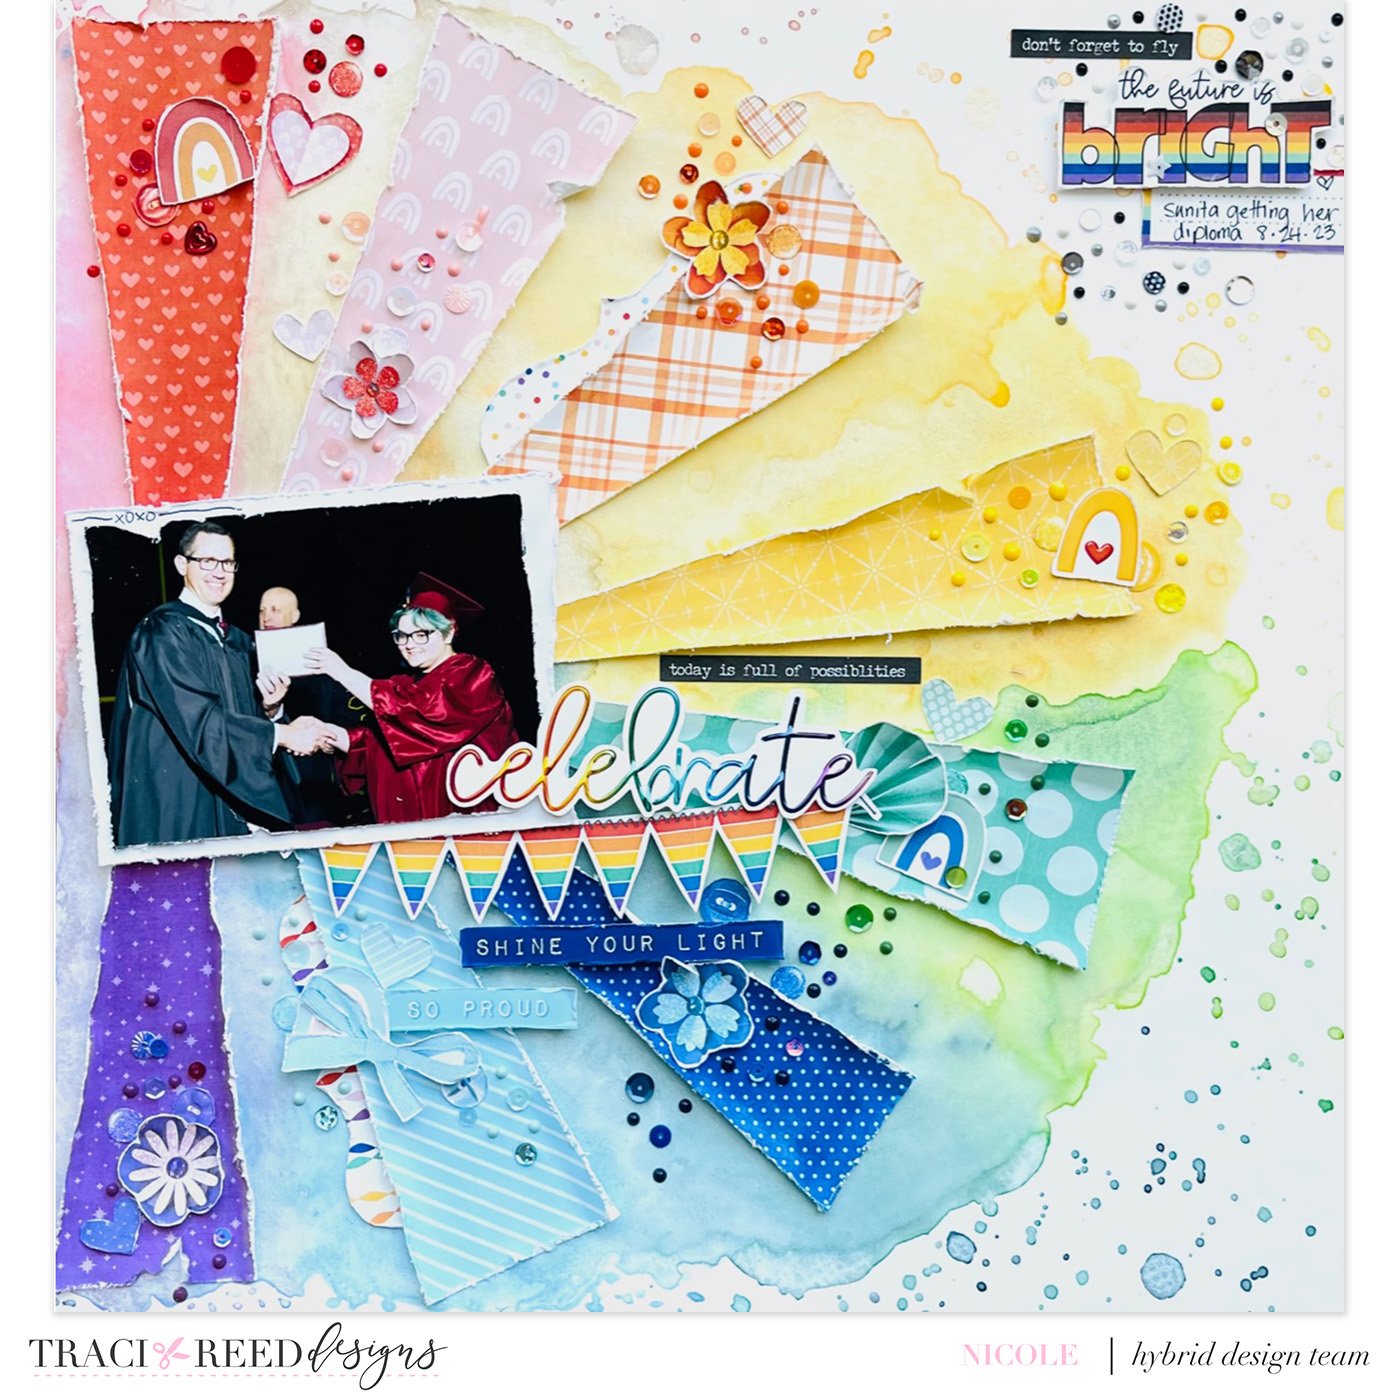
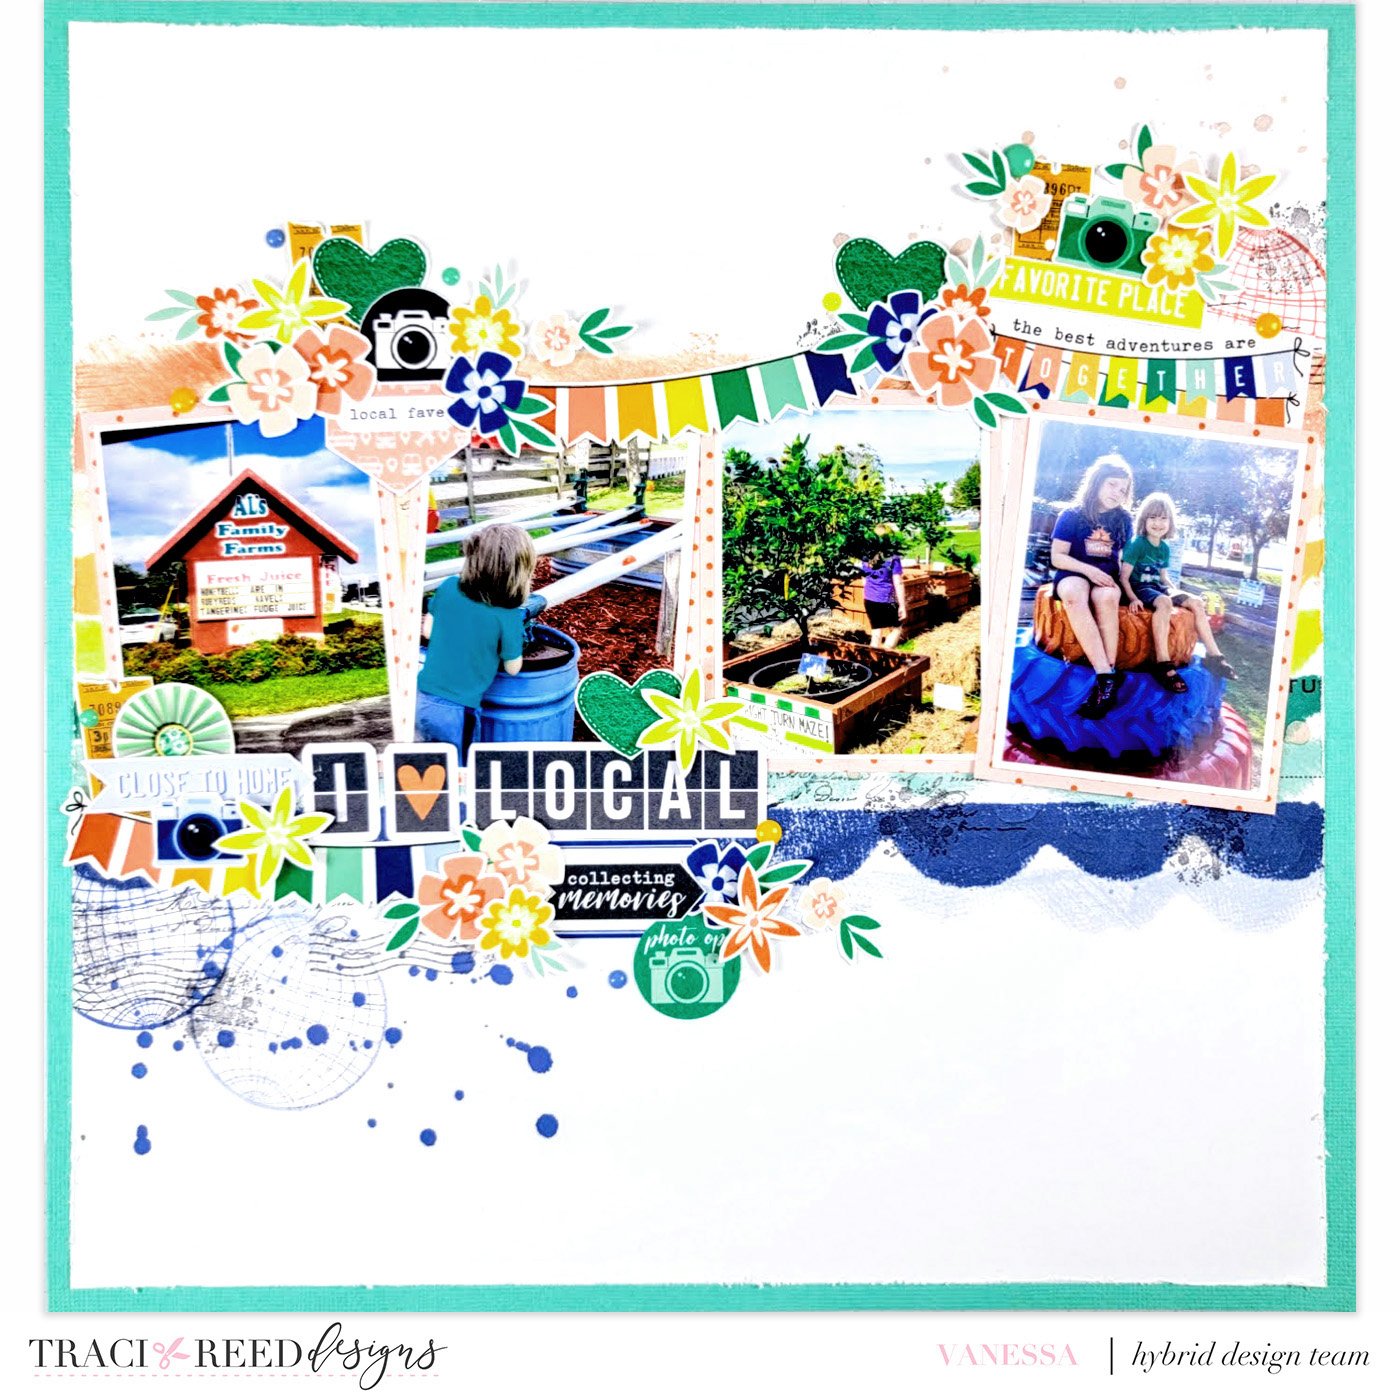
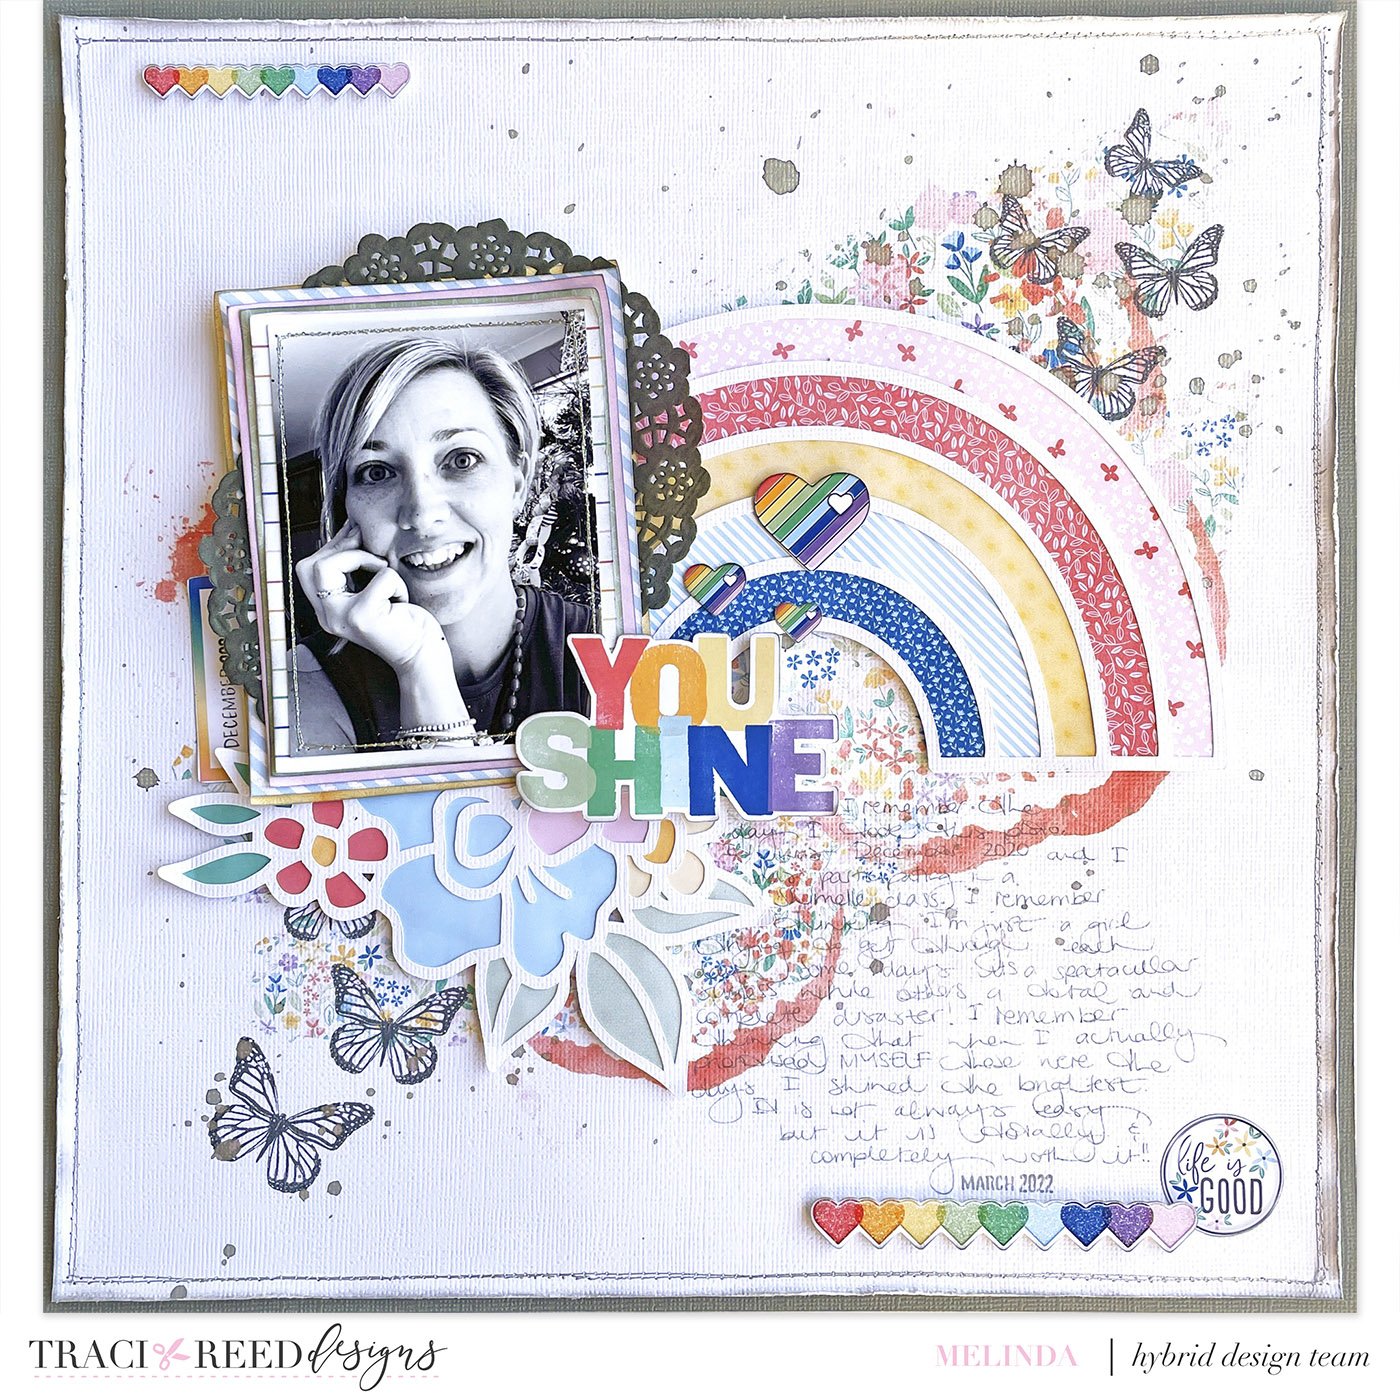
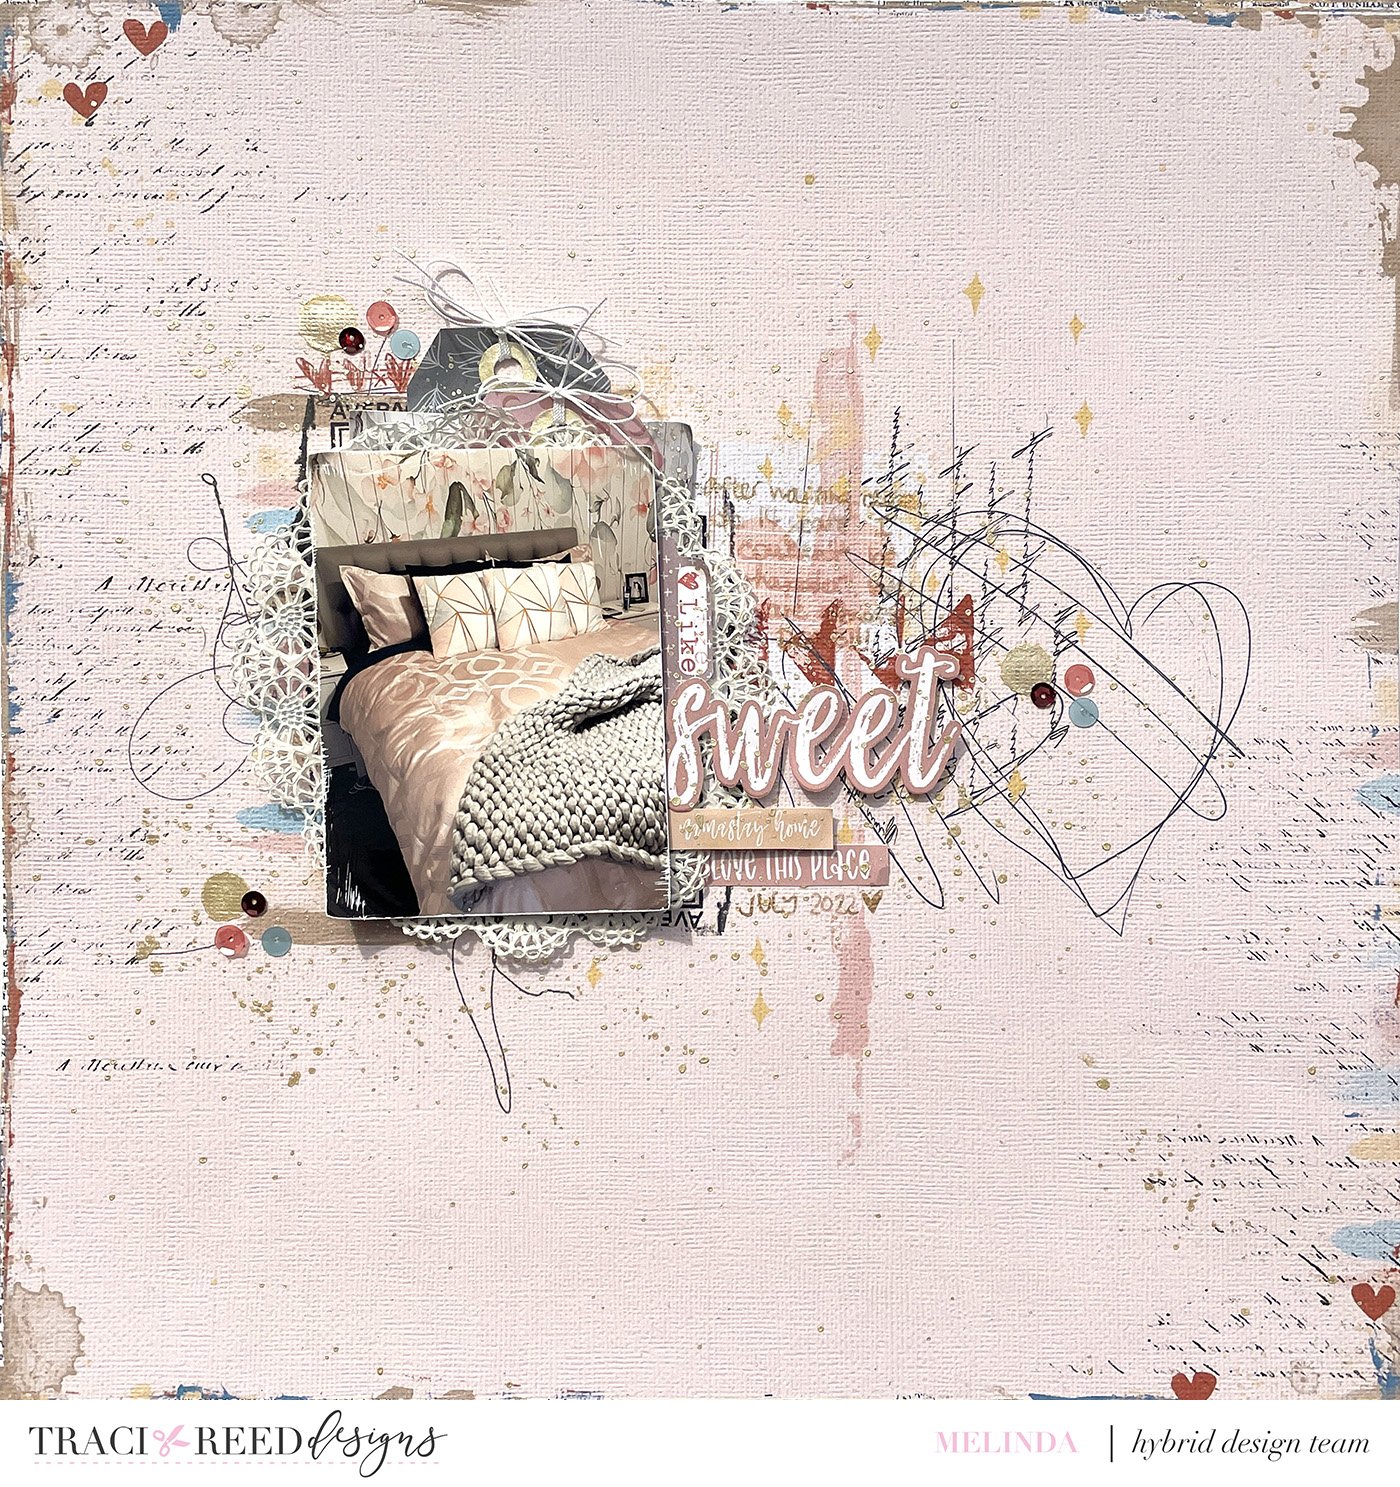
Team Examples With Digital and Physical Mixed Media as a Base
Blog Posts:


