DIY Your Own Signatures by Customizing Digital Product in Photoshop with Bruna!
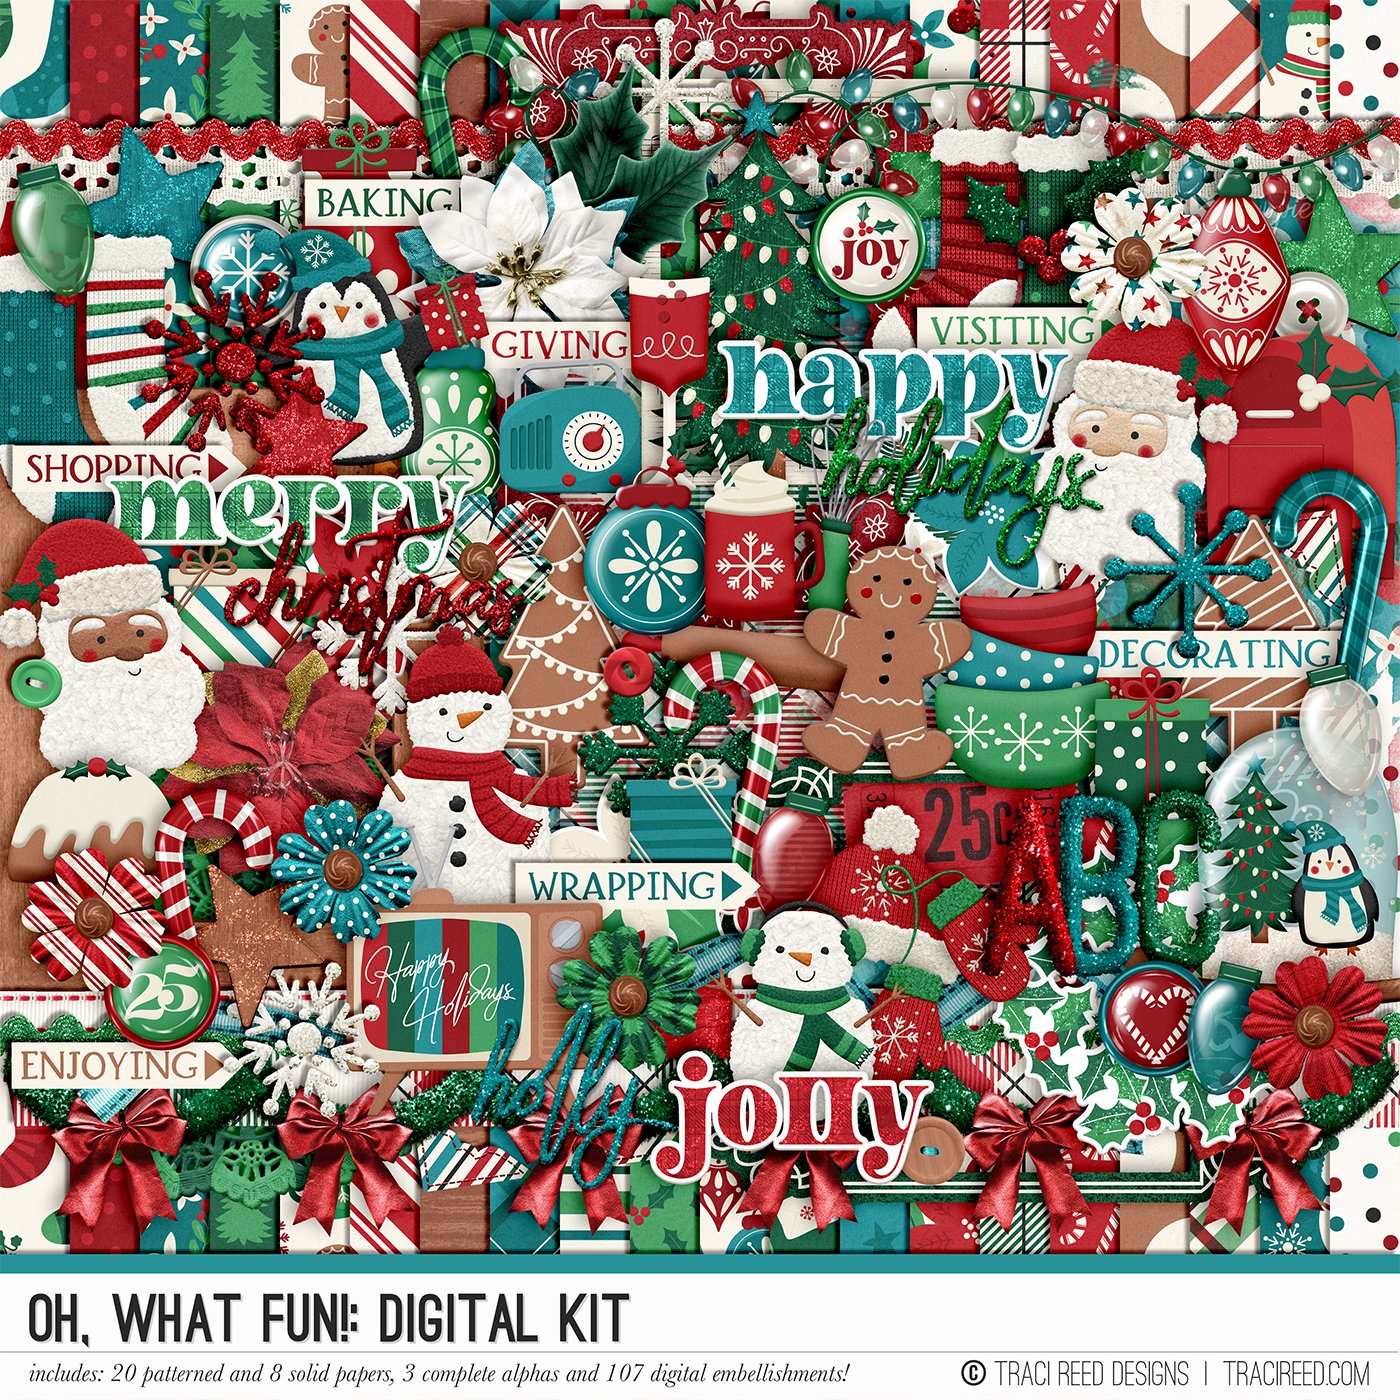
The signature papers in the new Oh, What Fun! Collection are amazing, but I wanted to customize mine, which is so fun and easy to do with printables!
First, I added the ornaments from another Signature to the top right corner of the tree card, resizing as needed.
I also wanted to give the red border and scalloped edge from the “Magical Moments” signature to the tree signature, so I resized the tree card slightly smaller, then layered it over the top of the Magical Moments card and merged them together.
Finally, I added a few more things I wanted to print for my layout to my page and it’s ready to print!
I cut the two beautiful papers I printed into tags and added some twine and they will be the base of my TN spread.
I also printed the ornaments a second time and glued them over the ornaments on the signature I created with foam tape to give them dimension.
Lastly, I added my photo then decorated with some stickers and a little stamped star and heart and that's it!
Hope you have a very Merry Christmas!


