Cricut Tutorial: Print and Cut Your Titles as One Piece in Cricut Design Space!
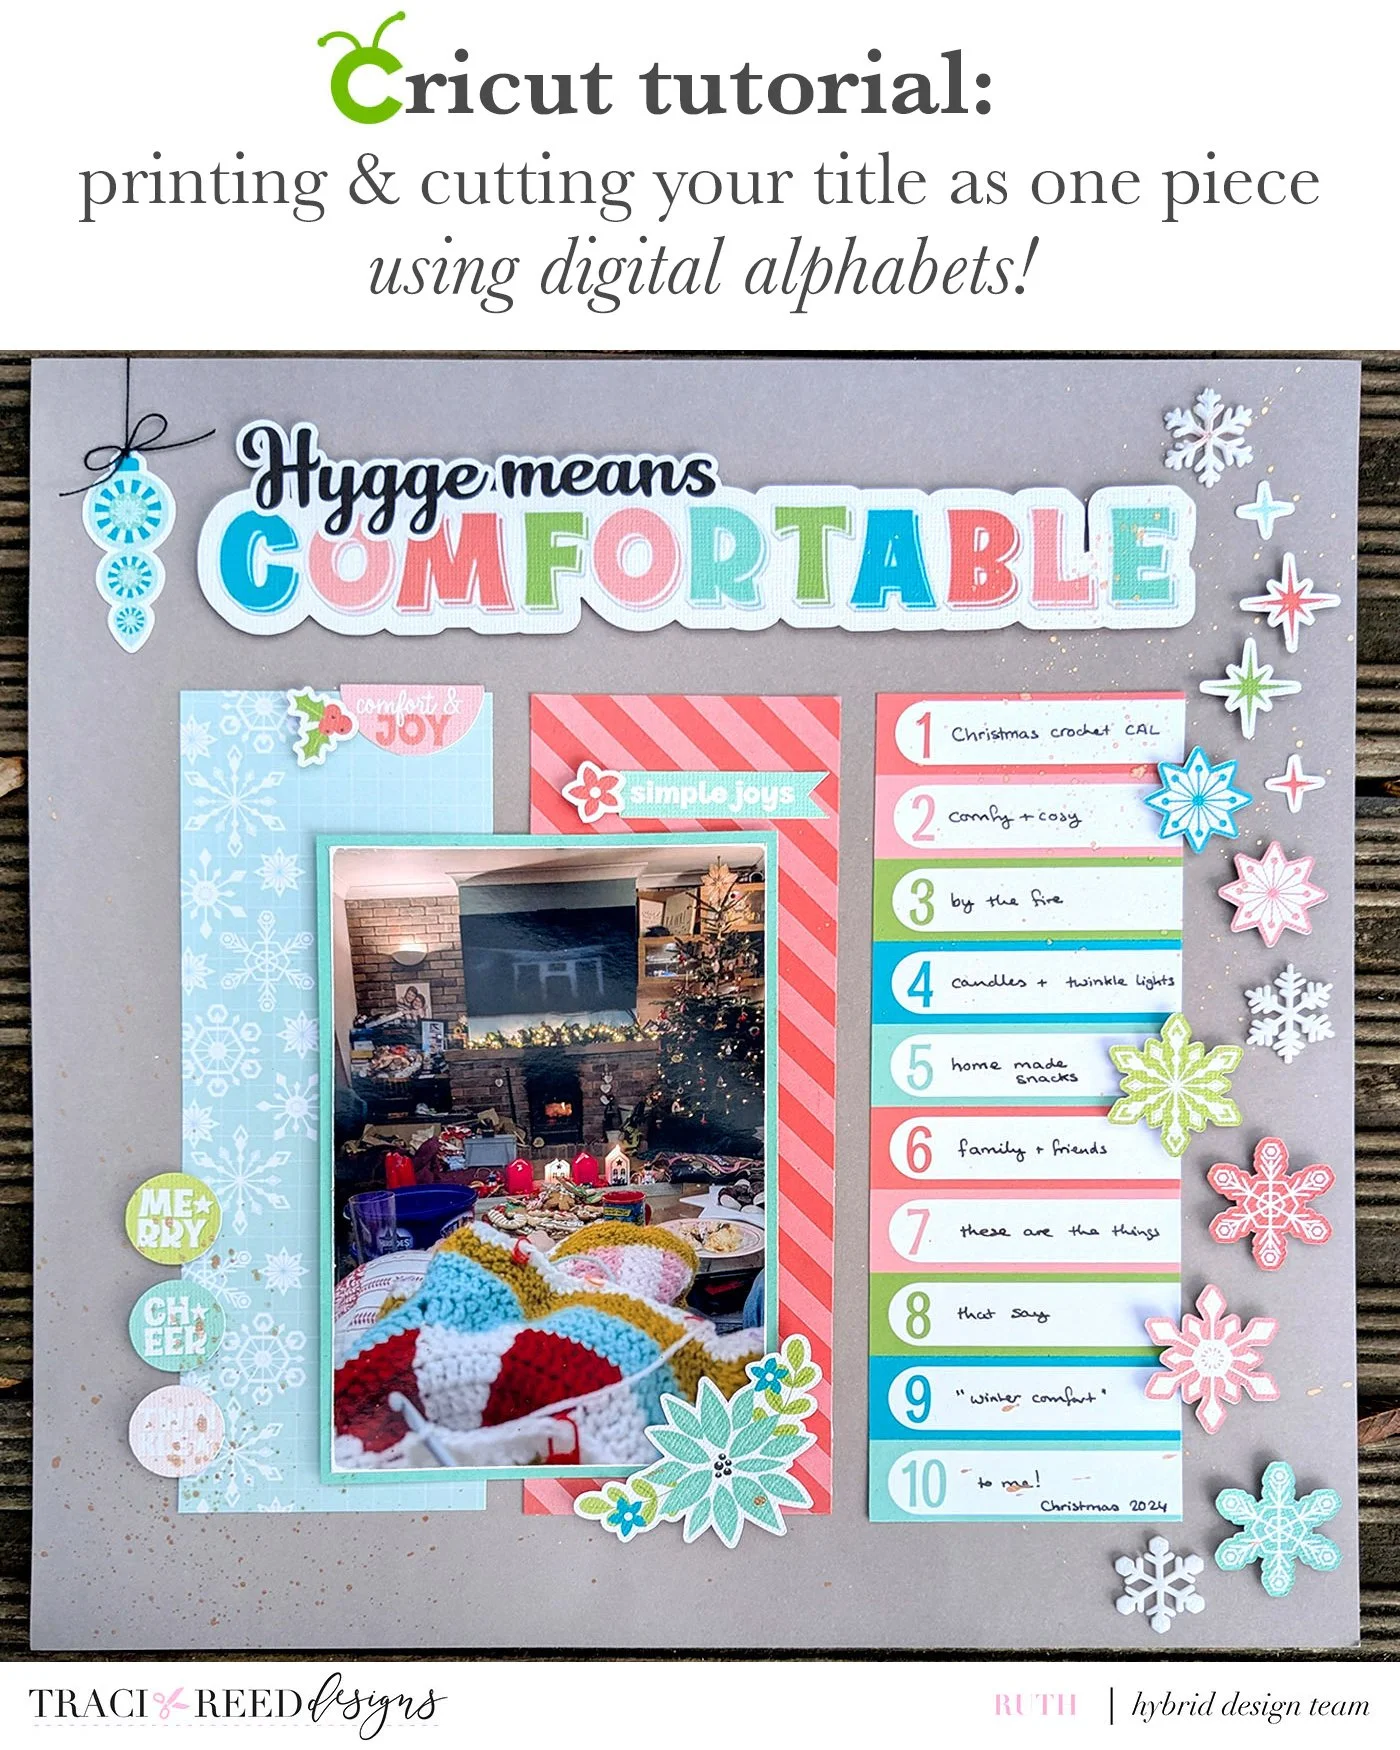
What do you think of when I say winter comfort? For me it's an open fire, and twinkle lights, and crochet cosy on the sofa with family and friends and some good snacks!
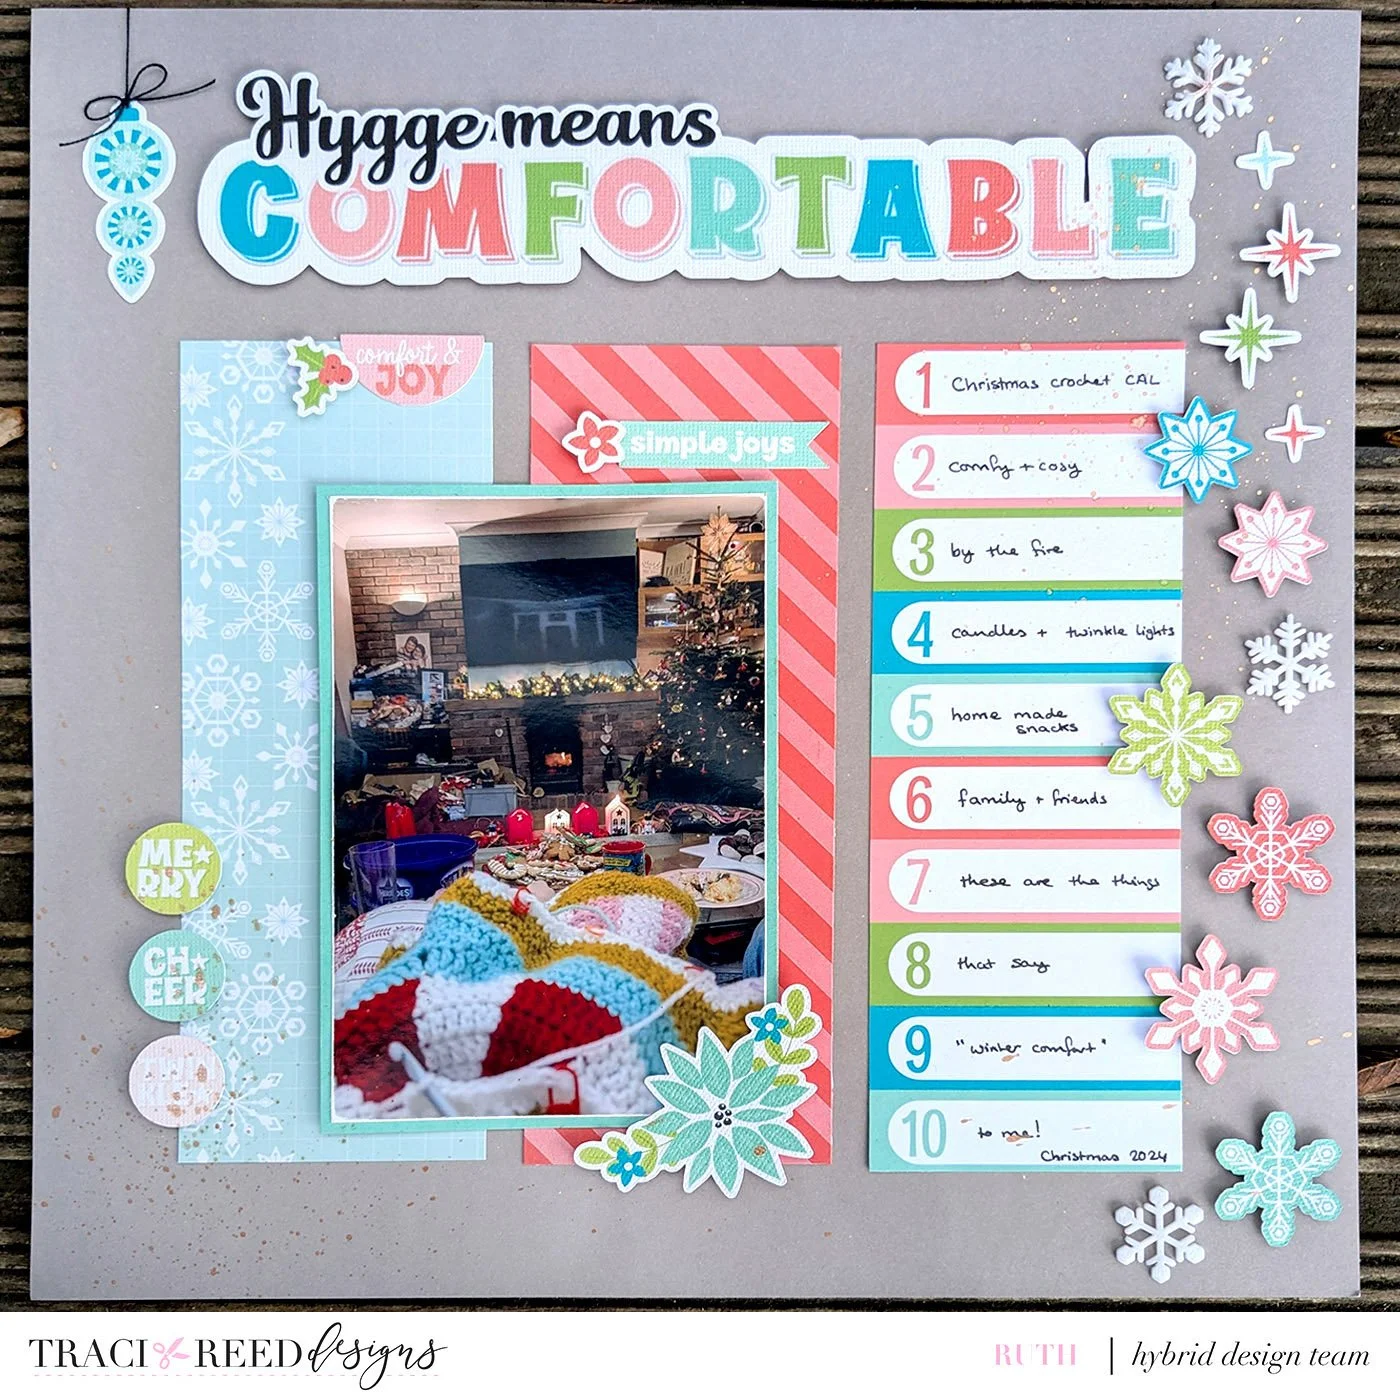
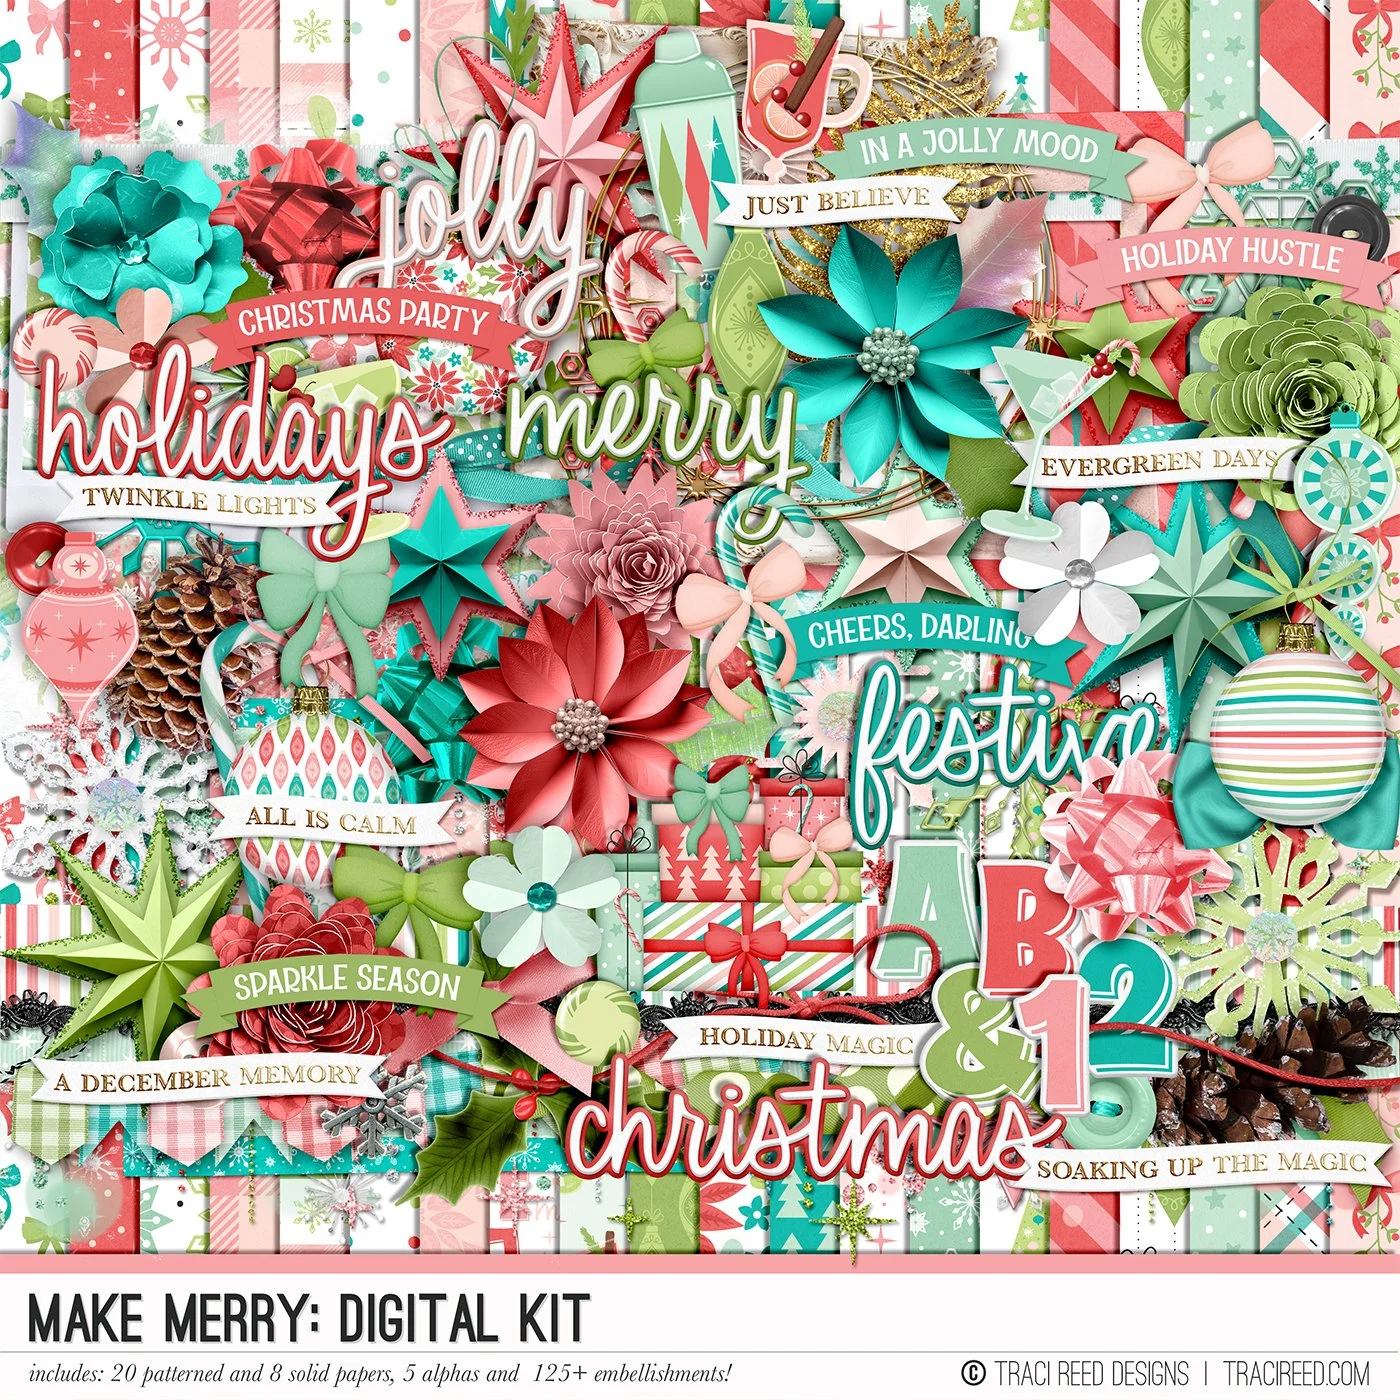
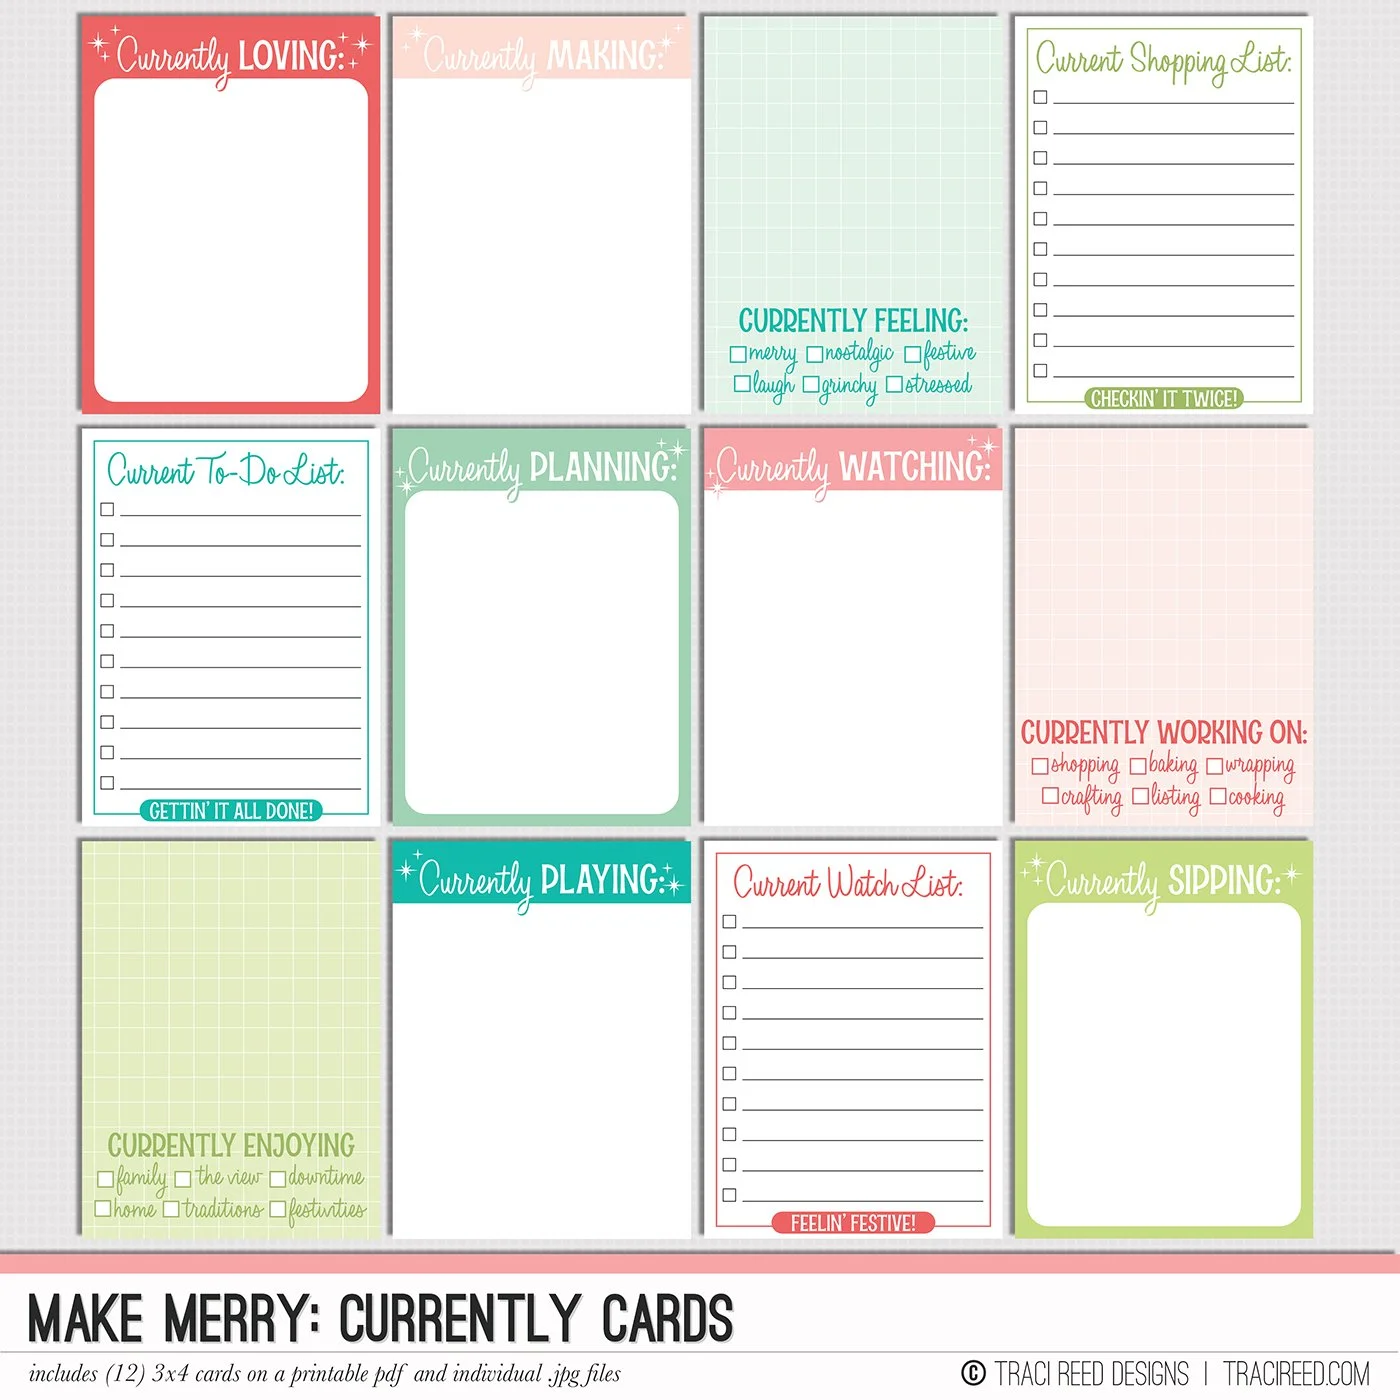
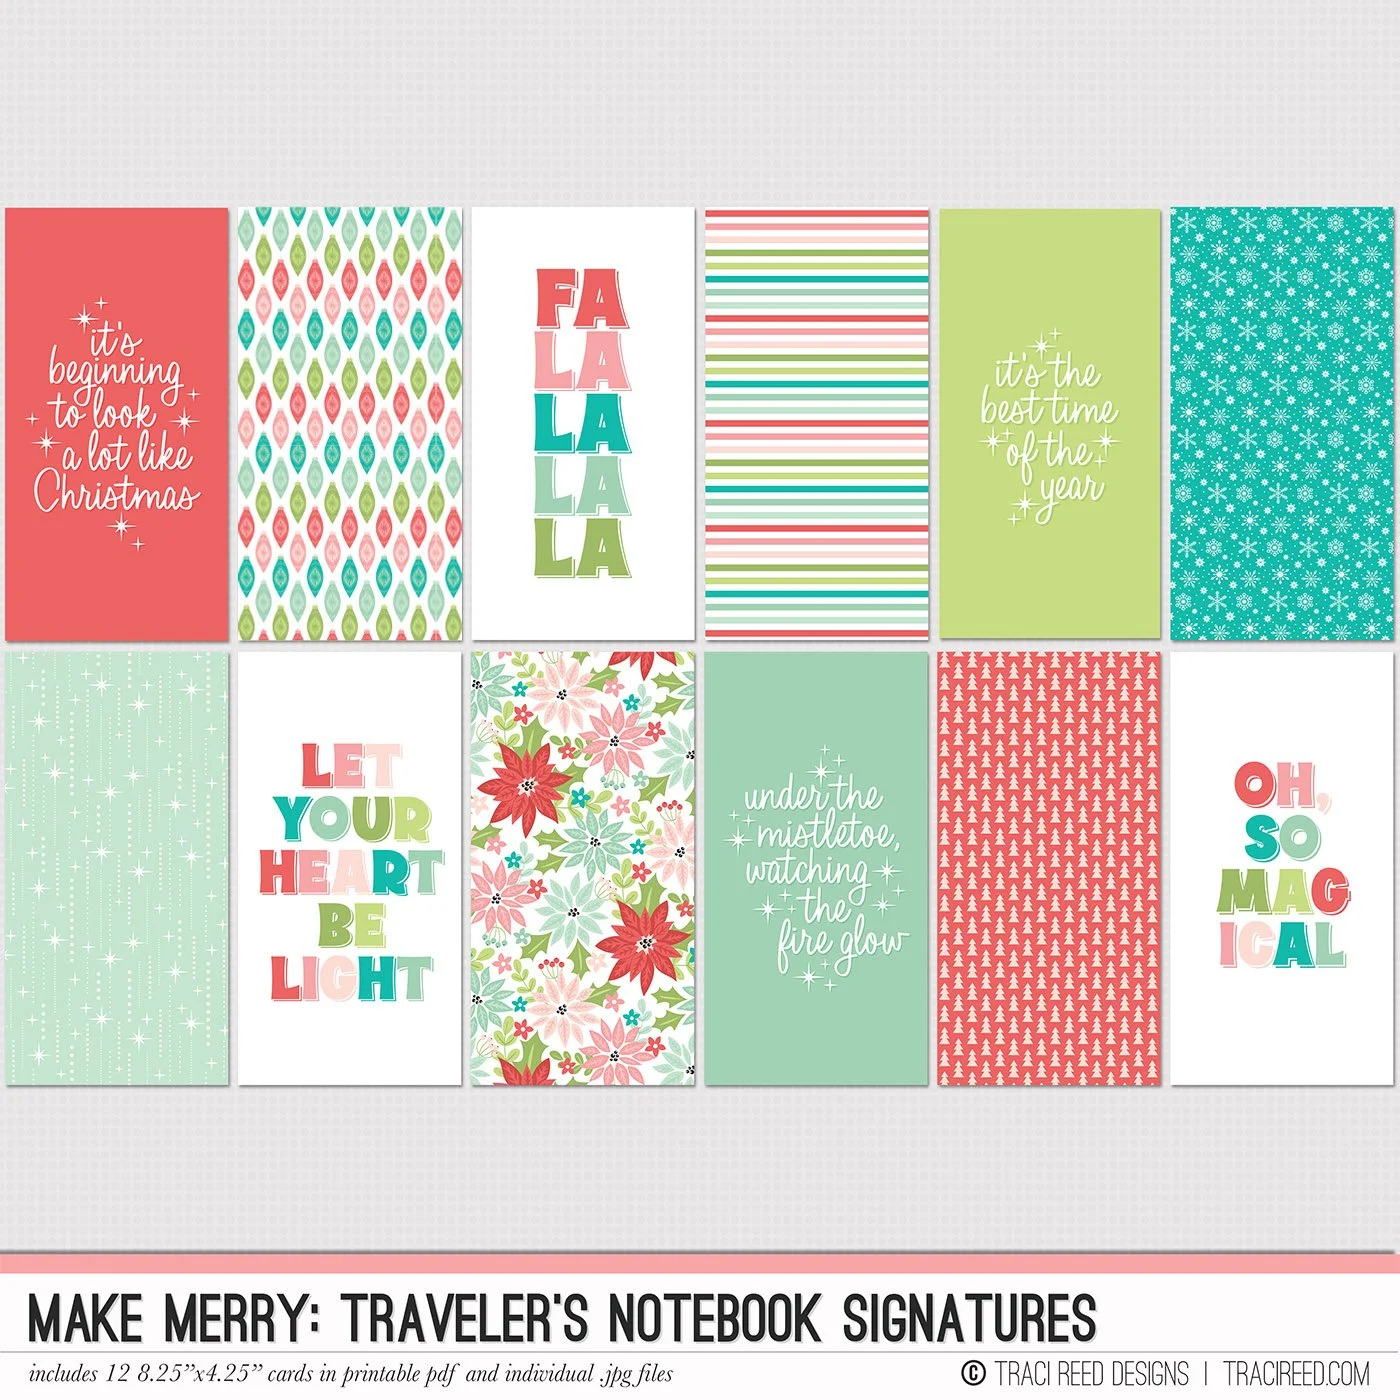
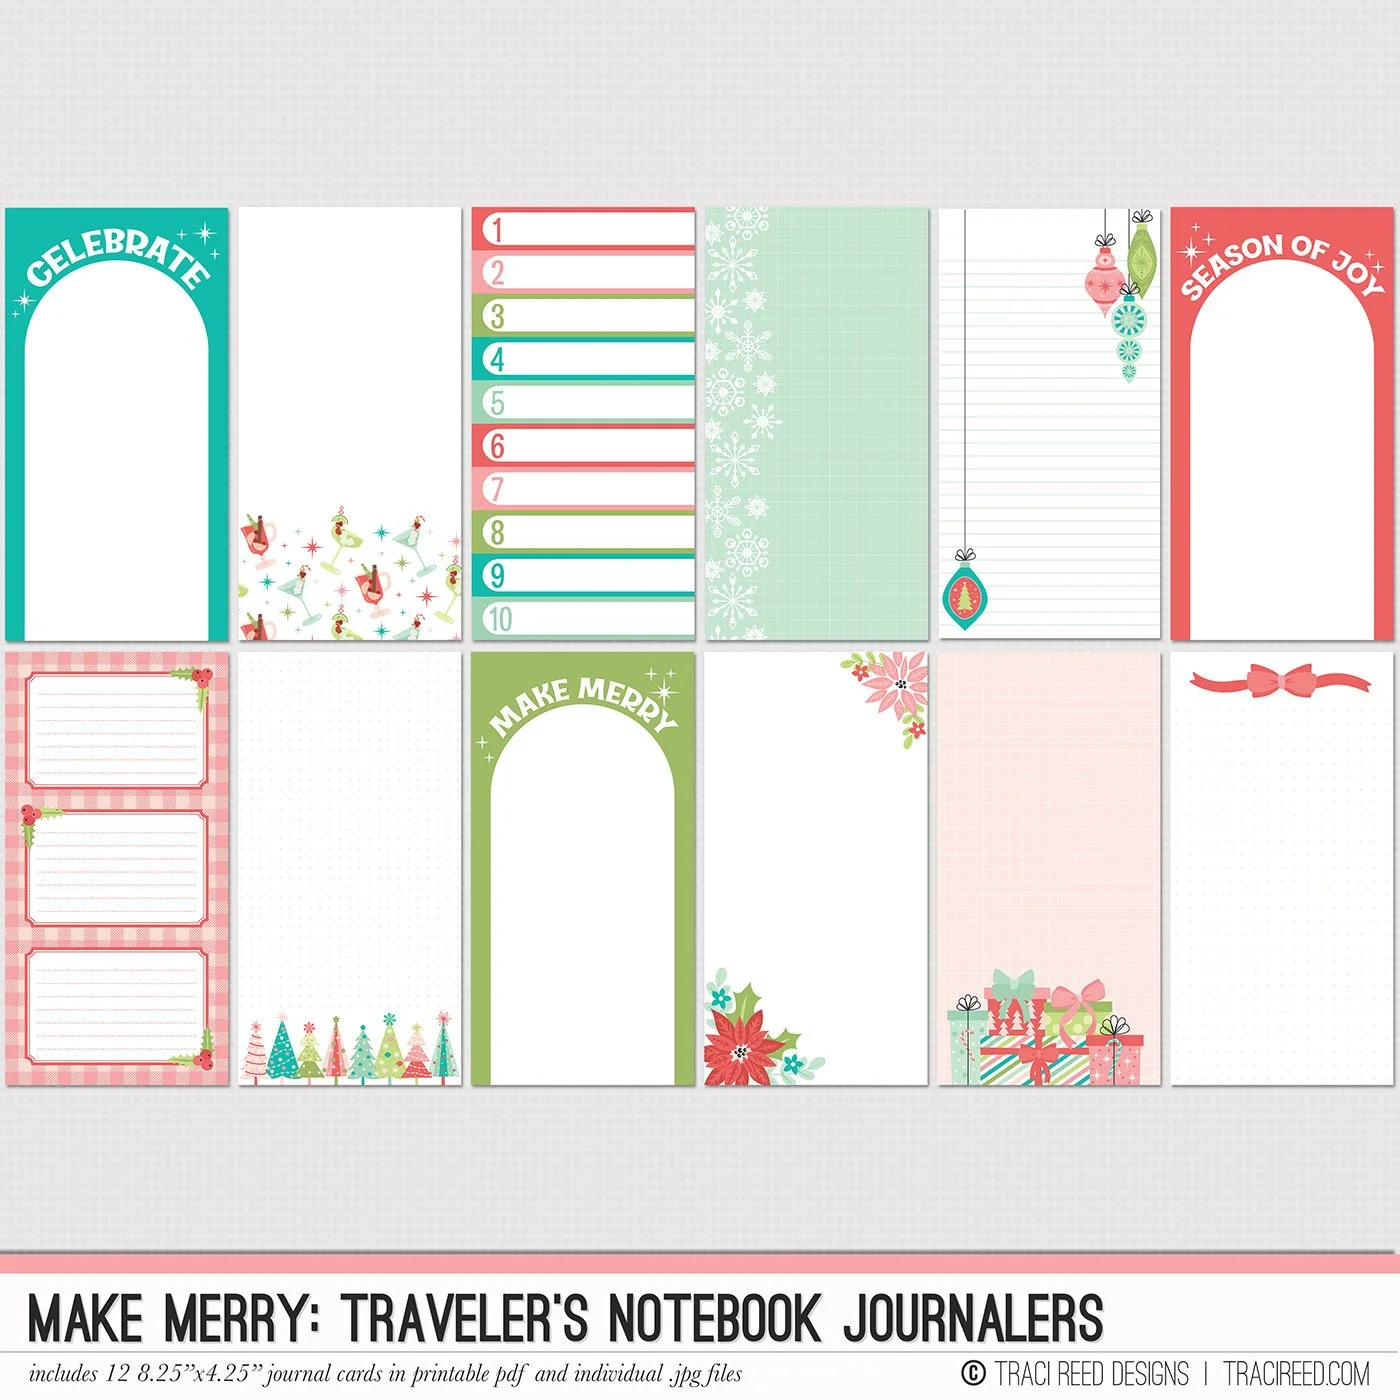
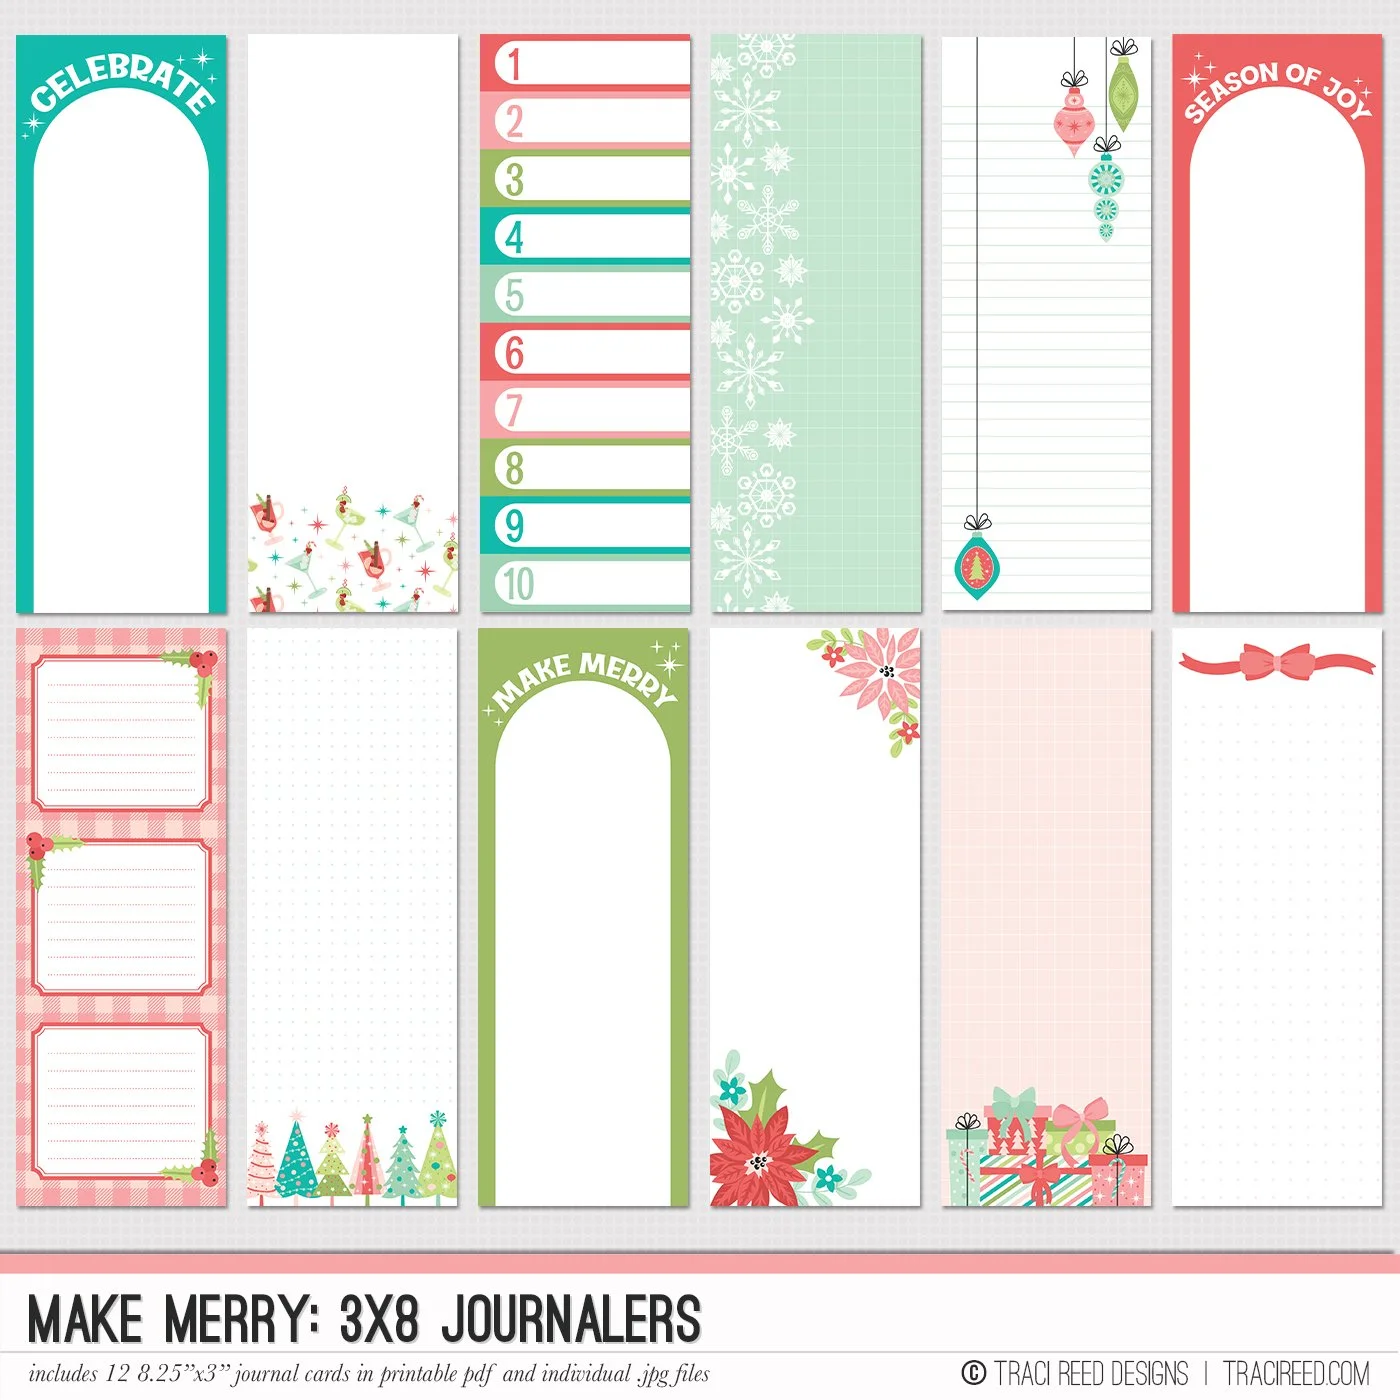
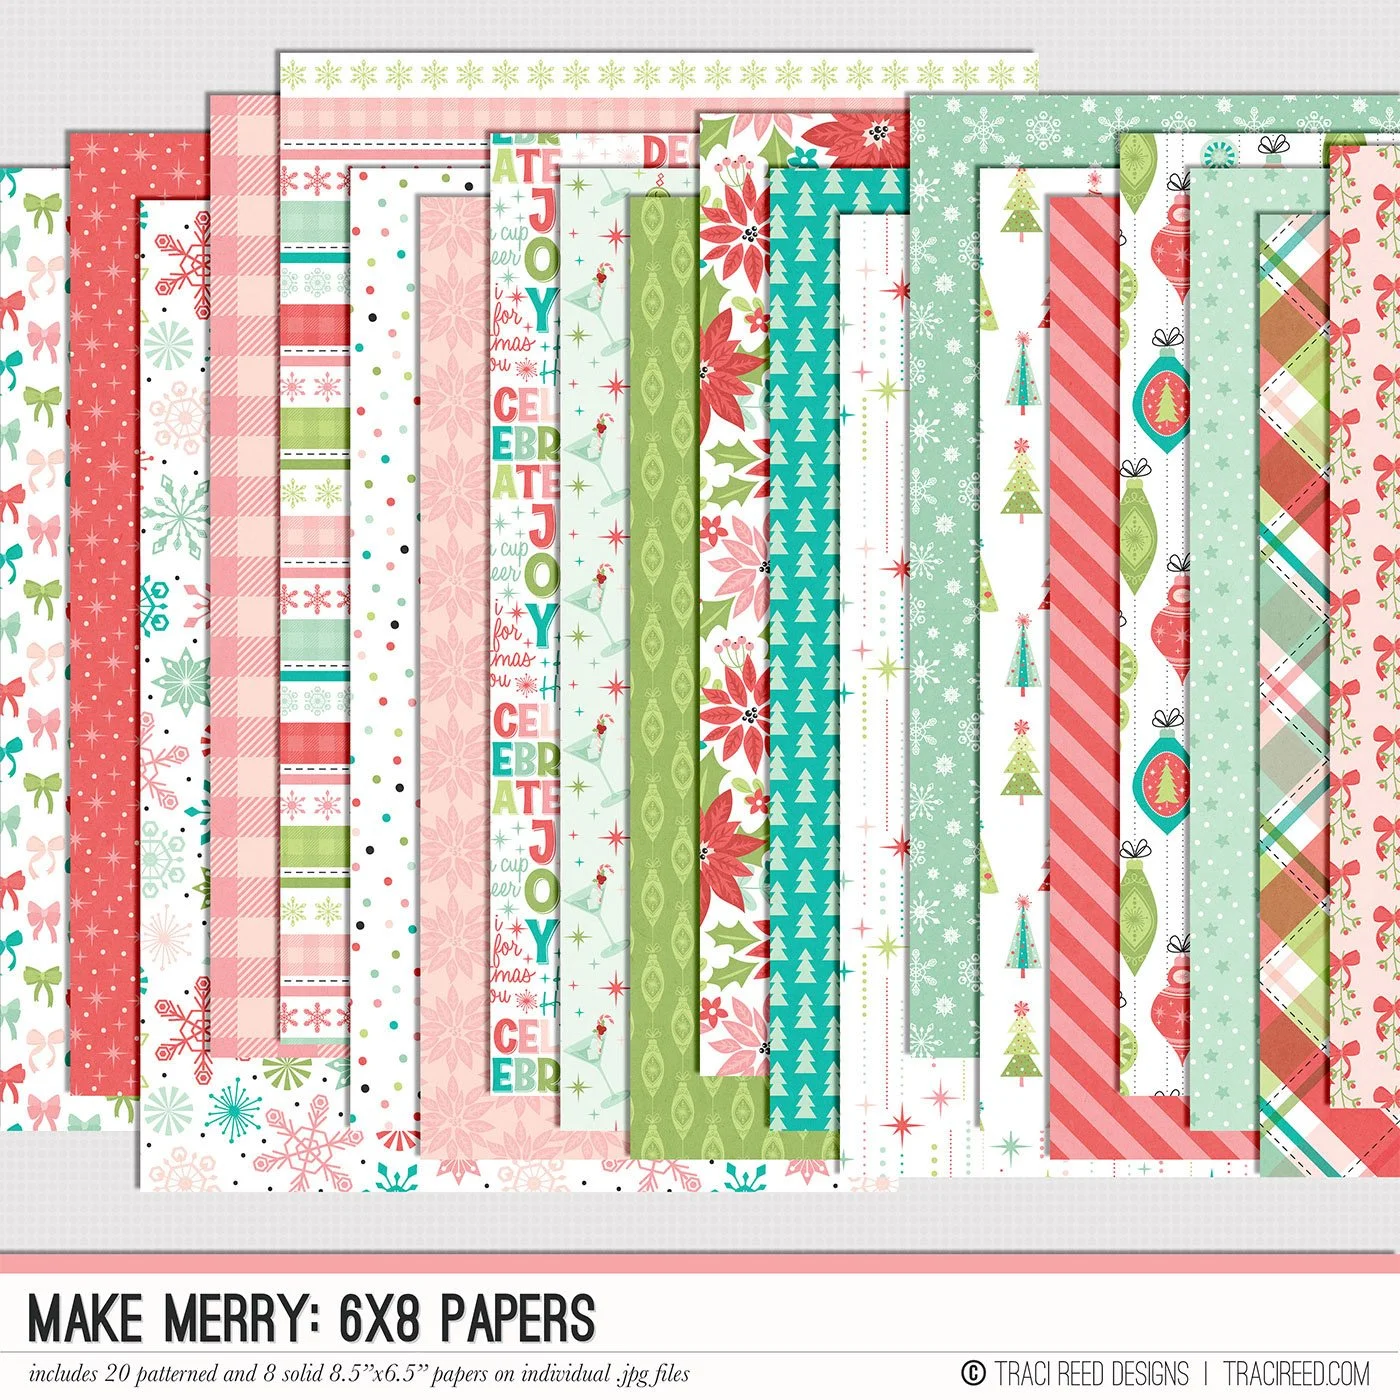
In my layout, I've used the new Make Merry collection. Two of the 3 strips are actually from the 3x8 journallers pack (love love those snow flakes!) and I added a strip of patterned paper for the third.
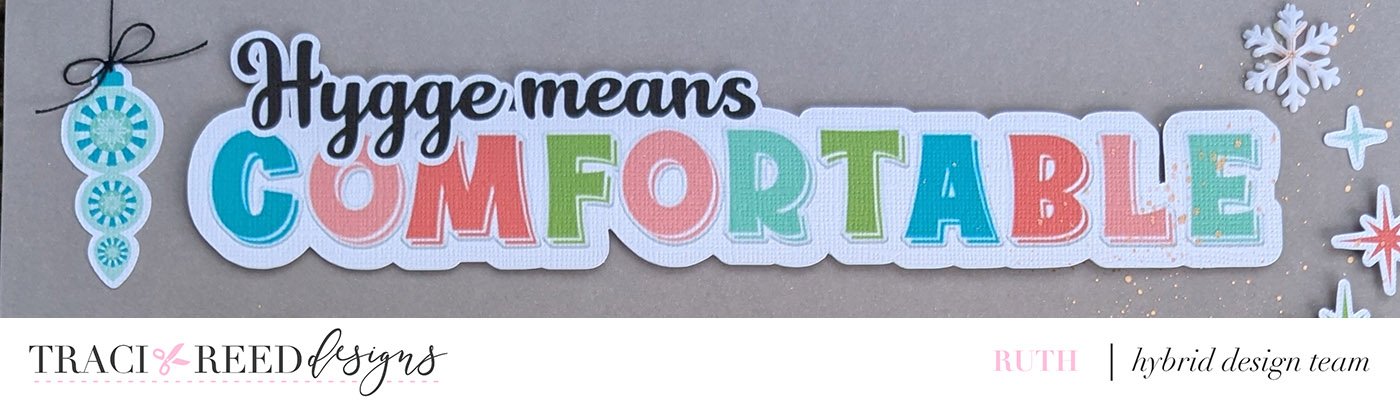
For the title I used the alpha that comes with the kit (in 5 colours!). I almost printed them as sticker sheets and assembled on my layout but in the end I dropped the letters into Cricut, and offset with a white border, added my “hygge means” with it's white offset, then flattened the whole thing and sent it to the machine as a print and cut title.
I issue no apologies for those who now have the song from frozen the musical stuck in their heads!
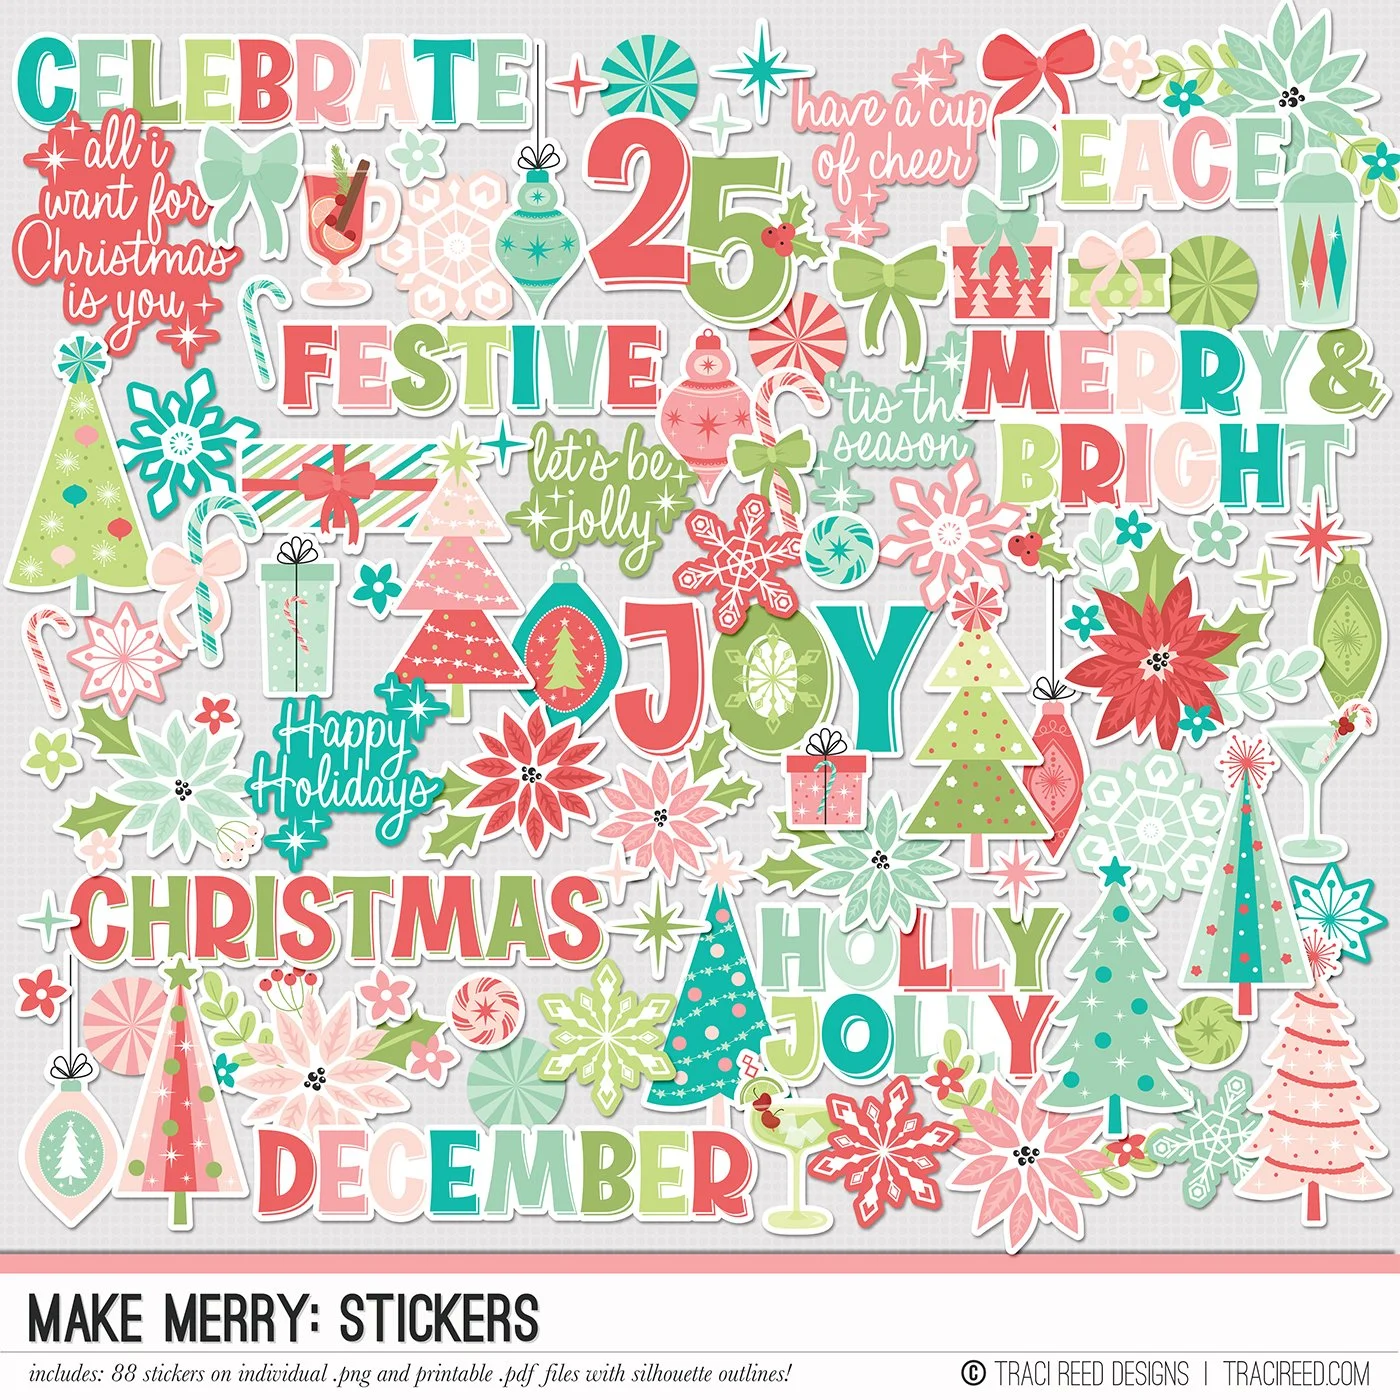
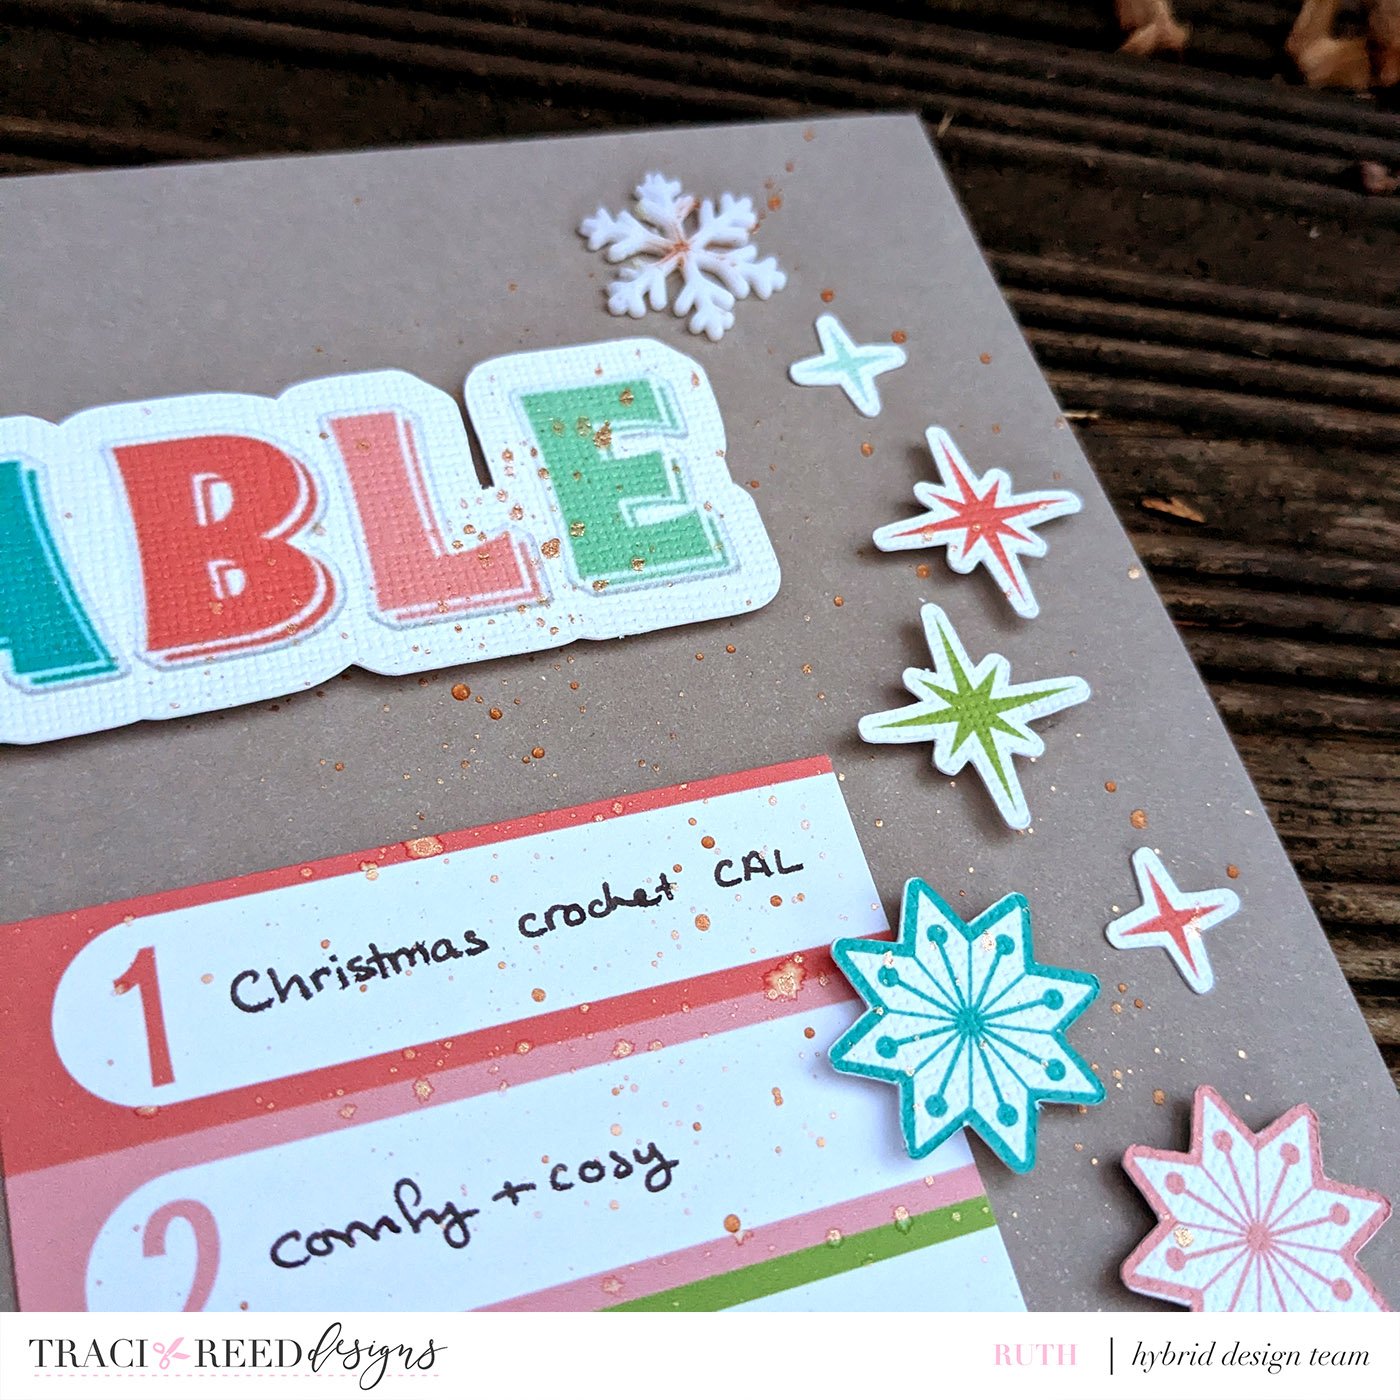
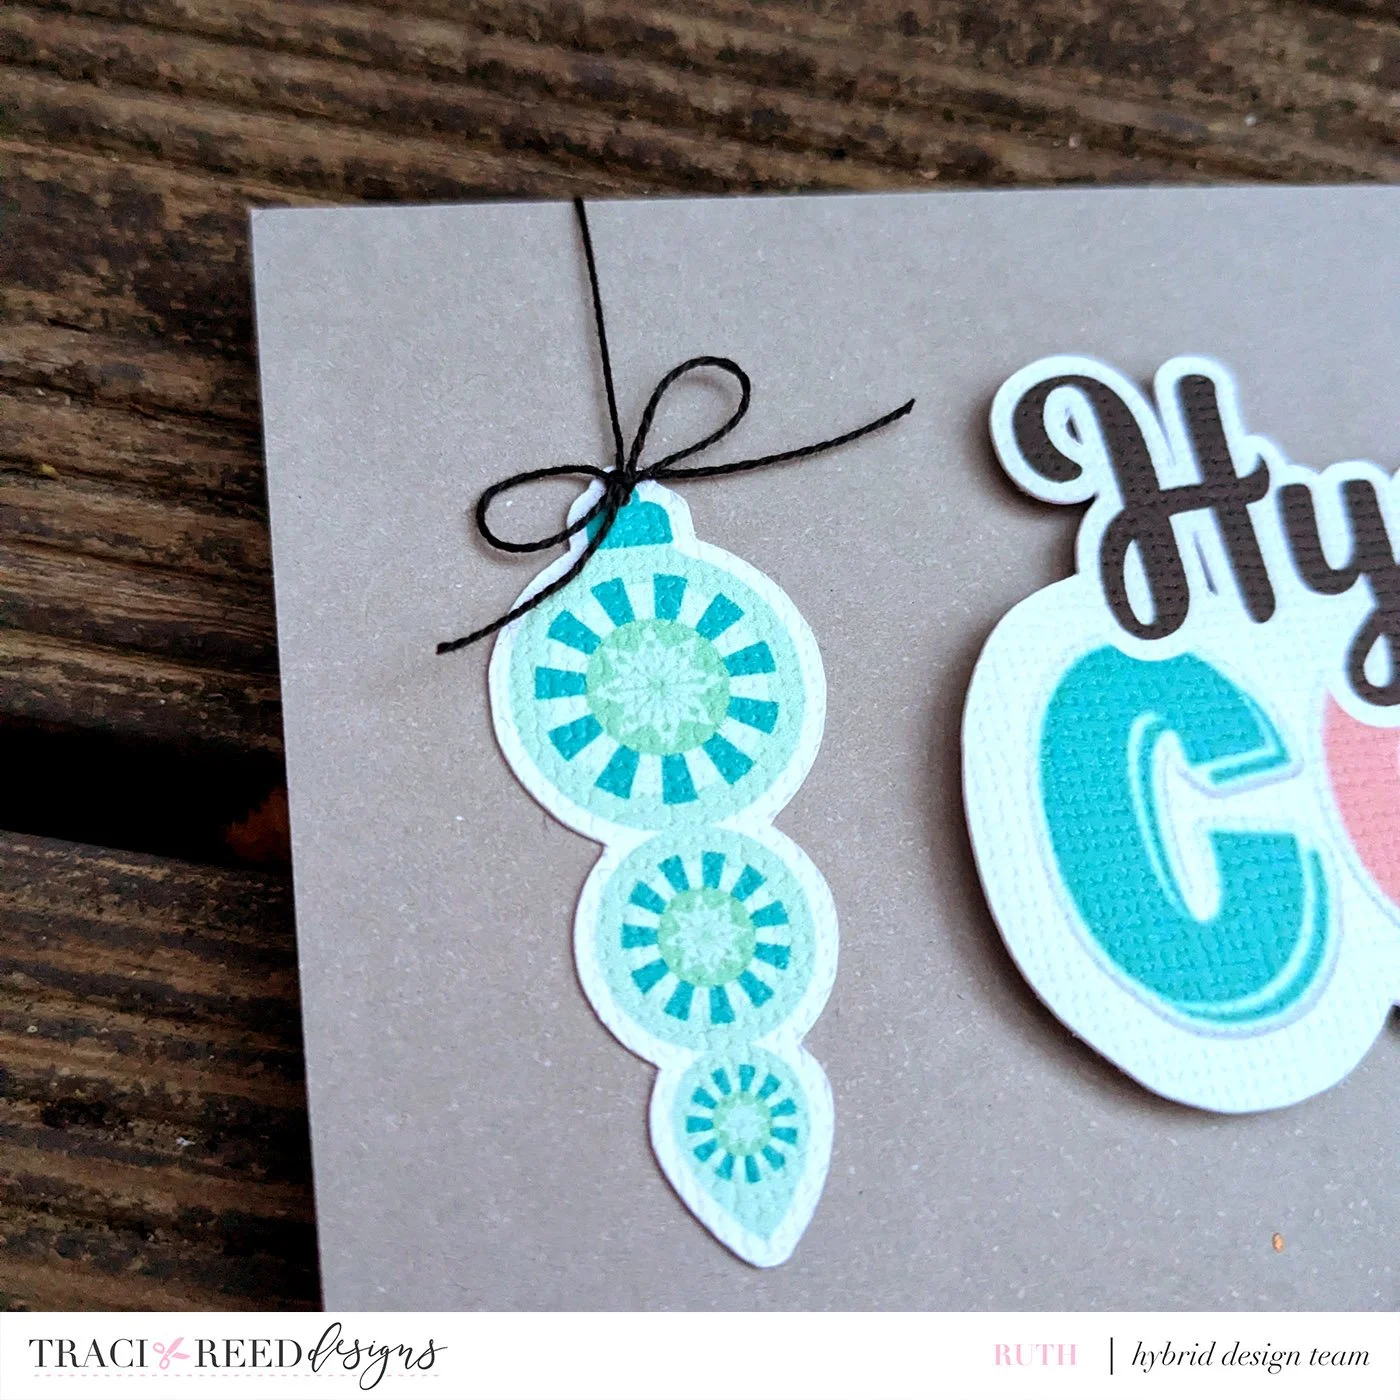
After that it was all about the details. I added the snowflakes (on foam tabs) from the sticker pack, as well as some wordy bits.
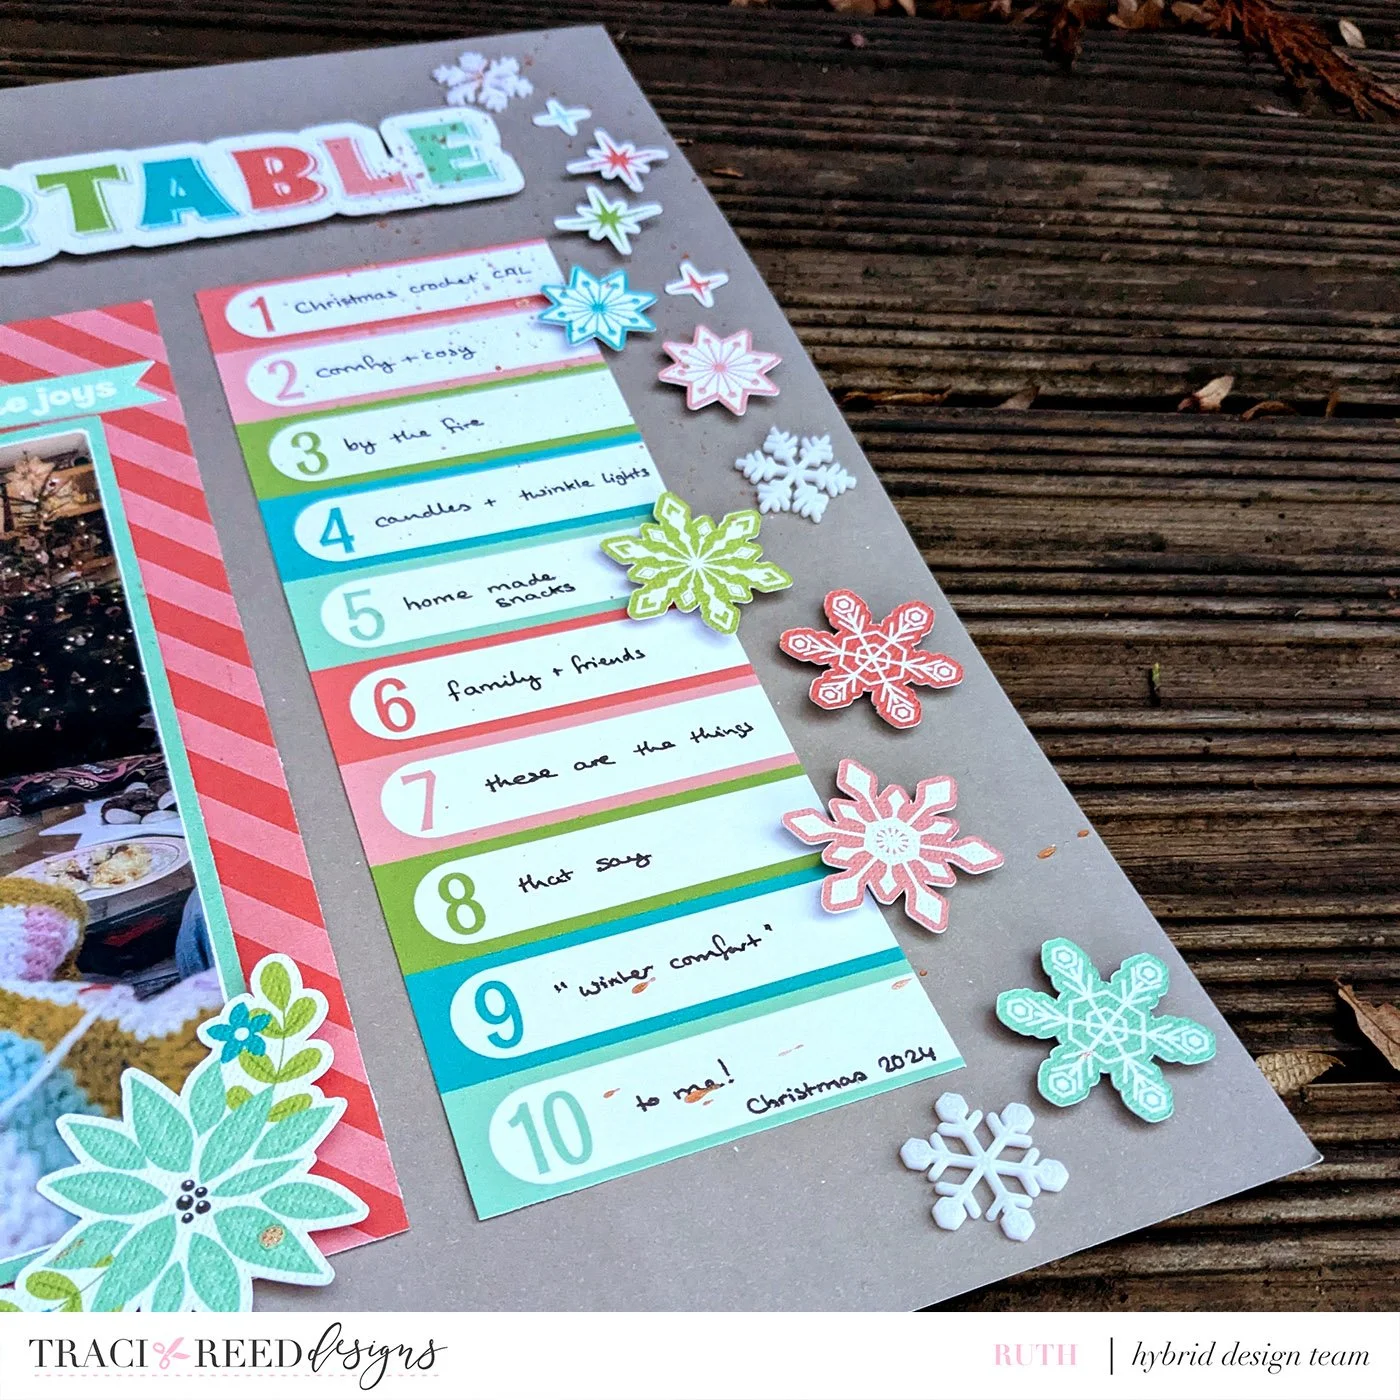
Put in my journalling (it's a journaler after all.)
And added a real cotton bow to my bauble.
Cricut Tutorial
Want to print and cut your own title in Cricut Maker? Here’s a tutorial! (if you have a silhouette, you can find a similar tutorial HERE.
Import the letters you need for your title using the Upload Image feature in Circuit Design Space.
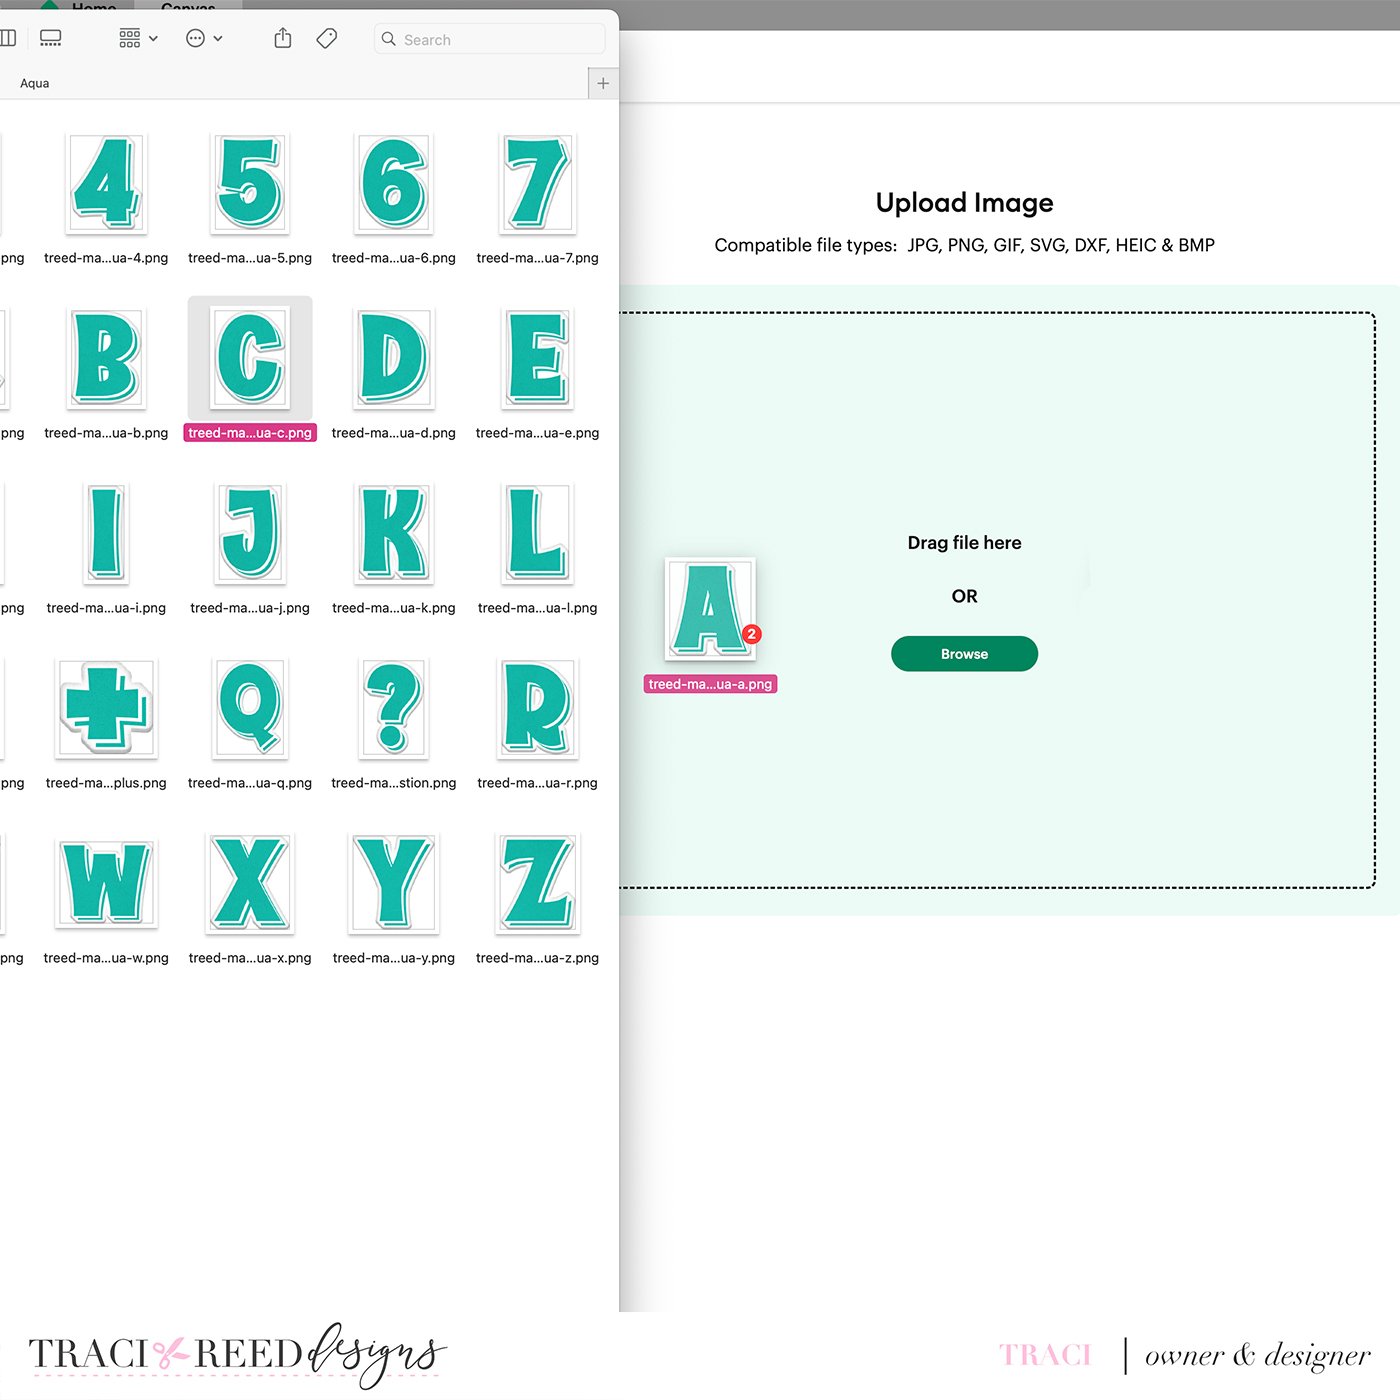
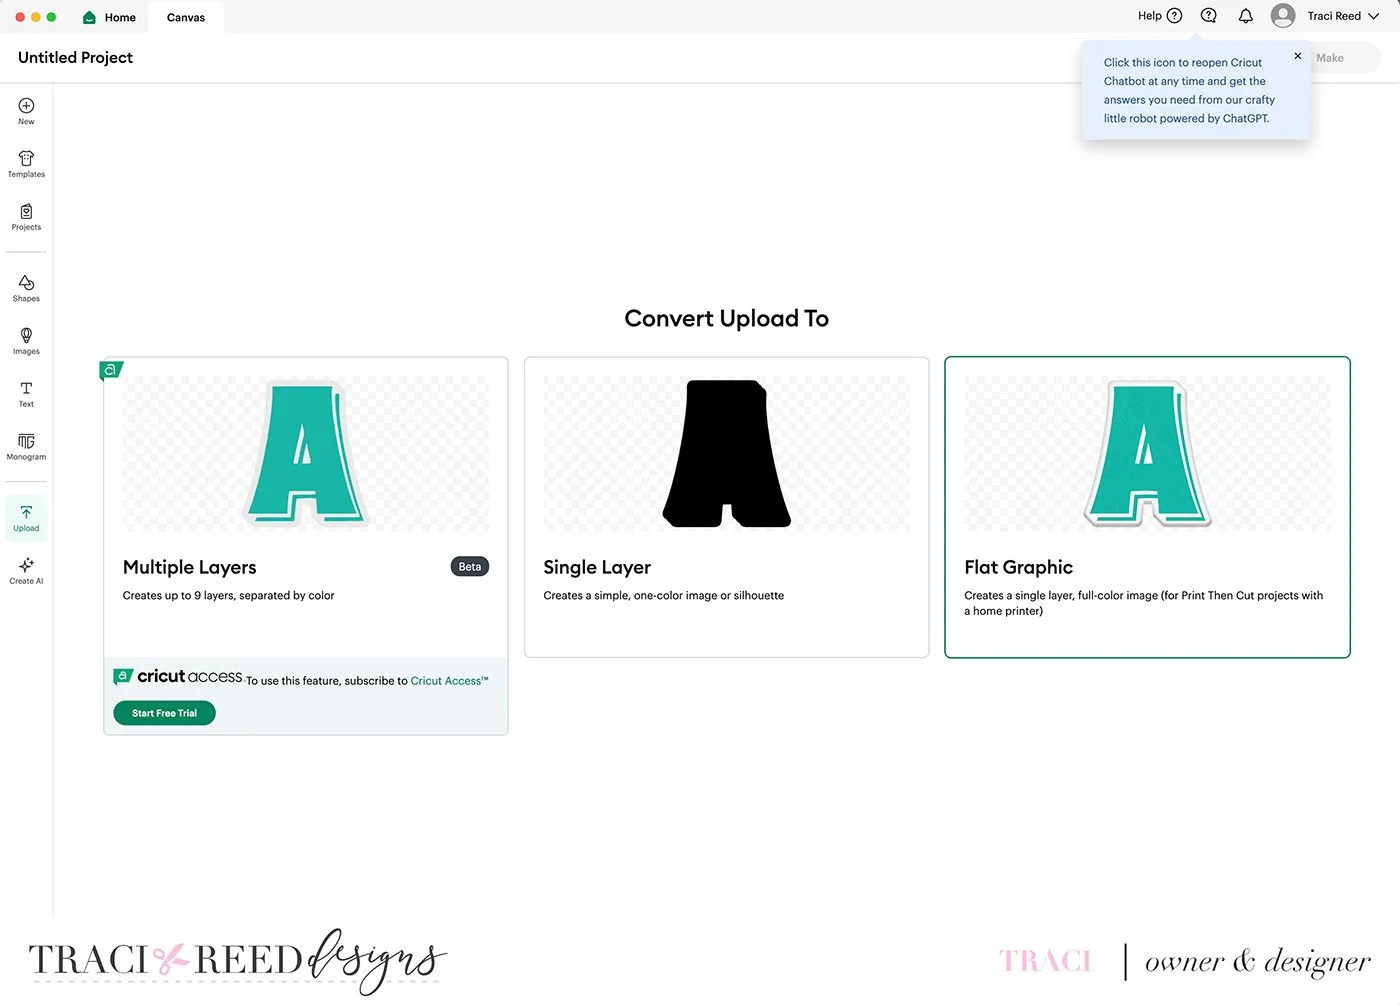
Choose the “Flat Graphic” option
When you have all your letters important, aligned, and resized to the length you need, make sure they’re aligned using the align tool> align top function in the top toolbar.

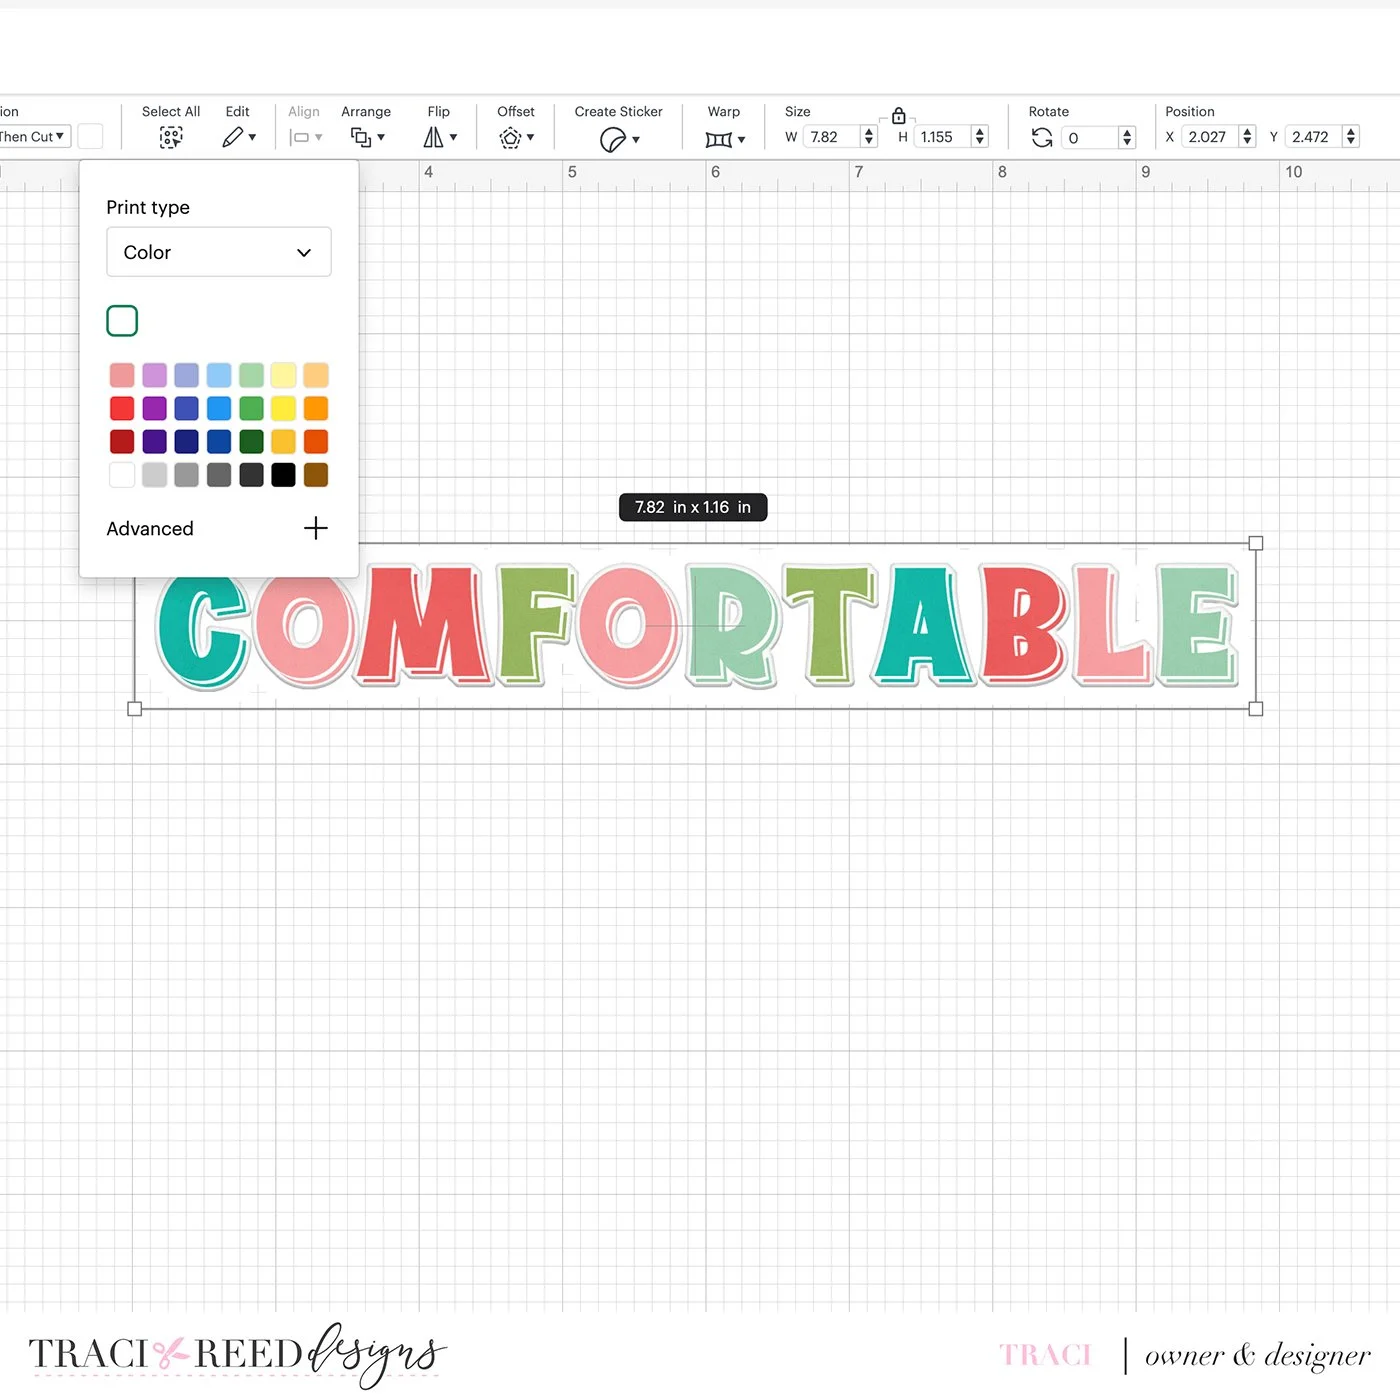
With all your letters selected, use the “Offset” function to create an offset outline for the whole title. I prefer an offset that doesn’t creep in between the letters, so for this title .125” or larger is needed.

Make sure your offset is set to “Print, Then Cut” and choose white for your offset color
To create the typed portion of your title, type out the words you would like in the font you would like, then repeat the process, first creating an offset in the offset panel:
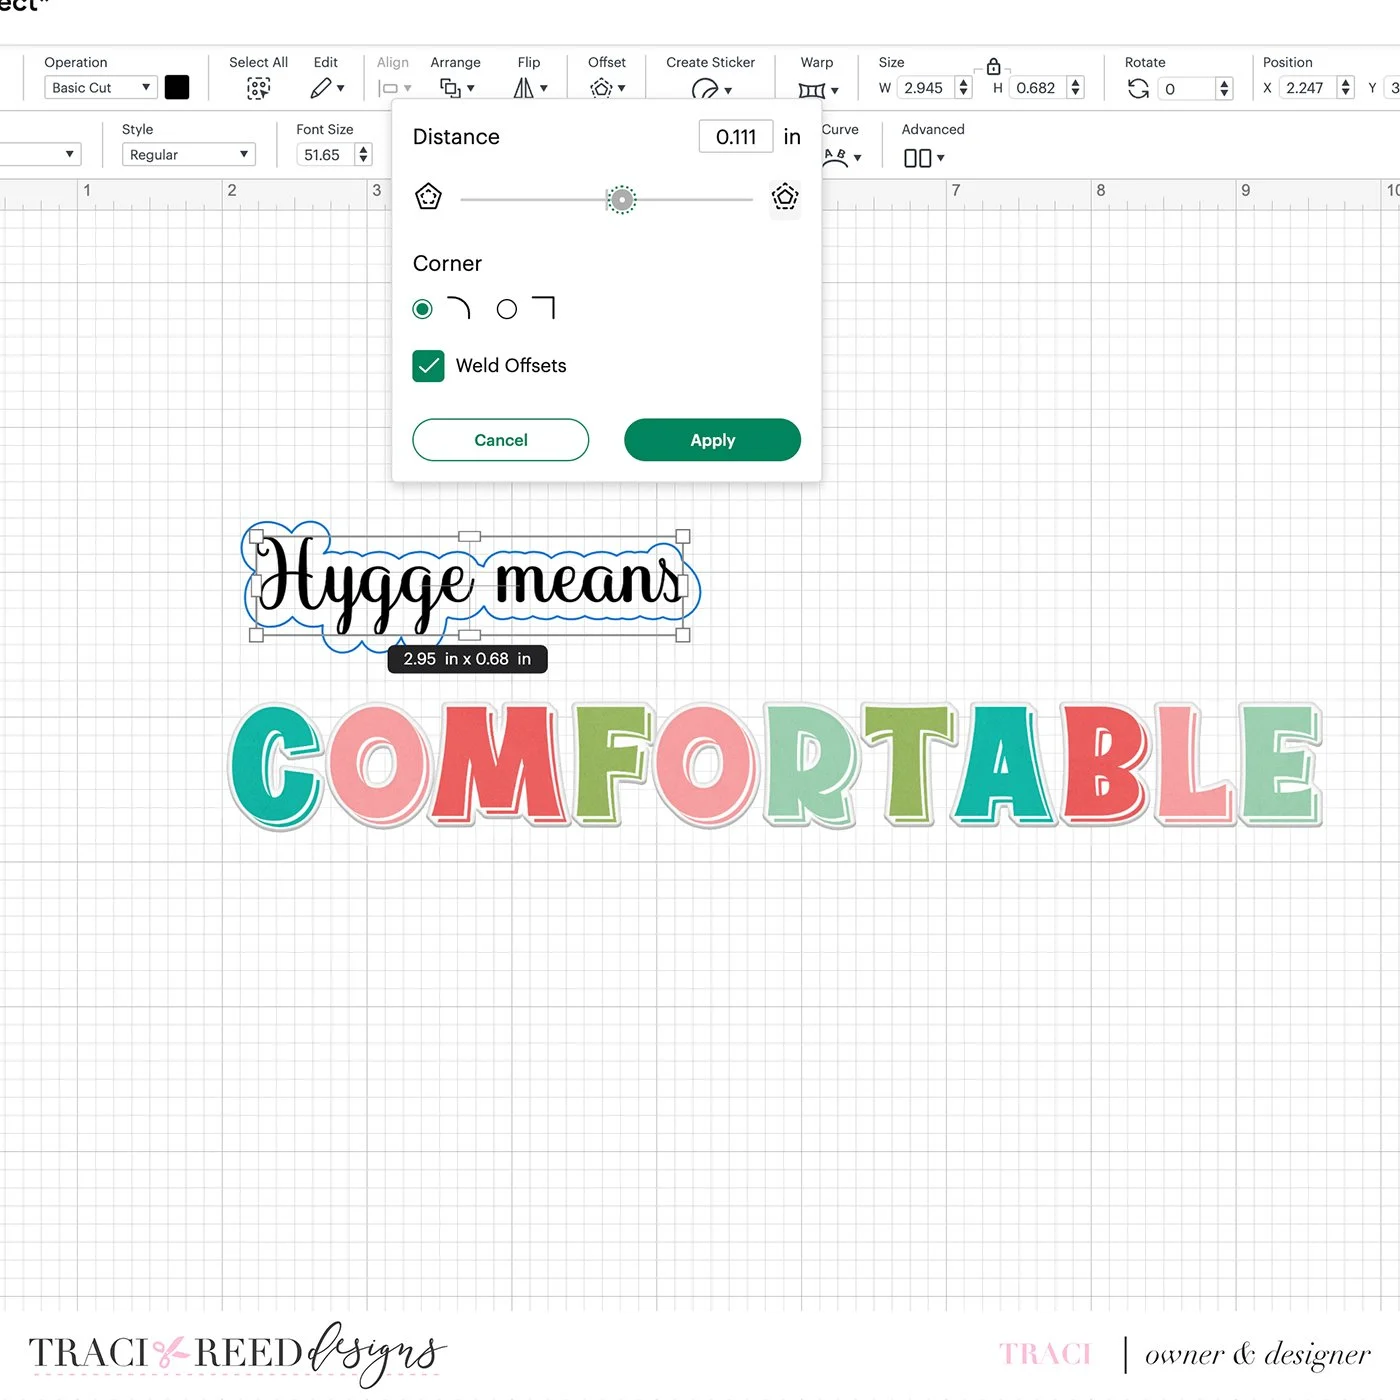
Make sure your offset color is set to white, not gray:
And then make sure it’s also set to print, then cut.
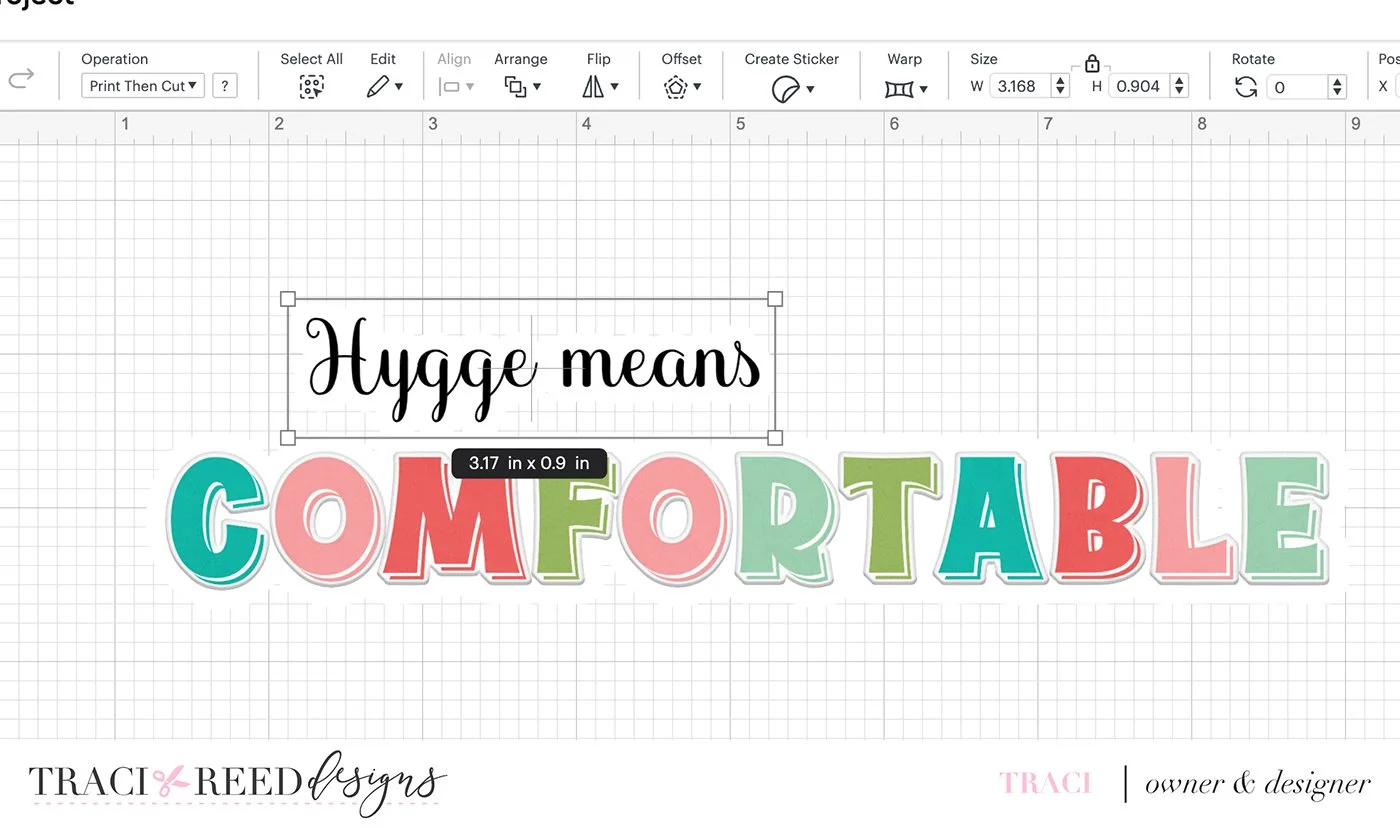
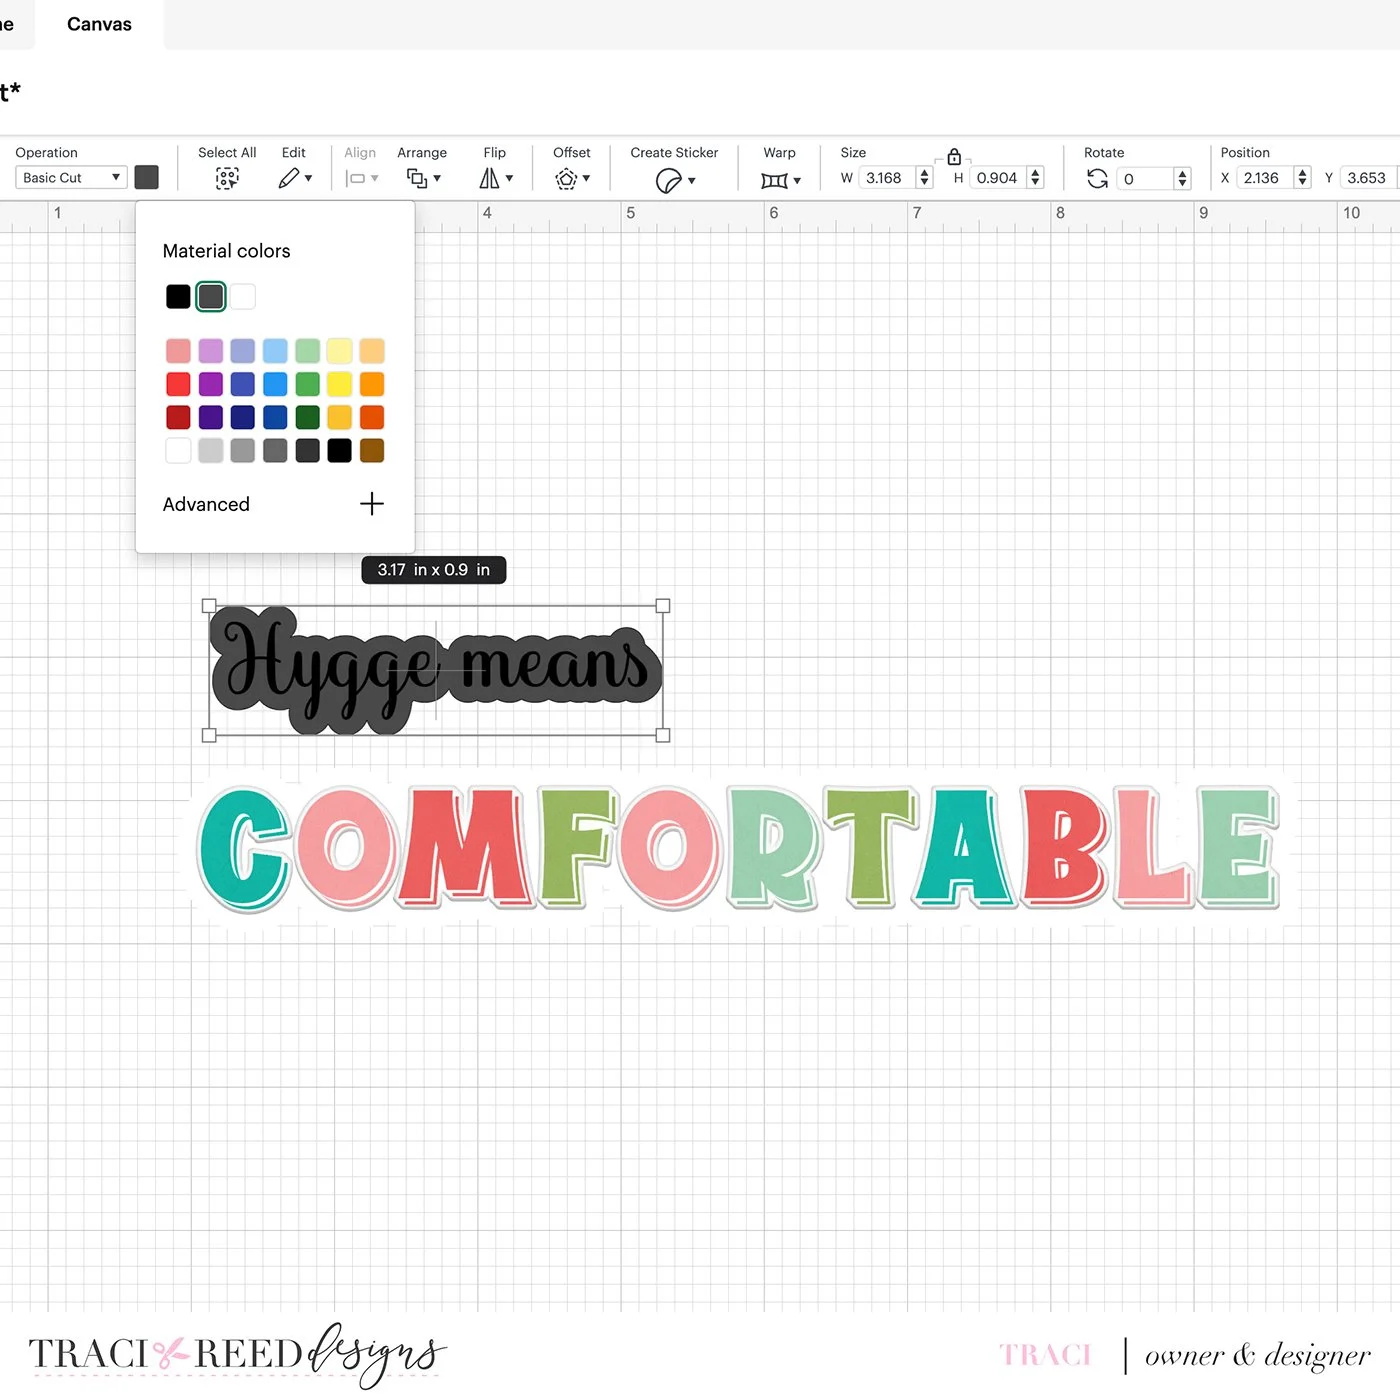
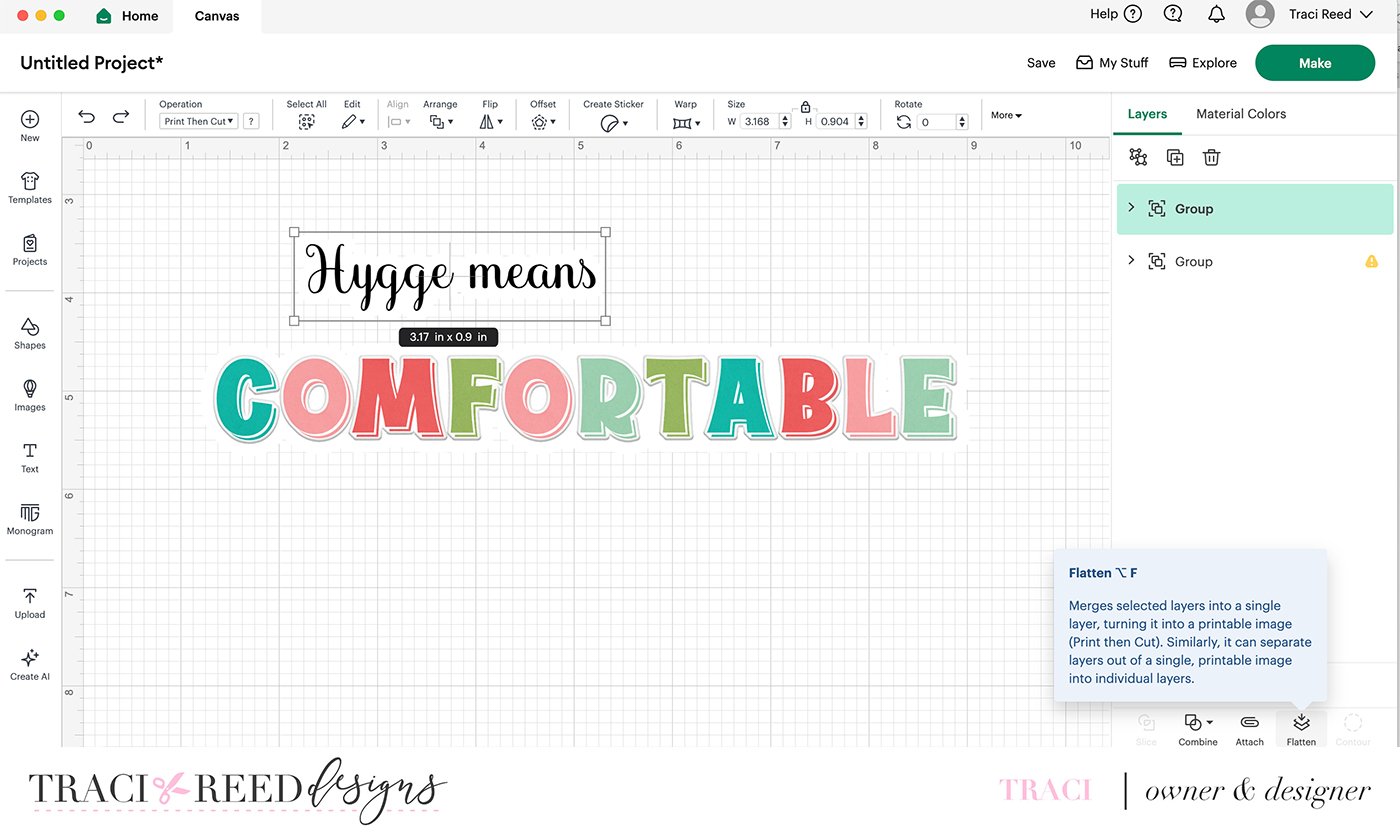
The last step before printing is to select both the offset and the title together and flatten them so that they print and cut as one element:
Repeat with the title letters:

Now you’re ready to print and cut your title and subtitle as whole pieces! Optionally, flatten the whole thing together if you’d like both titles to print as one cut.