Digital Tutorial: How to Create a Folded Paper Corner with Donna
Hello, everyone! Donna here sharing another tutorial that hopefully you will find useful and interesting.
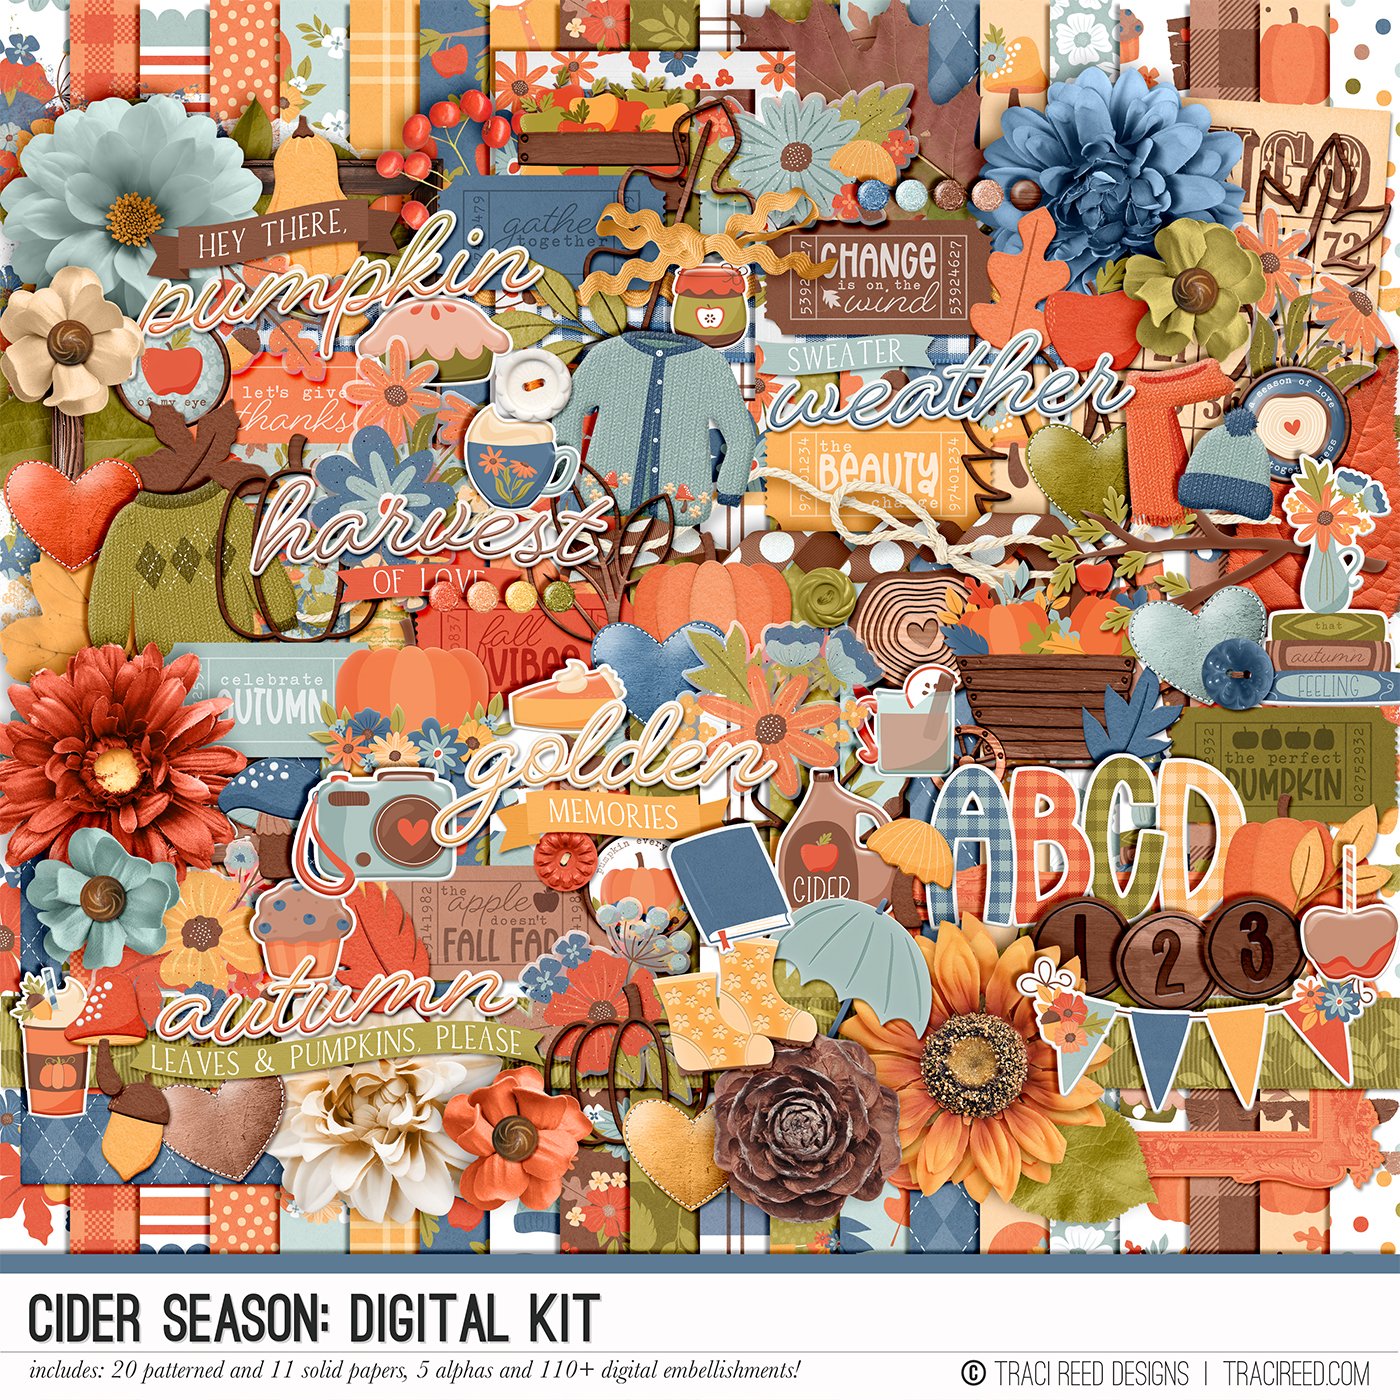
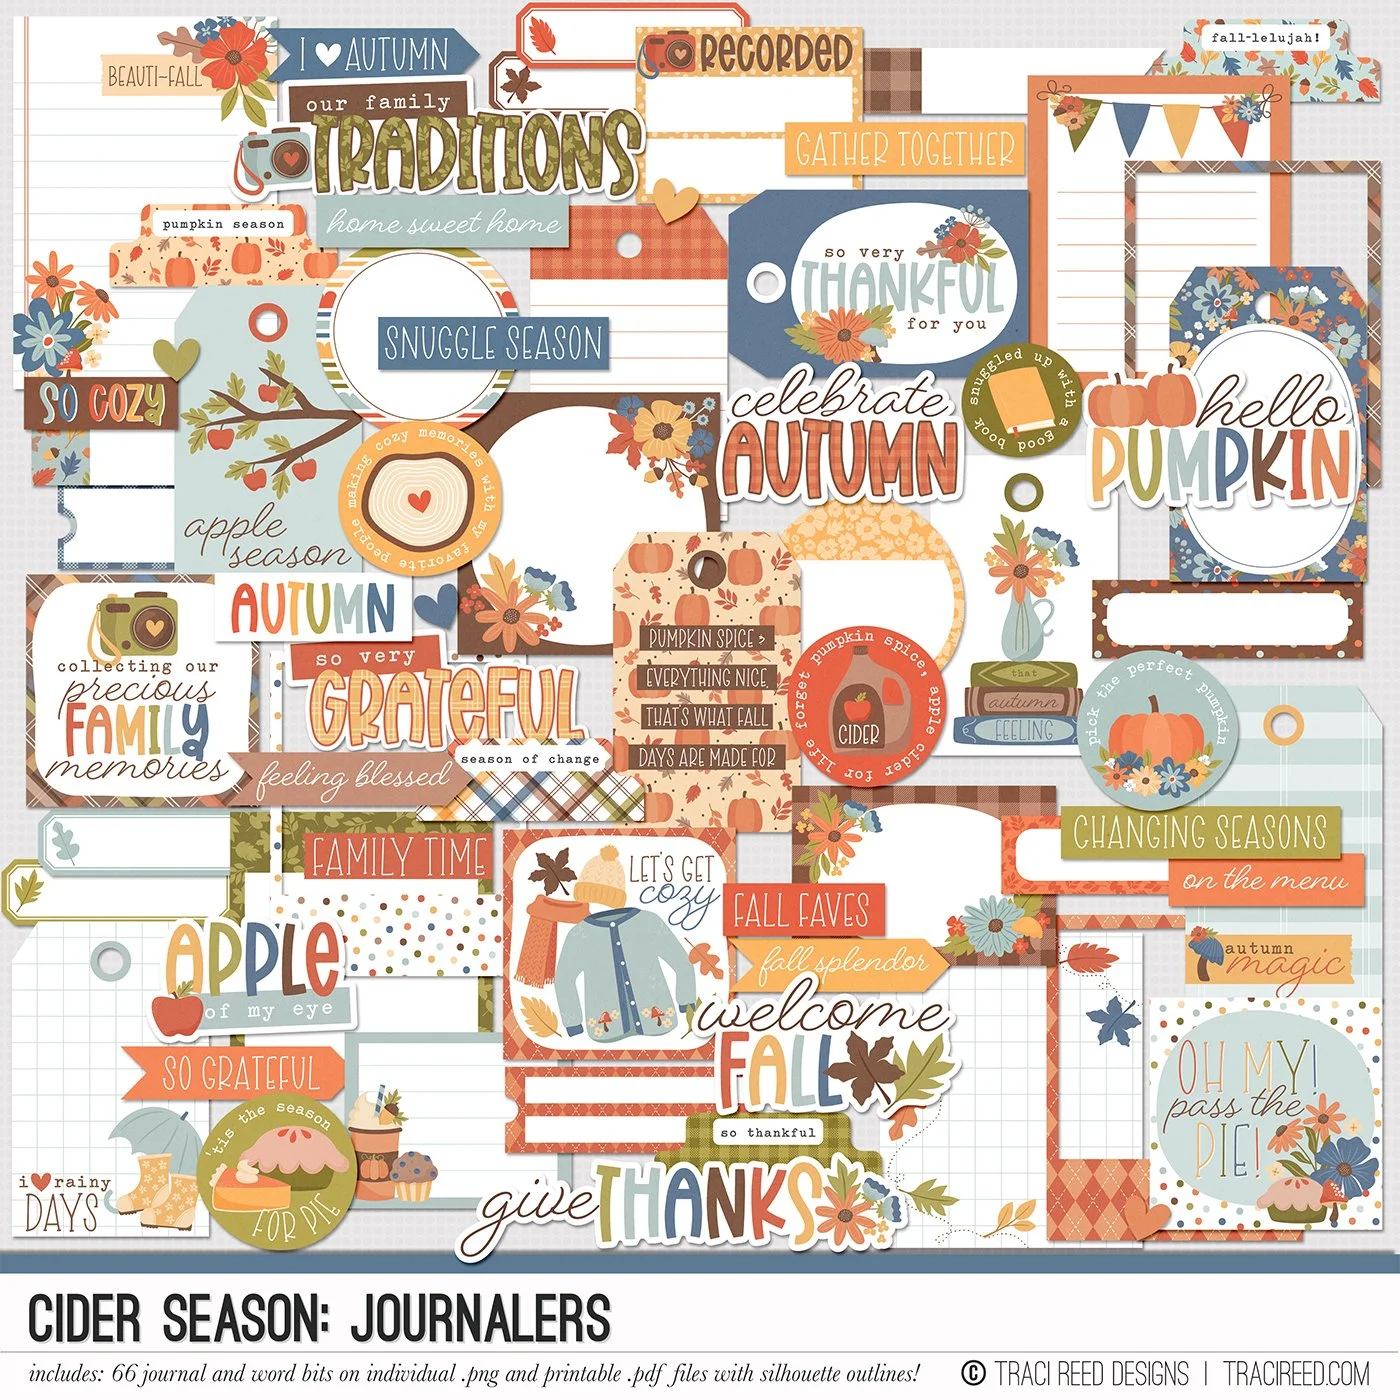
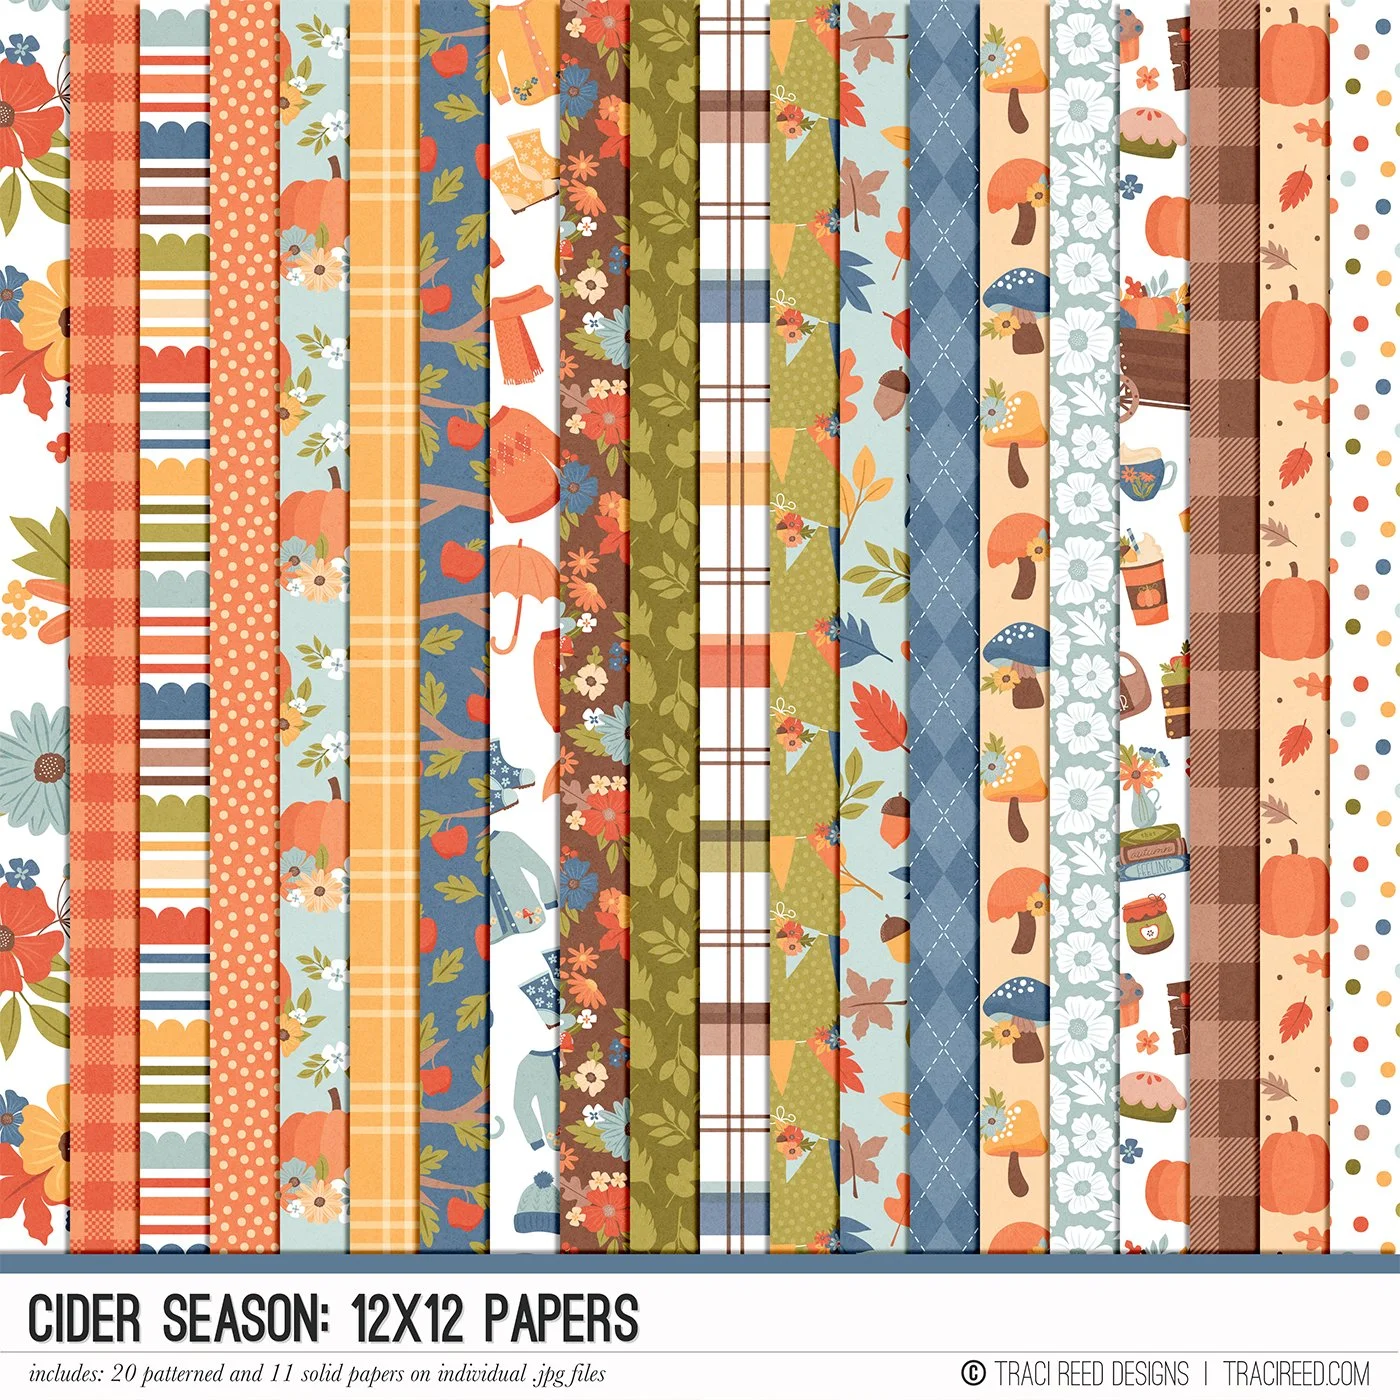
Let’s create the folded corner in this layout I made using Traci’s newest kit, Cider Season.

Photoshop Tutorial
Let’s start by choosing 3 papers. These will be the main papers for this technique.

Using the marquee tool, cut a square from the solid color paper. I chose the solid color paper as the “back” of the paper I decided to “fold”. And the orange gingham is the “base” of the layout which will be “seen through” when the patterned paper on top is “folded”. The size of the small square is 5x5 inches.

Then, place the papers like this as seen in the image. Cut the solid paper into a triangle and place it at the bottom right of the layout.

Now, the fun part begins! Using the burn and dodge tools, we will create depth to this simple paper corner and make it really look like it’s folded.
Lightly brush around the edges of the blue paper using the BURN tool. Adjust the setting of the brush to your liking.

2. Add drop shadow to the blue paper. Separate the layers and adjust the drop shadow using the WARP tool.

3. Playing with burn and dodge tools, adjust to your liking how the look of “folded” paper. Keep in mind that when you insert embellishments underneath, it will turn bulky. So adjust accordingly.

You can use more of the BURN tool underneath the elements to make it more realistic. As you can see in the image, I tweaked the part where the buttons/leaves are placed on the blue paper. The Burn tool will create the dark shadow while the Dodge tool will create a lighter shadow.

That’s it! I hope you liked this tutorial 😊 Have a great day!